Deburring our parts (and opposable thumbs) is what separates us from the animals. There are lots of ways to do it, but when consistency, speed and efficiency are your goal, it’s hard to beat the more automated processes for deburring parts. In this article we’re going to discuss two options SendCutSend offers for deburring your parts (tumbling vs linear deburring) and when and why you might want to choose one over the other.
What is burr in laser cutting?
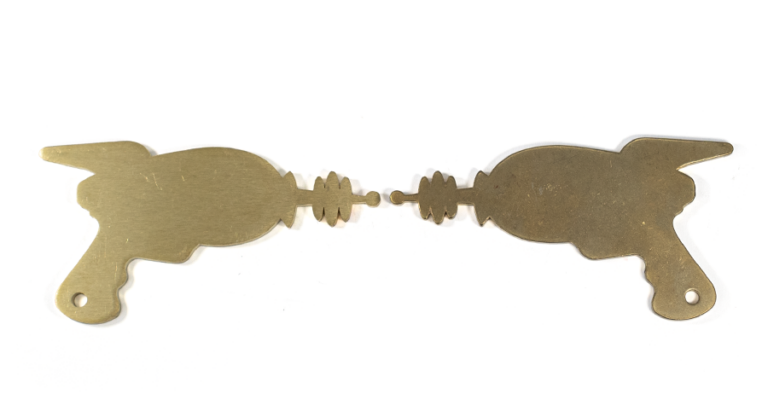
If you’ve ever been cut by the sharp rough edge of a piece of metal after it’s been cut, you’re familiar with burrs. A burr is simply a rough piece of material, usually metal, that’s left behind after a material has been cut in some way. Not to be confused with a rough cut, like you might see from an aggressive saw blade. Although rough cuts often leave burrs, you can remove the burrs and still be left with an uneven cut.
A burr is extra material, the little sliver that gets left behind. It’s usually sharp and sticks out in some direction. Sometimes a burr is small enough that it’s difficult to see, but you can usually feel them if you drag your fingernail over the edge of a part. If it gets caught right at the edge, there’s likely a burr.
How do you cut without burrs?
If you’ve made any of your own parts, you’re probably already familiar with having to deal with burrs. You make a cut in a part and you’re left with a burr. It’s almost impossible to avoid. The type of tool usually doesn’t even matter. A hacksaw, a cold saw, an abrasive disc, even a plasma cutter or a sheet metal shear, all leave burrs. With a plasma cutter it’s often called dross, or maybe slag. Precision machines like mills and lathes leave burrs on edges. Drills and punches aren’t immune, you’ll rarely drill a hole in metal without producing a burr. Even laser cutters, with their fine kerf and super powerful light beams can leave burrs, it’s just the nature of removing material.
Why cutting operations leave burrs
Why do all these cutting operations leave burrs? They aren’t all the same. Mechanical cutting, like bladed tools, shears and punches leave burrs because at a very small scale the tool is pushing the material until it fails. That failure usually occurs after some amount of plastic deformation. That’s where the material starts to permanently stretch and compress, but hasn’t broken yet. When the part finally gives up and separates, that small bit of deformation is still there, usually along the edge at the end of the cut. There are different “types” of burrs depending on where and how that material is moved. At the end of the day, they’re all formed in a similar way.
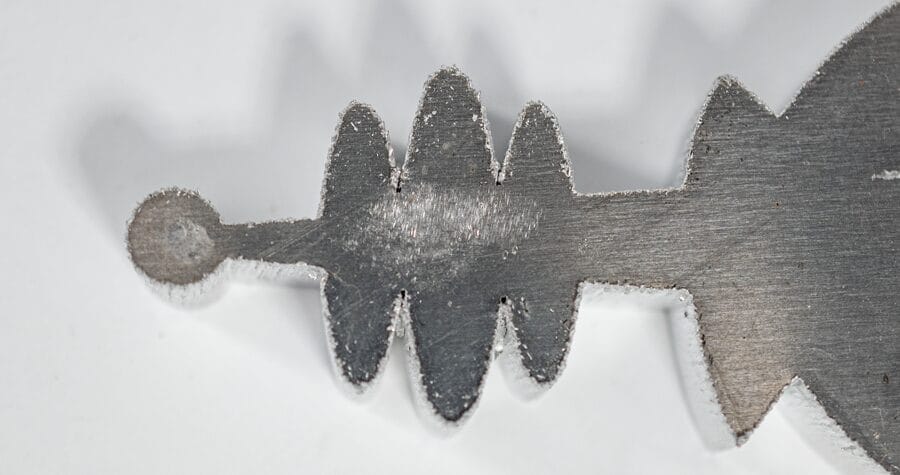
With thermal processes like laser cutting, plasma cutting and oxy-acetylene cutting, it’s a little different. The material is actually melted or evaporated in the kerf of the cut and forced out using pressurized gas (air or some other gas like nitrogen or oxygen). Sometimes a small amount of that melted material cools just enough before it completely clears the base material to hang on and resolidify. This is why you typically see more dross on the back side of a thermal cut than the top, although you can sometimes get it on the top side too.
6 Ways to Remove Burrs From Your Laser Cut Parts
1. Hand Tools
Files, chisels, deburr blades are all good options for cleaning up burrs. They are inexpensive, but slow and require you to manually address each and every edge.
2. Sanders/Grinders/Wire Wheels
A little faster than manually deburring, a sander or grinder, even a carbide burr can speed up removing burrs from your parts, but you’re still going to have to hit each edge one by one.
3. Countersink/Chamfer Bits
For round holes, a tapered countersink bit can be a quick way to clean up the edge. For outside edges, a chamfer tool can quickly and consistently knock off a sharp corner. All you have to do is set it to the right depth and drag the guide bearing along the edge. It doesn’t work great for edges that are too roughly cut. In a pinch, a carbide chamfer bit in a router can do the job too.
4. Media Blasting
Blasting a part can remove finer burrs, but doesn’t do a great job at larger heavier ones. It can be great for leaving a consistent finish and removing old coatings or corrosion.
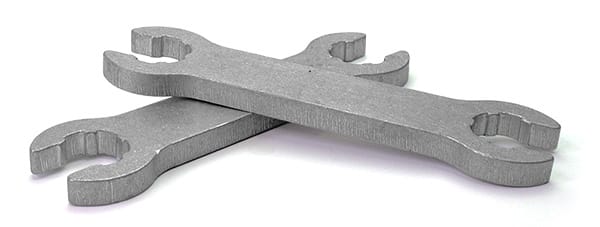
5. Tumble deburring
Now we’re talking. Tumbling a part, whether vibratory or centrifugally is a great way to hit all edges at once. Plus you can toss all the parts in at once and relax while the machine deburrs your parts for you. Even more, SendCutSend now offers tumbling services so you can add this to your laser cut parts when you order.
6. Linear deburring
When your parts are too big to tumble, a linear deburring process like a belt sander or Timesaver can handle large flat pieces. It is limited to flat surfaces however.
Let’s dig more into what makes tumbling vs. linear deburring so good, aside from the fact that you can get them both done on parts from SendCutSend.
Benefits of Tumble Deburring
- Rolled Edges – Unlike linear deburring, tumbling will ease over the sharp edges leaving them smooth and slightly rounded. Not only is this a better looking and feeling part, but finishes and coatings are much less likely to chip or flake off. Sharp edges are where finishes will be thinnest and most likely to start failing.
- Consistent Finish on Edges – Unless your part has cavities too small for the abrasive media to reach, it contacts all surfaces. That means the edges get touched up along with the faces, instead of being the way they came after the cut.
- Multiple Parts at Once – Tumbling is a tub of parts and media all swimming around together. It’s just as easy to tumble a handful of parts as it is a single part.
- Stronger Parts – Wait, really? Yep, in two small ways. First, by rounding out the sharp edges, cracks are much less likely to initiate along edges. This is true of any process that smooths sharp edges, but with tumbling it’s a freebie. Second, tumbling can act as a form of peening. The outer surface of the part gets slightly cold worked which can induce some compressive stress increasing the strength at the surface.
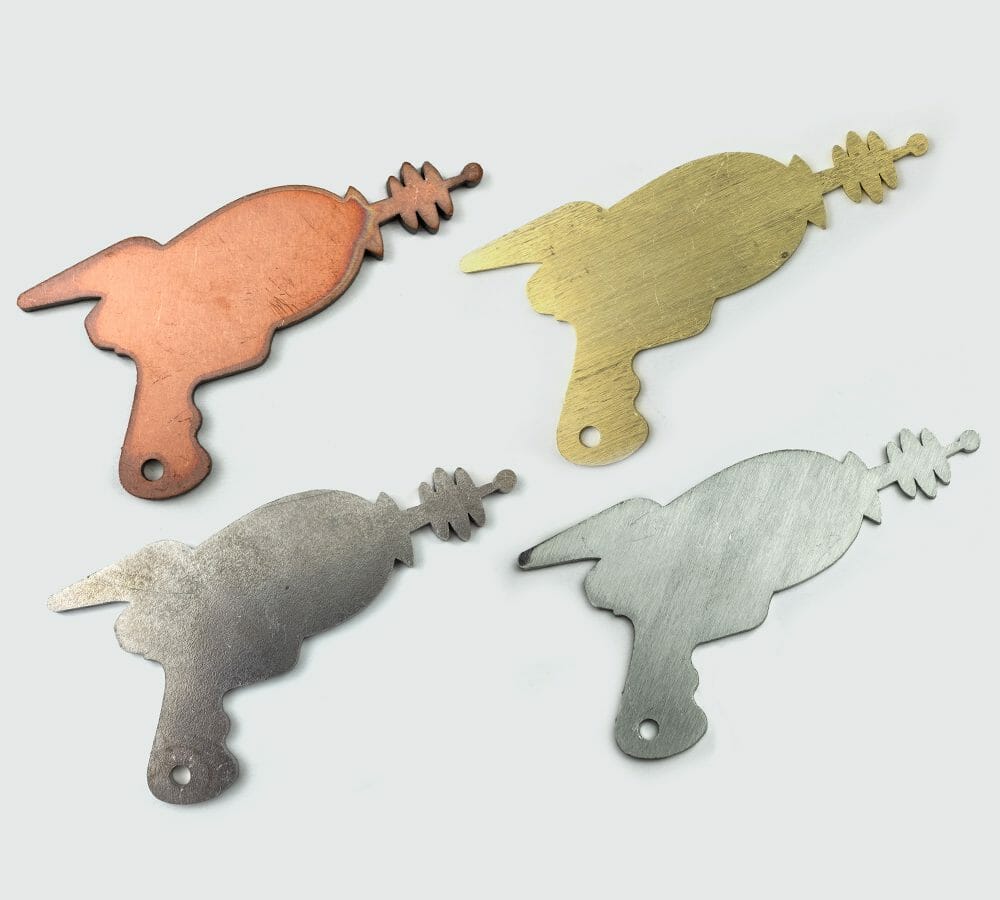
- Oxidation removal – Tumbling removes oxidation, so steel parts that are tumbled will arrive ready to weld with little to no additional prep.
Benefits of Linear Deburring
Tumbling sounds pretty great, is there any benefit to linear deburring?
- Surface Finish – Since linear deburring uses brushes or belts in a linear direction (hence the name) it leaves a brushed finish on the top and bottom surfaces. Whether this is a benefit over the finish from tumbling depends on the application or simply your preferences.
- Fragile Parts – Linear deburring is gentler on fragile geometry, less likely to bend or break thin sections or fine details on parts.
- Larger Parts – This is another SendCutSend only benefit, but our size limit for tumbling parts is smaller, around 4” x 7” max, compared to our linear deburr equipment that can handle parts up to 24” x 46”.
When to Use Tumbling vs Linear Deburring
Choose tumble deburring over linear deburring when:
- Your part is made of ferrous metal (steel).
- Your part is no larger than 4” x 7” and no smaller than 3”.
- Your parts are not fragile or contain fine details or thin sections.
- Your parts will be handled a lot. Linear deburring leaves a sharper edge.

It’s hard to go wrong with either option; they both raise the quality of your parts to the next level. If you’ve got a project that could benefit from tumbling vs. linear deburring or any of the other services SendCutSend offers, drop by and get a instant pricing.


