Exporting your Inkscape design for laser cutting is a simple process. In this video, we’ll walk you through the process, including our checklist of items to achieve the best laser cut results.
Step 1: Set your document units to inches
For starters, make sure your document units are set to inches, as that’s what we prefer to work with at SendCutSend.
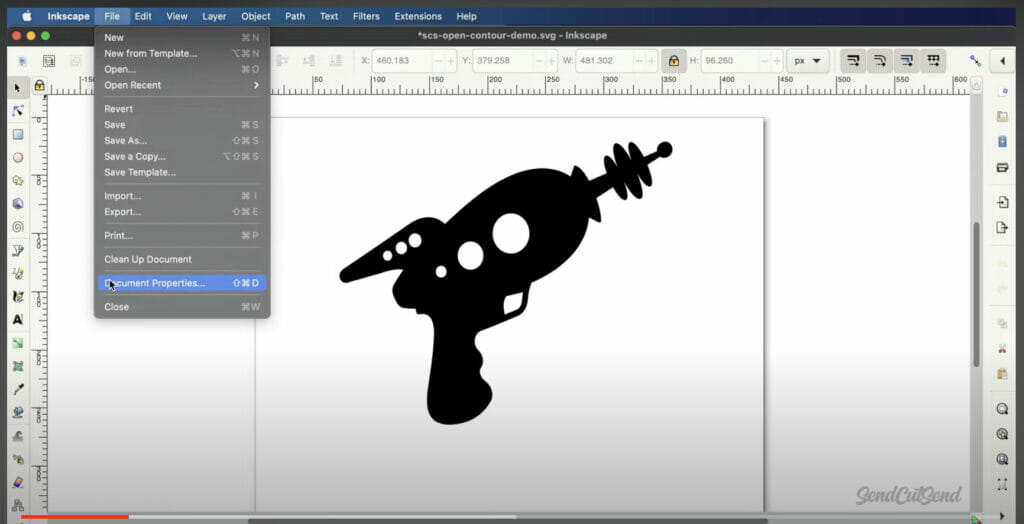
You will find Units in the Document Properties from the File menu, or with the hotkeys SHIFT + CMD + D.
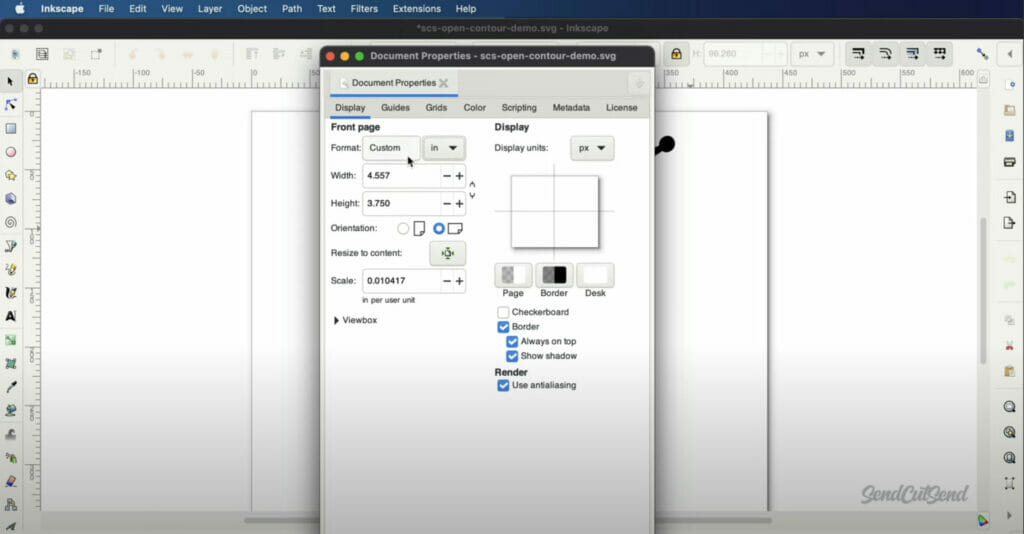
Inkscape has both Document Units and Display Units. Document units will change the size of your page. You’ll want to change this to inches. You can also select one of the premade formats, such as US Legal, to change the size of your page.
On the other hand, Display Units will determine what units are displayed in the rulers and other elements of the user interface. This unit can be set to a different unit type, though, for simplicity, we do recommend setting it to inches as well.
Close the dialog when complete.
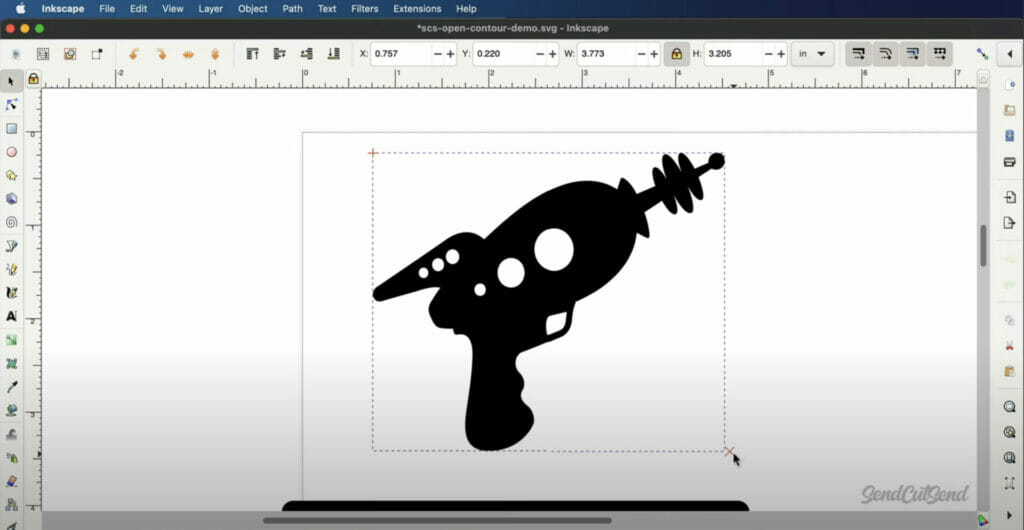
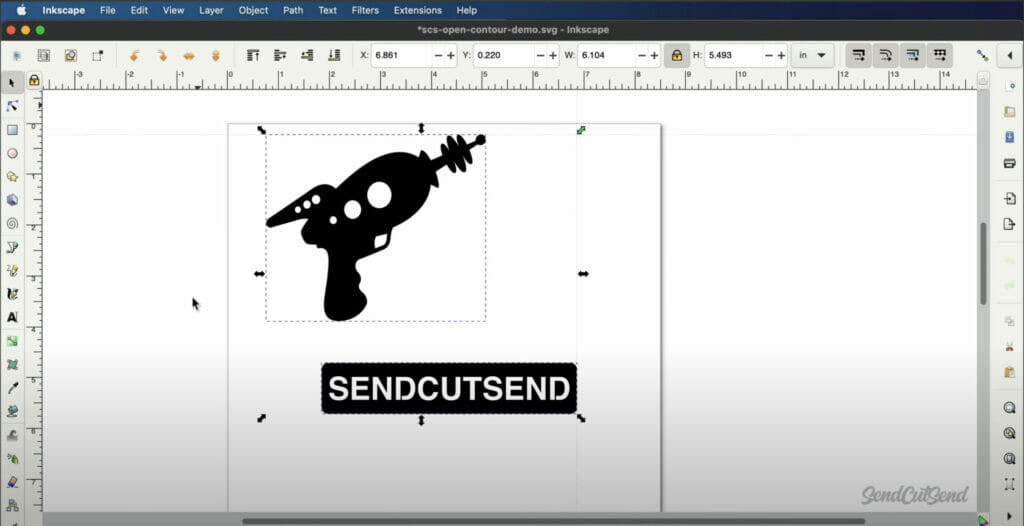
Step 2: Confirm that your part is a 1:1 scale
Next, you want to confirm that your part is in fact at a 1:1 scale. Select the largest contour and double-check that the dimensions are correct for your project. If not, scale the part to the correct dimensions before proceeding.
Step 3: Check your file for open contours
To ensure the success of your laser cut part, you’ll want to check your file for open contours and stray points.
Inkscape does not offer a way to automatically find stray points. To help, you can go to edit > and use “Select All” to highlight everything in your design. If the selection box appears much larger than your part, be sure to delete any unnecessary points or geometry.
We can also use “Select All” to check that everything fits on the page. Saving the design will include only geometry on the page, so make sure there is sufficient room around the design. The size of your page will not matter once you upload your design to SendCutSend.
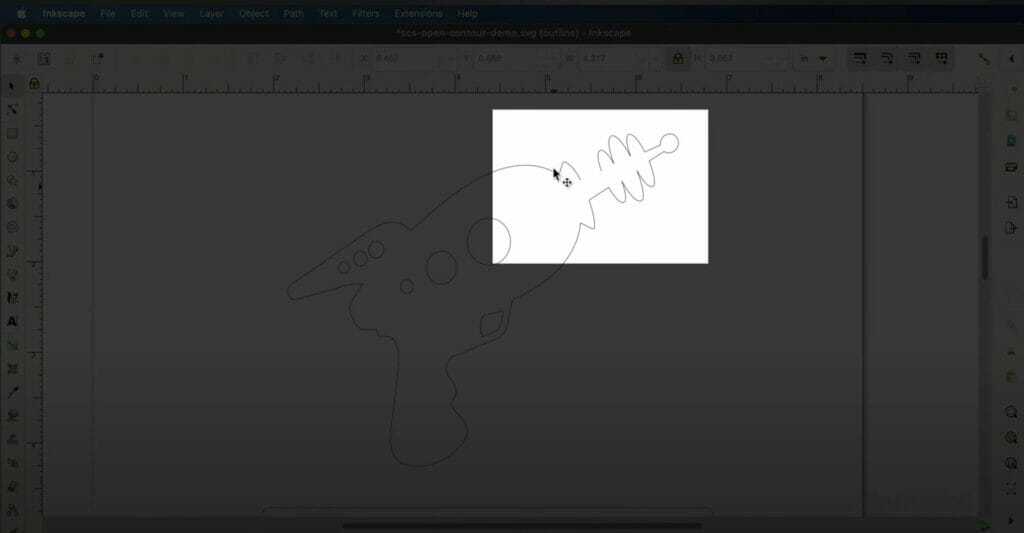
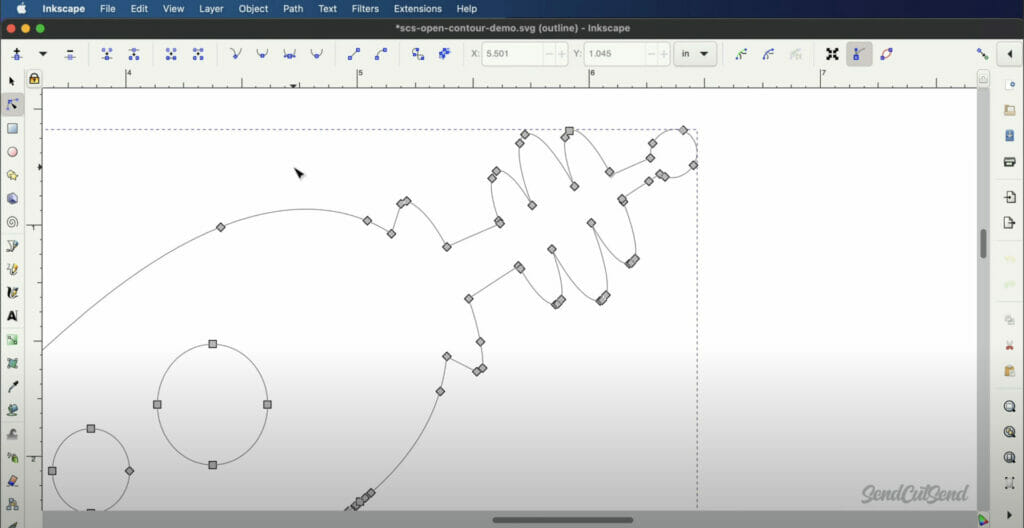
Before exporting, you’ll also want to check for Open Contours. Head to View > Display Mode > and select Outline.

Step 4: Fix any open contours
Notice this segment of the design is not connected. This is an open contour that needs to be fixed before exporting.
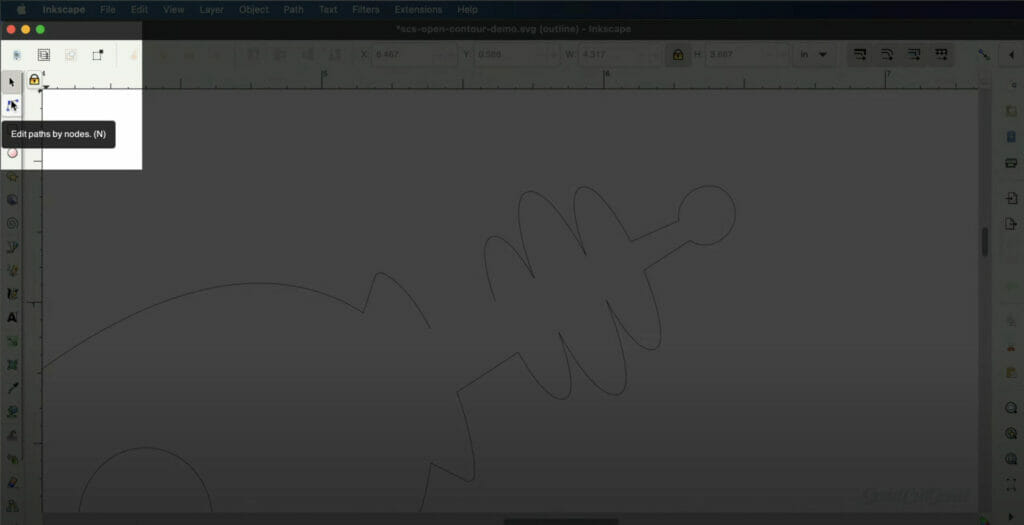
To do this, use the tool titled “Edit paths by nodes.” You can also use the keyboard shortcut letter “N.”
The nodes are the gray boxes you see around the outline of your object. Select the two nodes you want to join. They will turn blue when they are selected.
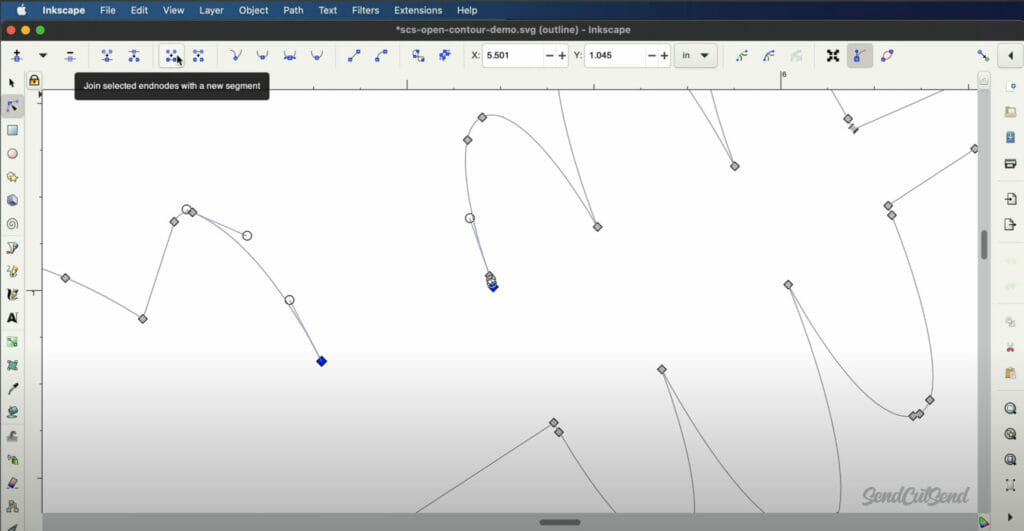
Then, select the button to “Join Selected End Nodes with new segment.” This contour is now fully closed and ready for the laser cutter.
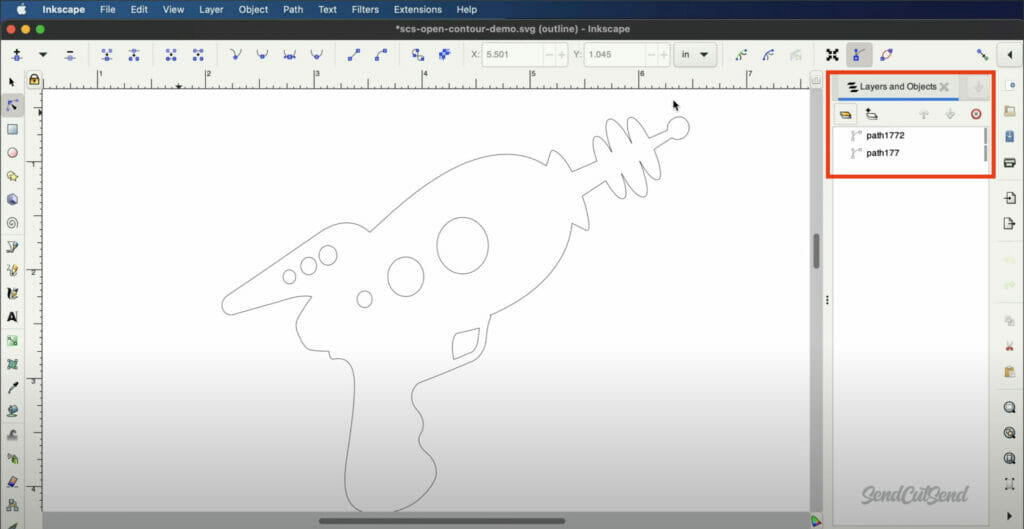
Step 5: Make sure everything is on a single layer
Next, head to the Layer menu and open the Layer and Objects panel. Before you export, make sure everything is on a single layer, including any text and bend lines.
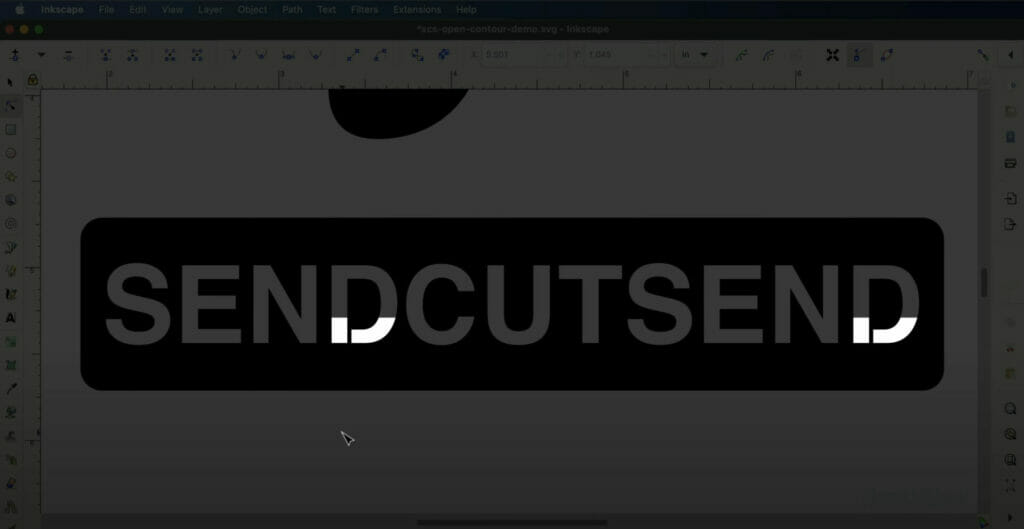
When your designs include text, be sure that all text has been converted to outlines or paths.
Cut-out text or “Reversed text” is required to have “bridges,” or in other words, the text needs to be “stencilized.”
You’ll also want to make sure all non-text holes and cutouts are at least 60% of the material thickness, which ensures they can be cut by the laser.
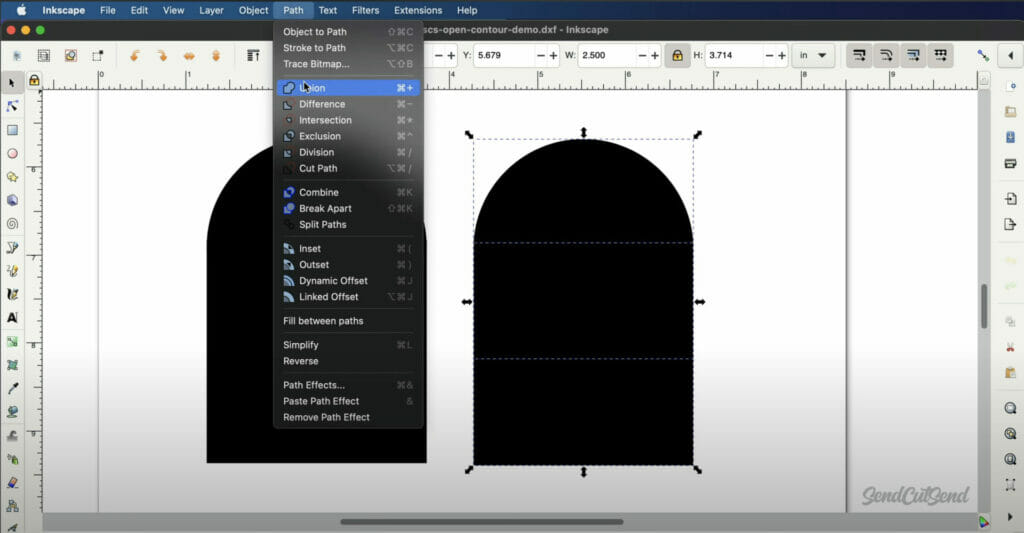
Step 6: Make sure your shapes are Unioned
All of your shapes will need to be Unioned from the Path menu. This is particularly important if you drew shapes that overlapped with each other. Unioning the shapes will ensure they result in one contour for the laser to follow.
Step 7: Check your design in outline
Once you’ve run through our checklist, head to the View menu > Display mode > and select Outline. Viewing your design in Outline mode will help you catch any unwanted geometry and triple-check that you have clean and continuous paths.
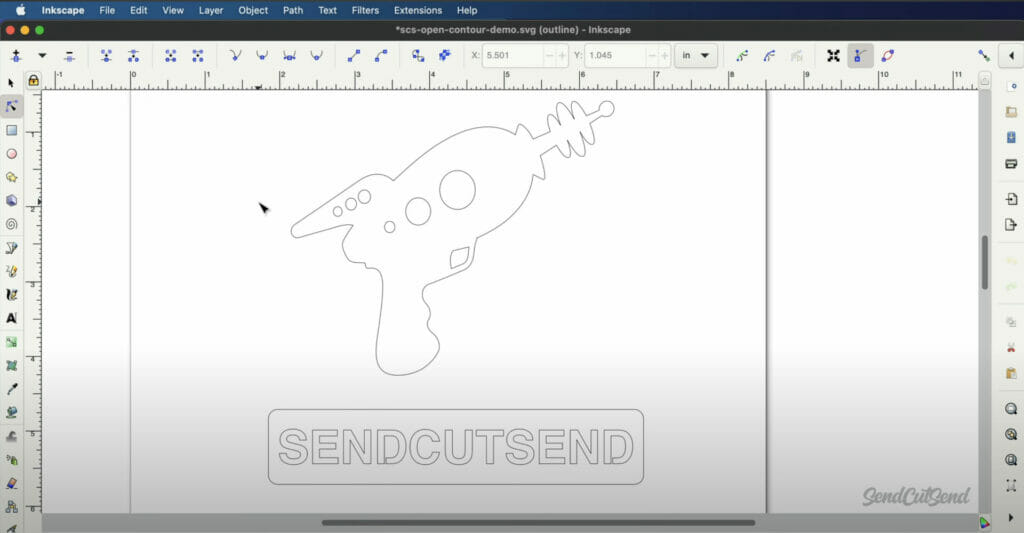
Be sure to remove everything that you do not want to be cut, including any dimensions or design notes that you may have placed in the file. What you upload to us from Inkscape should be a clean DXF file, with only your desired parts.
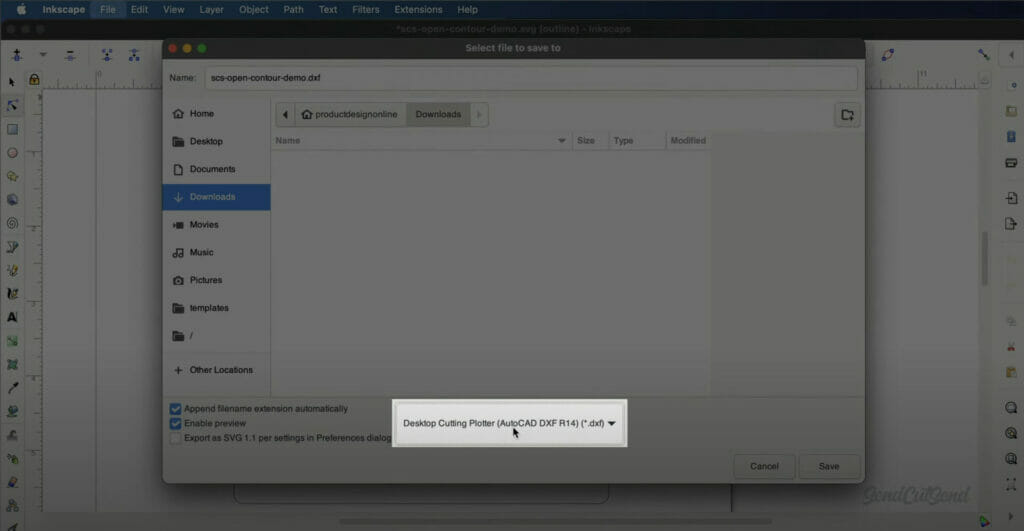
Once ready, head File > Save As.
Note that the DXF option is not available from the File > Export menu. You must use the “Save As” option.
Change the name of your file if desired and select the location, such as your downloads folder.
Select the DXF option. If you see more than one, choose the one that includes R14 and click Save.
You’ll then receive one more dialog. Uncheck both of the “Use” options, as this is not applicable to our use case.
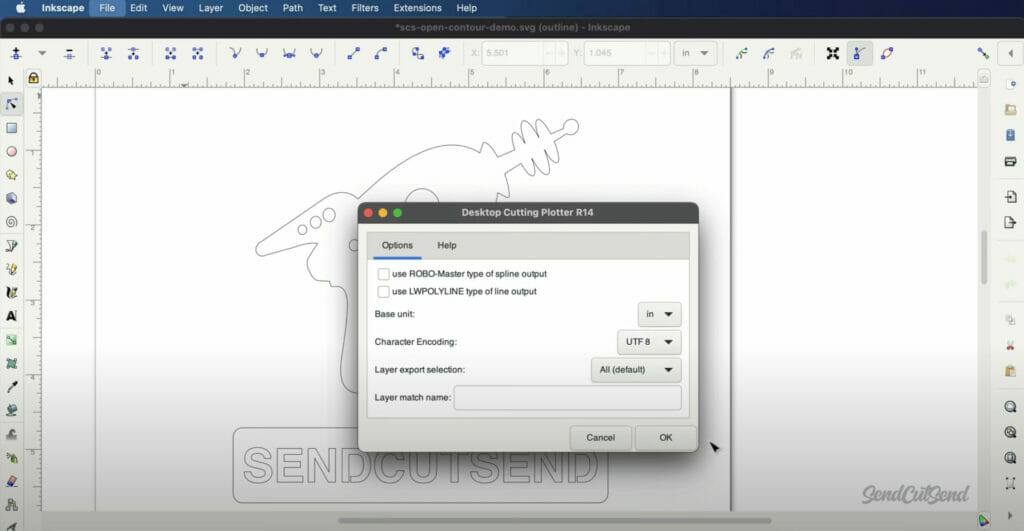
Set the base unit to inches and change the character encoding to UTF8. Finally, select OK, and your DXF will be located at your chosen folder, ready to upload to SendCutSend for laser cutting.
Check out our blog for more tutorials on Inkscape and other CAD software tutorials.
