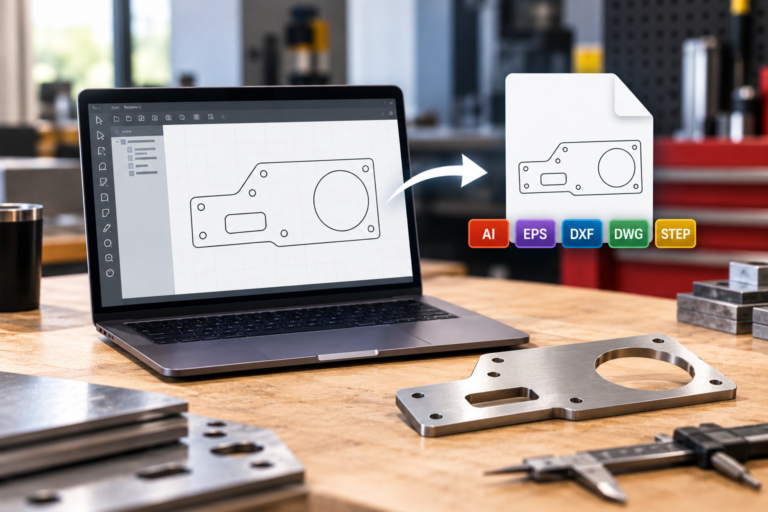
You’ve finished your design. Now you just need to get it out of your CAD or design software and into a file that’s ready for manufacturing.
The right file format and export process depend on the software you’re using. Adobe Illustrator, Inkscape, QCAD, Rhino3D, FreeCAD, and even Photoshop can all be part of a workflow for creating parts with SendCutSend, but each requires a slightly different approach.
Here’s how to prepare your file from each program so it’s ready to upload.
Quick Guide: Which File Type Should I Use for SendCutSend?
| Software | Recommended File Type | How to Get There |
|---|---|---|
| Adobe Illustrator | .AI | Save As → AI |
| Inkscape | .EPS | Save a Copy → EPS |
| QCAD | .DXF or .DWG | Save As → DXF/DWG |
| Rhino3D | .DXF | Export Selected → DXF |
| FreeCAD | .STEP or .DXF | Export → STEP/DXF |
| Adobe Photoshop | Convert to vector first | Move design to Illustrator or another vector program |
No matter which program you’re using, make sure your final design is at 1:1 scale and uses the correct units before uploading it.
How to Save a File From Adobe Illustrator for SendCutSend
If you’re designing in Adobe Illustrator, we’ve got good news: you don’t need to export your design at all.
Native Adobe Illustrator (.AI) files typically produce the best results, so we recommend uploading your original .AI file directly to SendCutSend rather than converting it to another file type.
To save your file:
- Select File > Save As
- Choose Adobe Illustrator (.AI) as the file type
- Make sure Create PDF Compatible File is checked in the Illustrator Options
- Confirm your design is at 1:1 scale
- Save the file and upload the .AI directly to SendCutSend
Don’t export your Illustrator design as a DXF. Uploading the native .AI file is preferred and avoids an unnecessary file conversion.
Want the full walkthrough? Check out our Adobe Illustrator tutorial for more detailed file setup instructions.
How to Export an EPS From Inkscape for SendCutSend
Inkscape is a free vector graphics program that’s great for creating decorative parts, signs, brackets, panels, and other 2D designs.
For Inkscape designs, we recommend keeping your editable working file as an SVG and creating an .EPS copy to upload to SendCutSend.
To create your EPS:
- Make sure your design is at 1:1 scale
- Select File > Save a Copy
- Choose Encapsulated PostScript (.EPS) as the file type
- Select Convert Text to Paths if your design contains text
- Save your EPS and upload it to SendCutSend
Converting text to paths turns your text into vector geometry rather than relying on a font file to display it correctly.
Want more detail? Check out our Inkscape export tutorial for the complete walkthrough.
How to Save a DXF or DWG From QCAD for SendCutSend
QCAD makes this one easy because there’s no special export process required.
You can save your design directly as a DXF or DWG file, and SendCutSend accepts both.
To save your file:
- Select File > Save As
- Choose DXF or DWG as your file format
- Confirm your design is at 1:1 scale
- Save your file and upload it to SendCutSend
You can also use Ctrl+Shift+S on Windows or Shift+Command+S on Mac to open Save As.
QCAD is also useful even if you created your design somewhere else. You can use it to open and inspect DXF and DWG files before uploading them.
Our guide to preflighting your designs using QCAD shows you what to look for.
How to Export a DXF From Rhino3D
Rhino3D can be used to create files for SendCutSend, but DXF exports require a little more attention.
Before exporting, view your design from the top and isolate the 2D geometry you want manufactured. It’s also a good time to make sure your contours are closed and your design is ready for cutting.
Then:
- Select the geometry you want to export
- Select File > Export Selected
- Choose AutoCAD Drawing Exchange (.DXF)
- Select CAM Metric if your design uses millimeters or CAM Imperial if it uses inches
- Save the DXF at 1:1 scale
After exporting, reopen the DXF and check that the geometry, dimensions, and units came through correctly before uploading it.
You can also open your DXF in QCAD for another quick preflight.
Want the complete walkthrough? Check out our Rhino3D DXF export tutorial.
How to Export a File From FreeCAD for SendCutSend
FreeCAD gives you two options depending on the type of part you’re designing: STEP for 3D designs or DXF for 2D designs.
Exporting a STEP File From FreeCAD
For a 3D design, export your part as a STEP (.step or .stp) file.
Before exporting, make sure your model meets our 3D file guidelines.
To export:
- In the 3D View, select the solid or solids you want to export in the Tree View
- Select File > Export
- Choose STEP as your file format
- Save your file
Your STEP should contain the solid geometry you actually want manufactured, so double-check your model before exporting.
Exporting a DXF From FreeCAD
For a 2D design, you can also export a DXF file from FreeCAD for SendCutSend.
DXF export from FreeCAD requires some additional setup and can be more challenging than exporting from some of the other programs on this list. If you’re having trouble getting a clean DXF, QCAD is a good free option for opening and checking the exported file before uploading it.
Whichever format you use, make sure your final file is at 1:1 scale in either inches or millimeters.
How to Prepare a Photoshop File for SendCutSend
Photoshop is the odd one out on this list.
Unlike Illustrator, Inkscape, and CAD programs, Photoshop is primarily a raster-based image editor. That means its designs are made from pixels rather than the vector paths needed to manufacture your part.
SendCutSend cannot accept Photoshop files (.PSD) or raster image formats such as .PNG and .JPEG for cutting.
Convert Your Photoshop Design to a Vector File
If you’ve created a design in Photoshop, you’ll need to convert it to vector geometry before uploading it.
If you have Adobe Illustrator, that’s the workflow we recommend:
- Save your Photoshop design or image
- Open or place it in Adobe Illustrator
- Convert the artwork to vector paths
- Clean up the resulting geometry
- Save the finished vector design as an Adobe Illustrator (.AI) file
- Upload the .AI file to SendCutSend
If your design contains text, shapes, logos, or other artwork, take a close look at the resulting vector paths after conversion. Automated vectorization can create unnecessary nodes, rough edges, or other geometry that may need to be cleaned up before manufacturing.
Check out our guide to converting raster images to vector graphics in Illustrator for the complete process.
If you don’t have Illustrator, you can also use another vector design program such as Inkscape to recreate or vectorize your design and save it in a supported vector format.
Check Your File Before Uploading
No matter which CAD or design program you’re using, give your final file one last check before sending it our way.
Make sure:
- Your design is at 1:1 scale
- Your file uses the correct inch or millimeter units
- Your overall dimensions are correct
- There aren’t any duplicate or intersecting paths
- Your contours are closed where required
- Text has been converted to vector geometry when necessary
- Your file doesn’t contain extra geometry you don’t want manufactured
- Your design meets our file setup guidelines
Always Check Your Part Preview
There’s one more check after you upload.
SendCutSend will generate a preview of your part. Don’t skip it.
Compare the preview to your original design and verify that:
- The overall dimensions are correct
- The units are correct
- All expected geometry is present
- There aren’t any unexpected cutouts or features
If the preview doesn’t match what you intended to make, go back to your design or exported file and figure out what changed before ordering.
From CAD File to Custom Part
Whether you’re working in Illustrator, Inkscape, QCAD, Rhino3D, FreeCAD, Photoshop, or another design program, the goal is the same: give us clean geometry at the correct scale in a file format that preserves your design.
Start with clean geometry, save or export your design using the recommended file type, and double-check your dimensions after uploading.
Once everything looks right, upload your file to SendCutSend to get instant pricing and see the available materials and services for your part.