
Getting started with SendCutSend using our instant pricing tool is simple and fast. We’ve got multiple ways you can easily order custom laser cut and waterjet cut parts, so check out the article below to learn how to order SendCutSend parts!
Option 1: Upload a CAD Design
We work with 2D vector files (.dxf, .dwg, .ai, or .eps format) and 3D files (.step and .stp format). These files need to be in 1:1 scale. There should only be one part per file.
For 2D vector files, include only the cut lines and bend location lines for the part you wish us to produce. STEP/STP format files have different setup considerations depending on the type of part you are designing. For sheet and plate parts, see our 3D file guidelines. For CNC machined billet parts, see our CNC machining guidelines.
Step 1: Get instant pricing
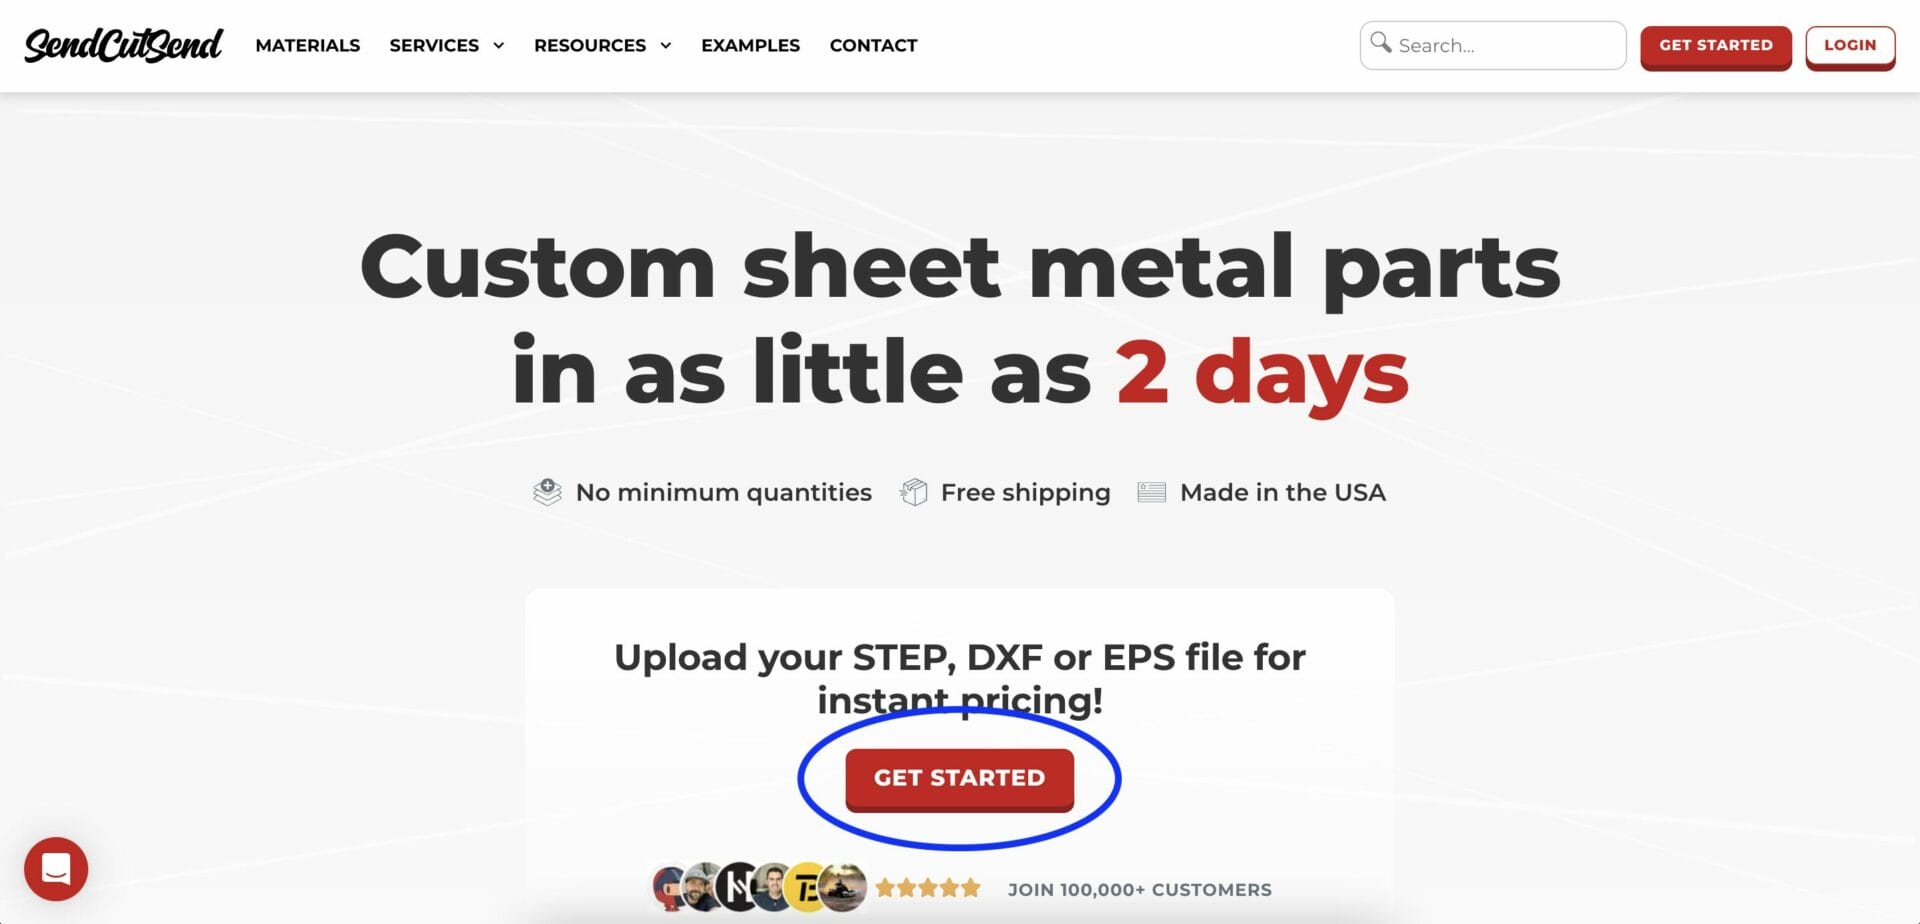
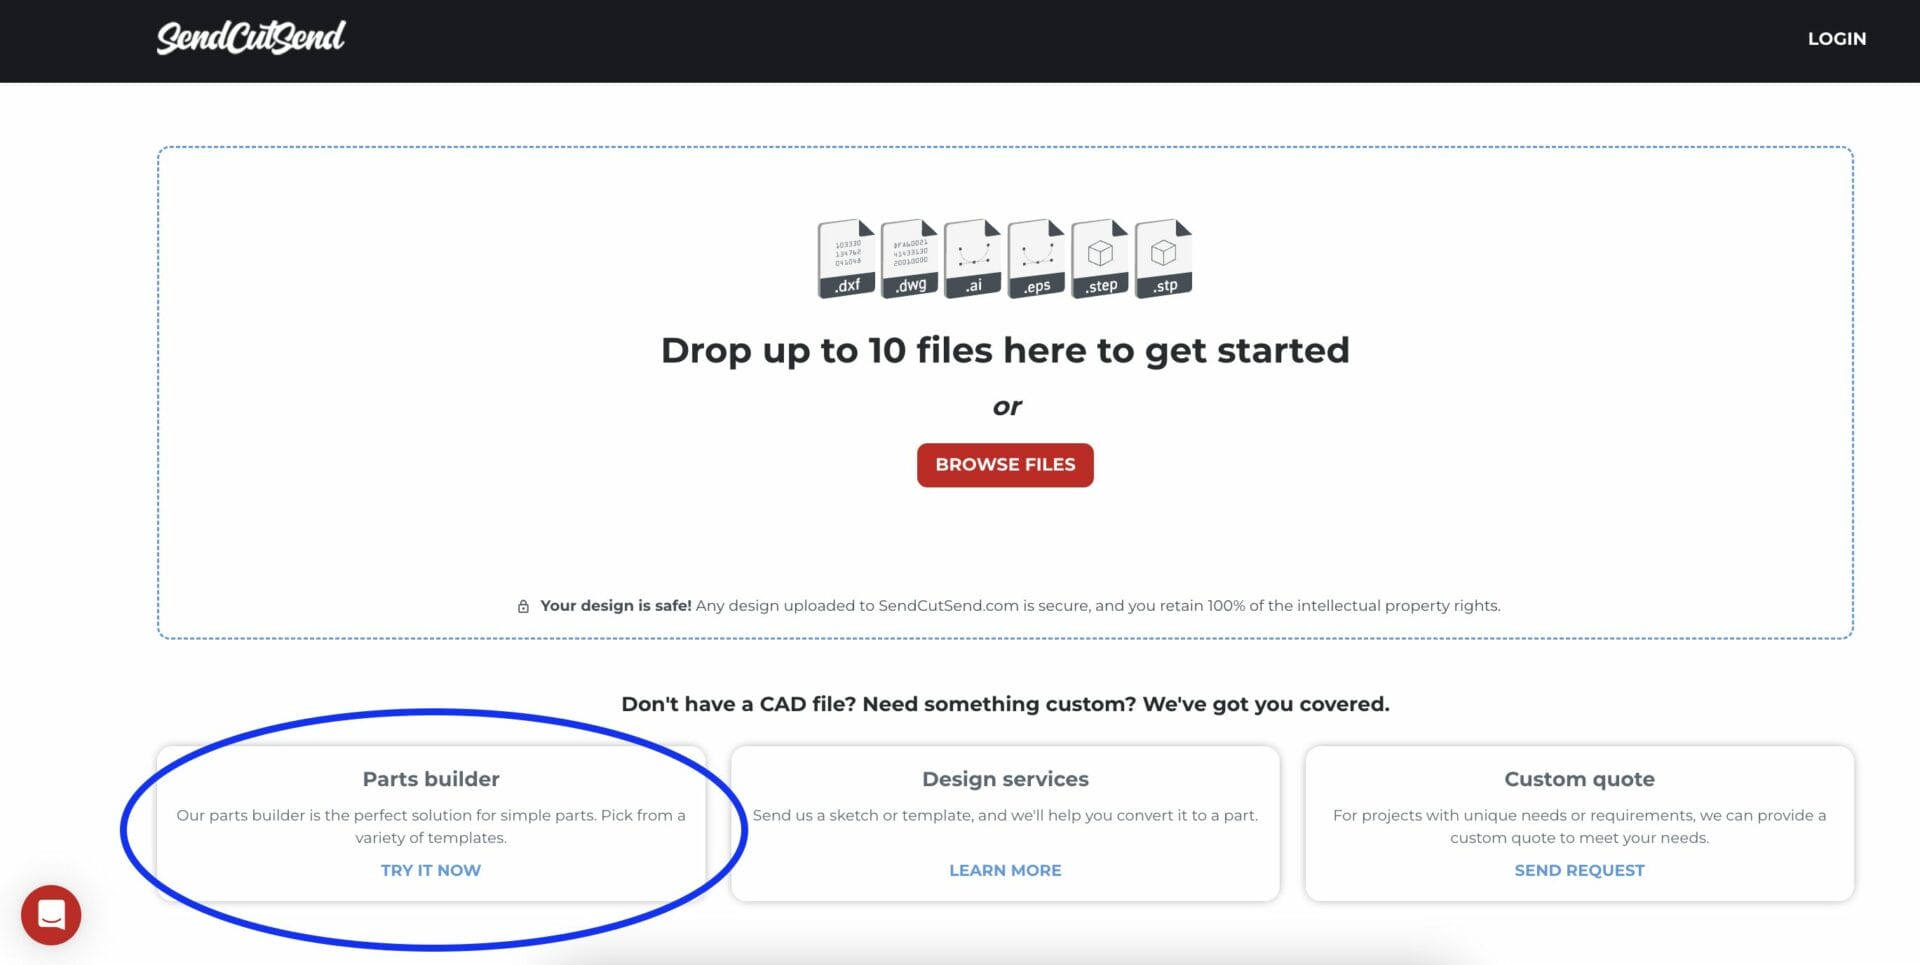
Head to www.sendcutsend.com and select “Get Started.”
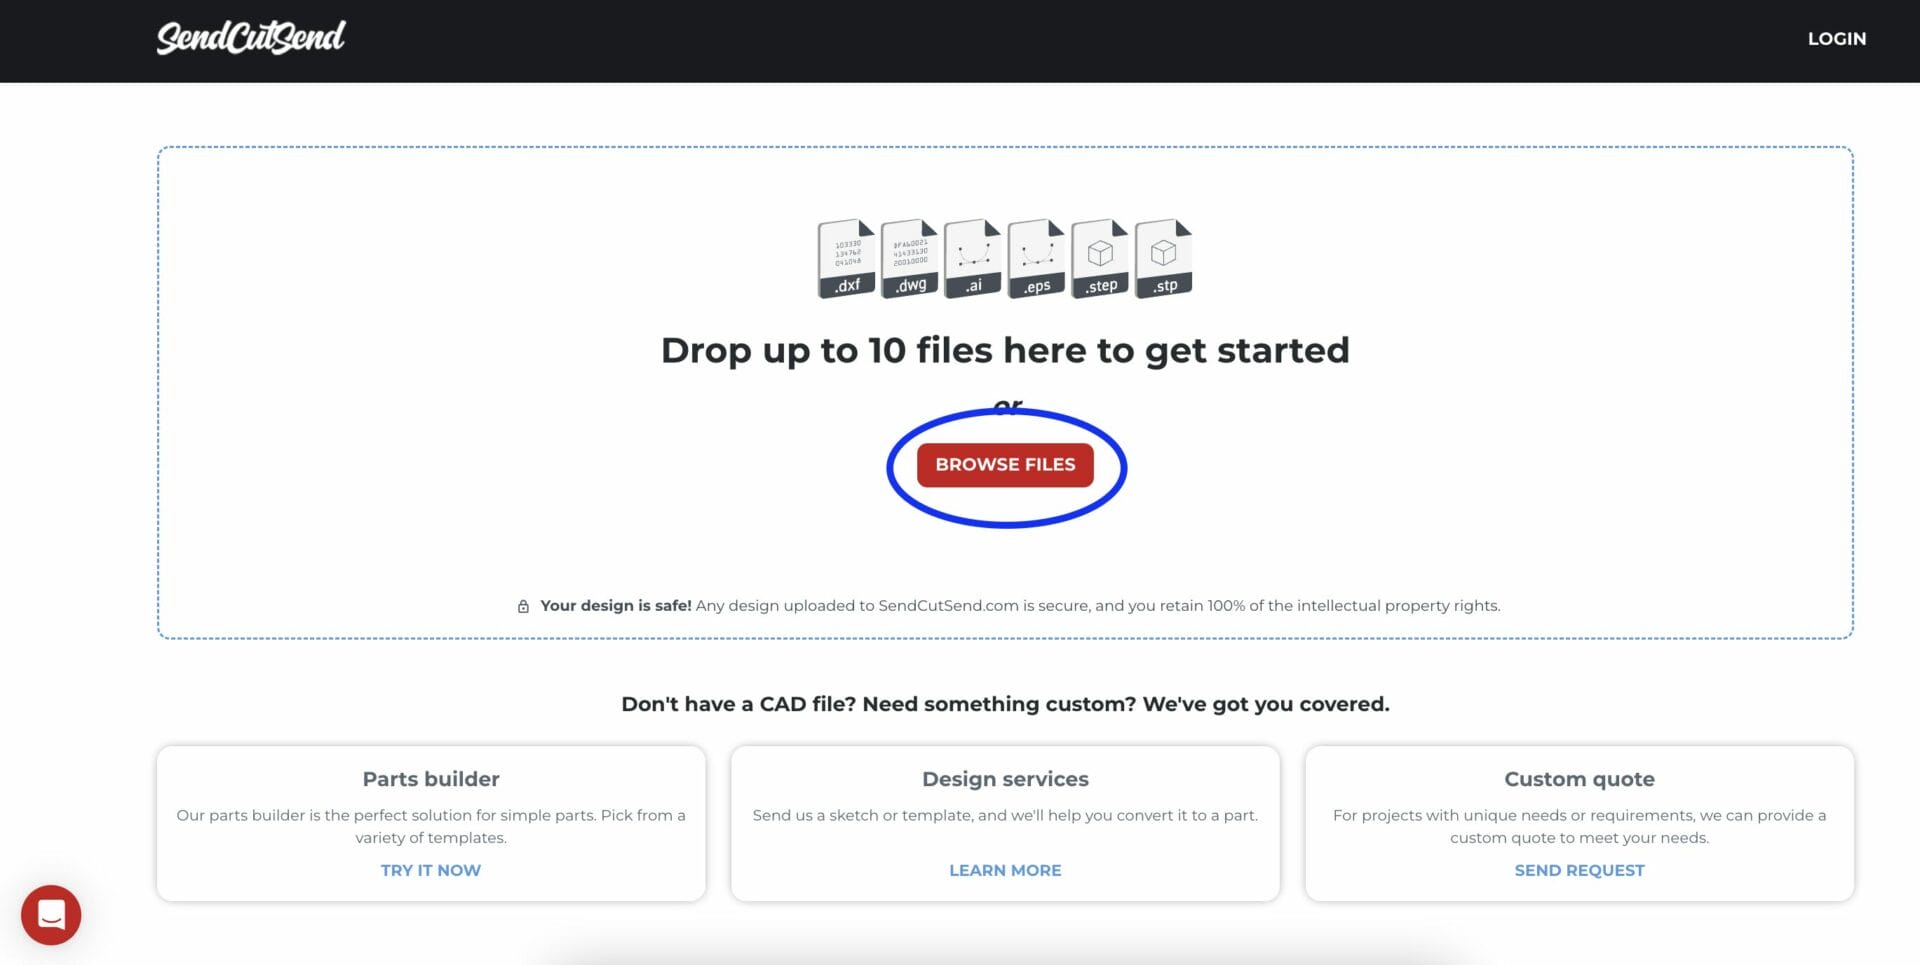
Step 2: Upload your file
Drag and drop or select your part files. We accept DXF, DWG, EPS, STEP and .AI Adobe Illustrator files.
Step 4: Choose your materials
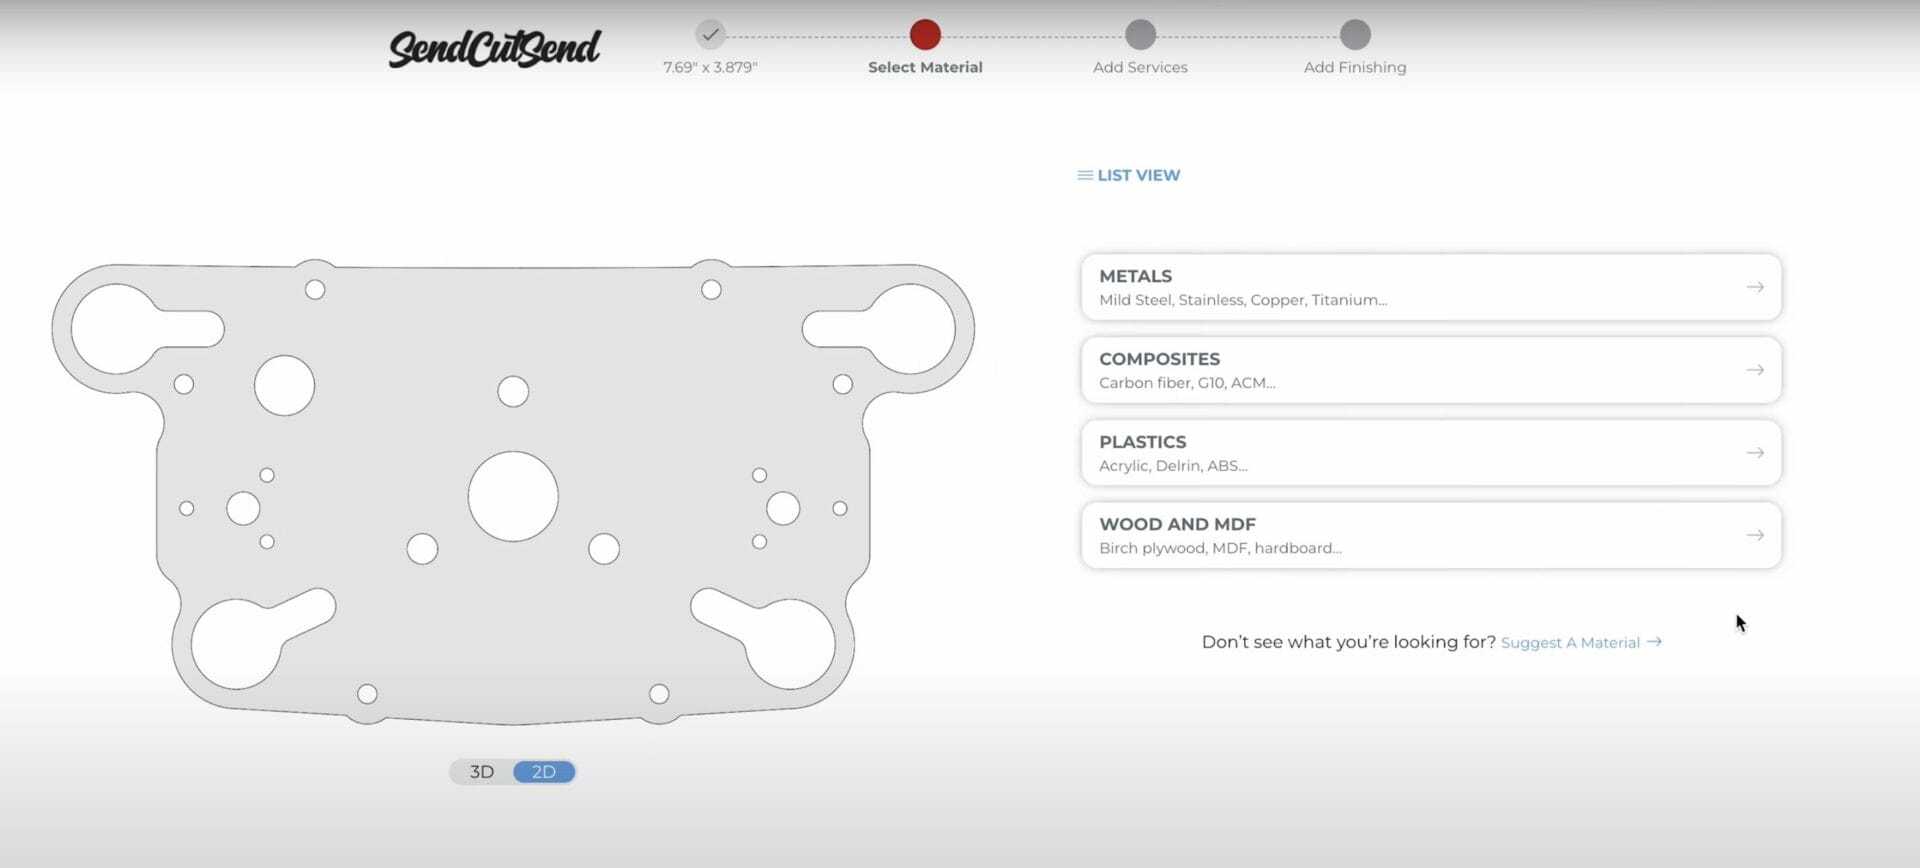
Select Next, and choose your material category, such as Metals. If you’re not sure what material to choose, you can learn more about all the materials we offer and get a better understanding of which material is best for your project on our Materials Page. Define the quantity of the current part. Note the price changes based on quantities. If you’re looking for a different price, go back a step and define a different material or thickness. Compare prices and quantities to find the quote that matches your budget.
Step 5: Select any add-on services
SendCutSend has a variety of post-processing and finishing services to choose from. If an operation or finishing services is available on your part (based on material and thickness) it will be a selectable option. The app will walk you through the steps of configuring your add-on services.
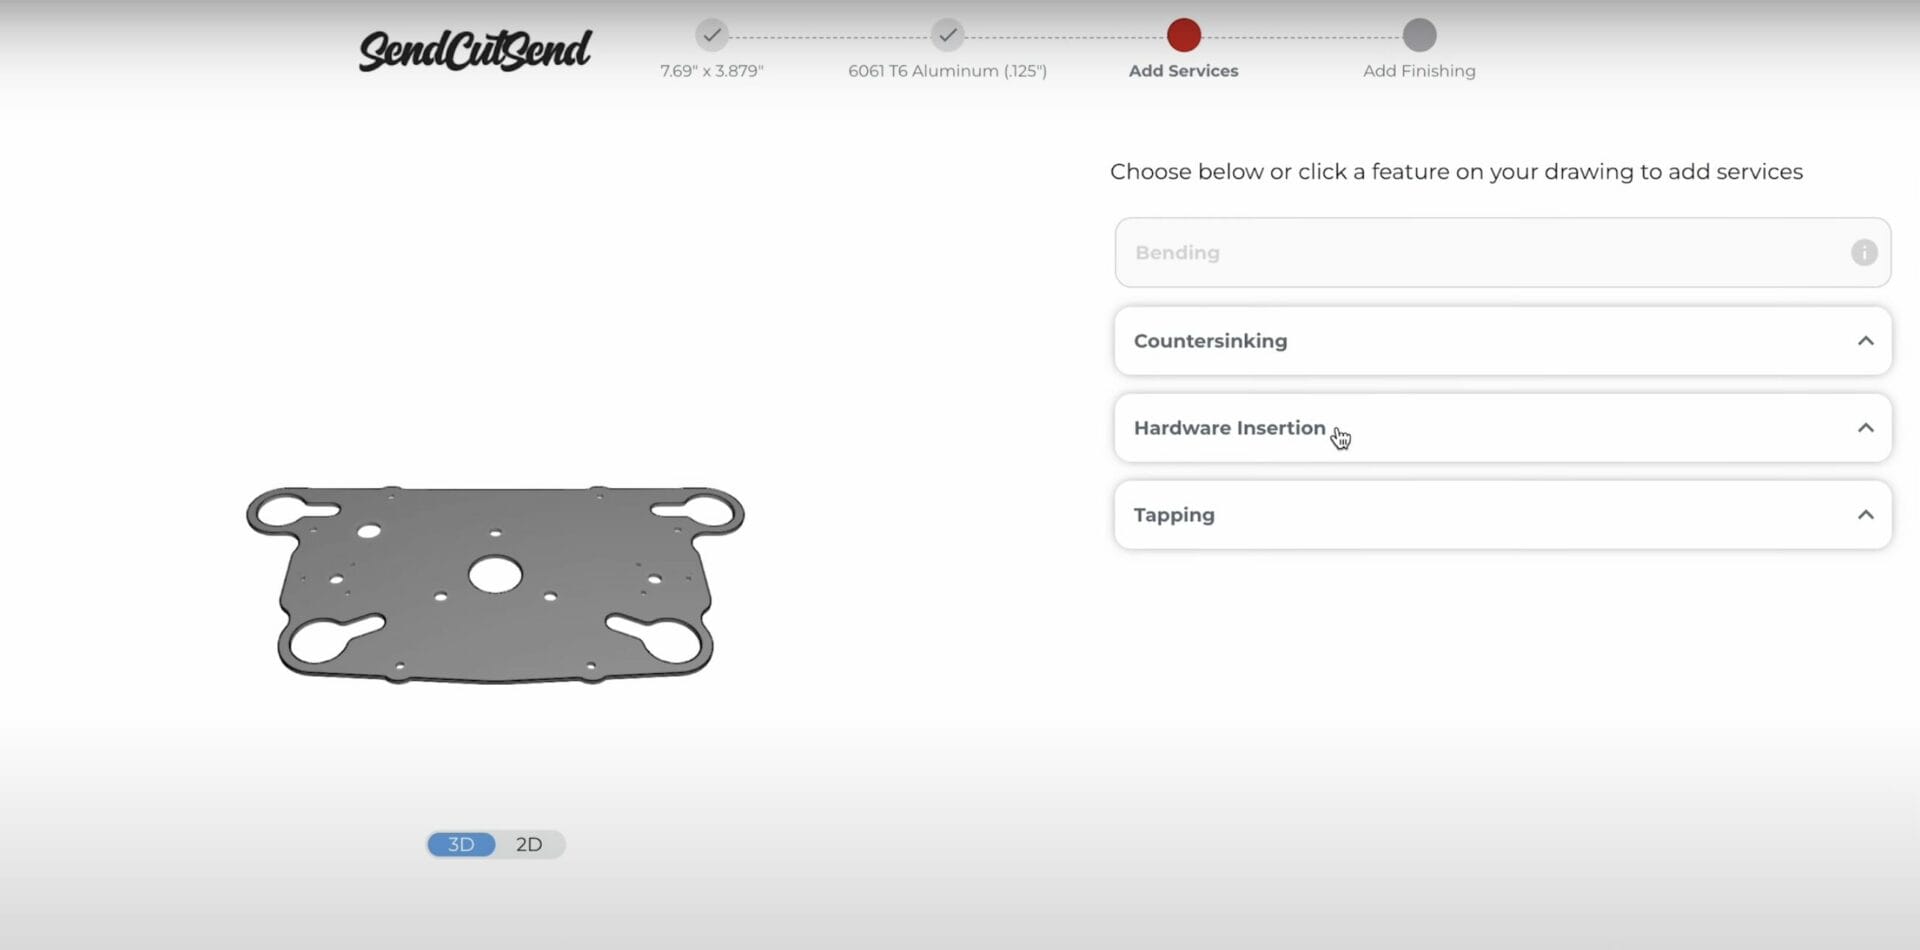
Our linear deburring and tumbling services are available to help clean up metal parts after laser cutting. Before selecting an add-on please reference our guidelines for the service.
Step 6: Log in and complete your order!
Once complete, select “Add to Cart” to complete your purchase. Log in if you’re not already, or sign up and create your free SendCutSend account. Remember, increasing your quantity per each part will help you receive quantity discounts. You can update the quantity and watch the “Unit Price” change in real-time. If you’d like to add additional parts to this order, select “Add more drawings” and repeat the same process. Otherwise, continue to checkout by completing your Billing and Shipping information.
Option 2: Start with a Free Template
Sometimes you need a quick bracket or shaped part and don’t want to jump on your CAD machine. The SendCutSend Parts Builder is our lightweight, web-based CAD system. Whether you’re a beginner or a seasoned CAD expert, Parts Builder makes it easy to design and create custom sheet metal parts without the need for heavy software like Autodesk Fusion or SolidWorks. With more than 60 free laser cutting templates built right into the platform, it’s fast, efficient, and perfect for your next project!
Step 1: Get instant pricing
Head to www.sendcutsend.com and select “Get Started.”
Step 2: Select the Parts Builder
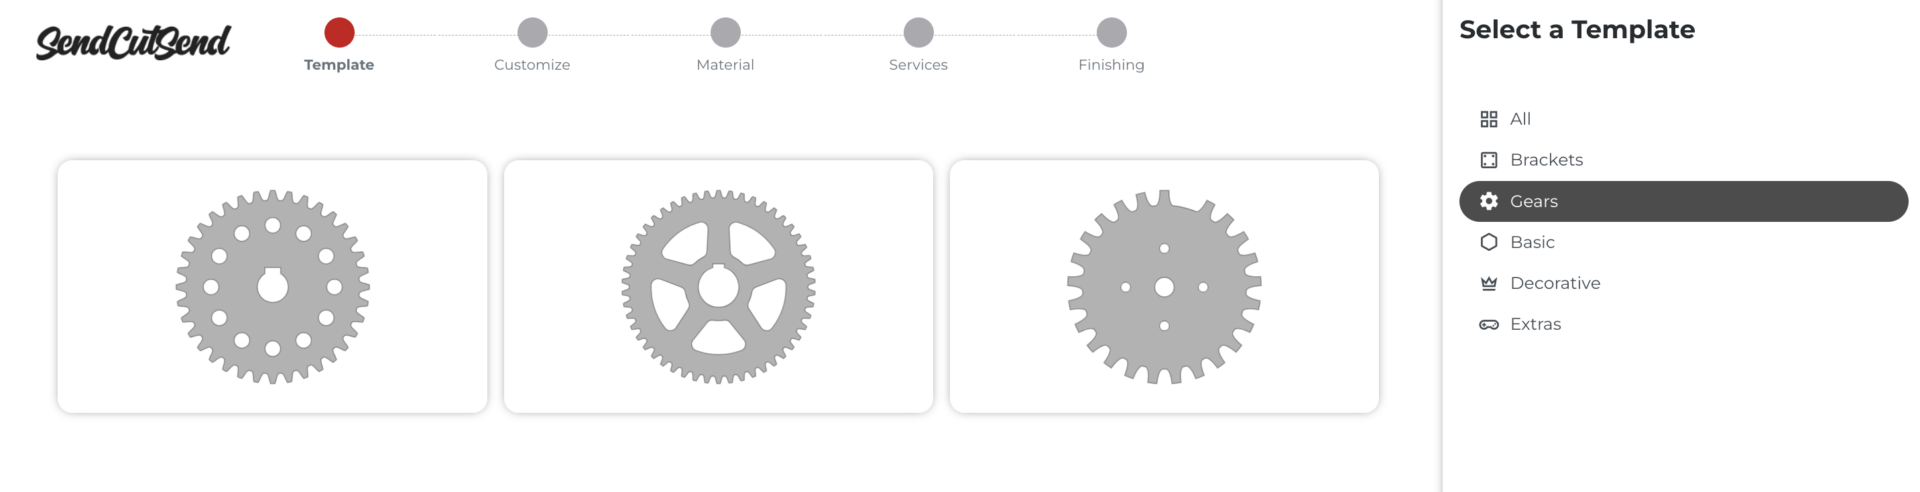
Access the Parts Builder in the lower left-hand corner of the upload screen.
Step 4: Browse the templates
We have more than 60 free templates for you to choose from. Categorized by brackets, gears, basic, decorative, and extras these templates are customizable to meet your needs. Once you’ve found a template that will fit your project, select it to add customizations.
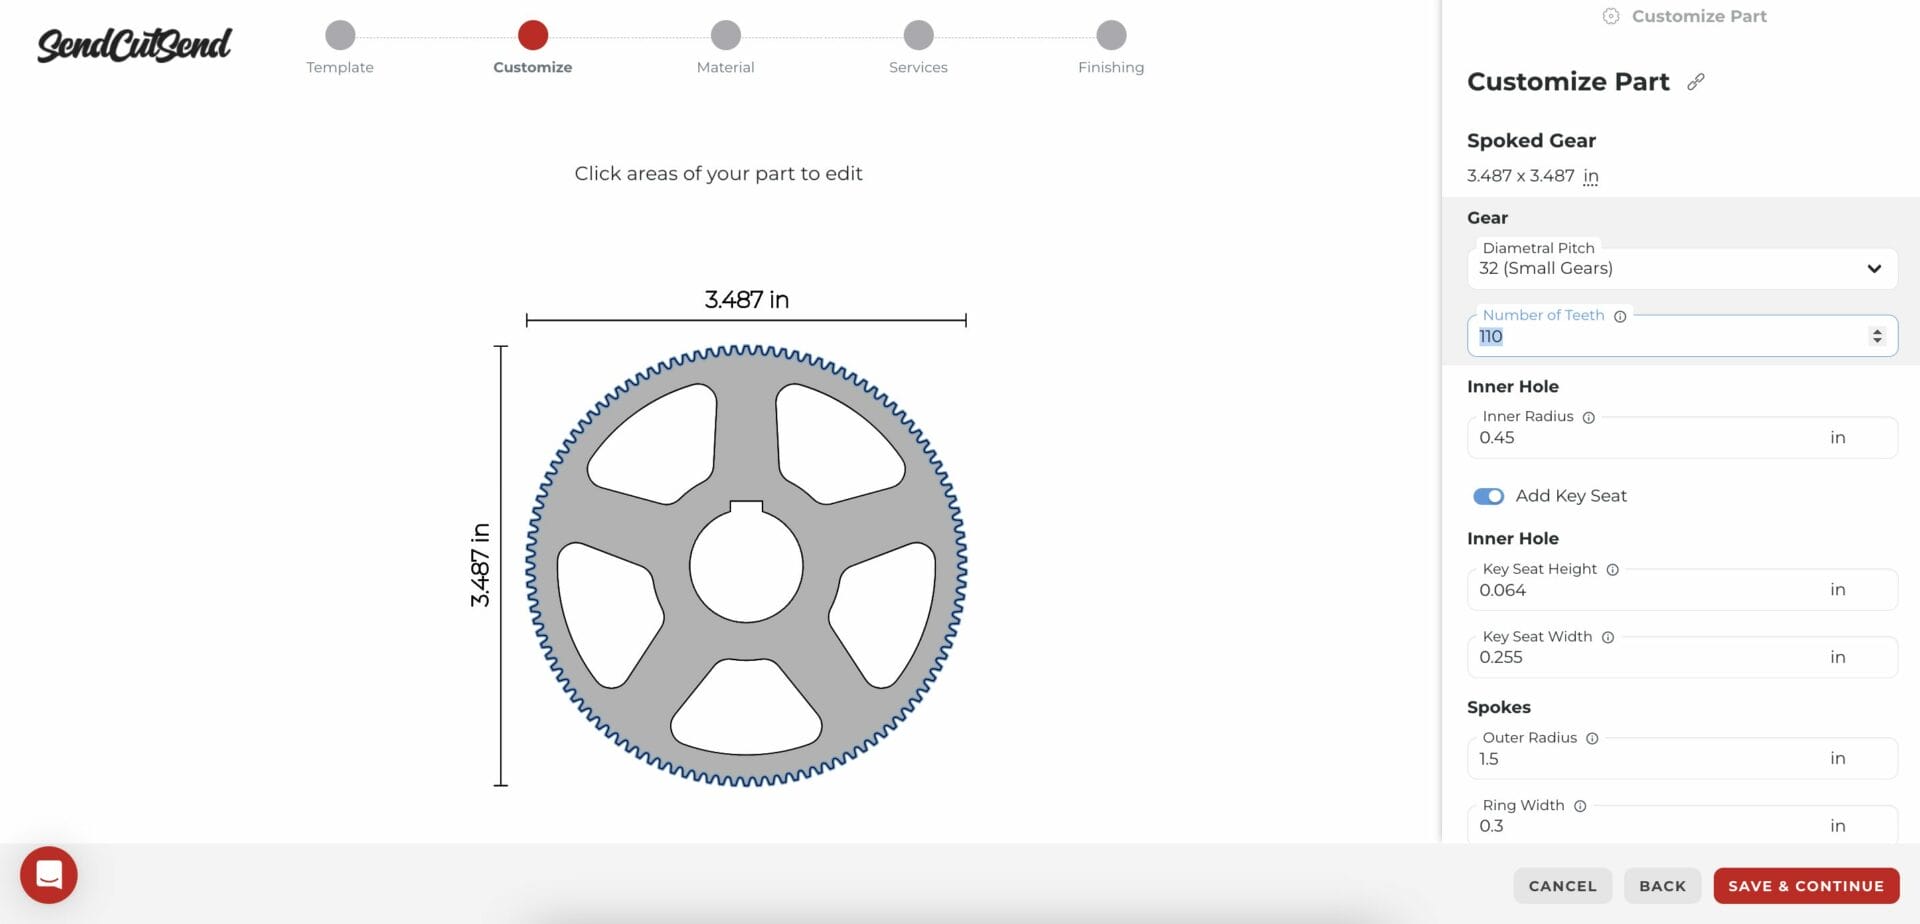
Step 5: Customize your part
Depending on the part you select you’ll be able to adjust hole sizes, flange diameters, overall size, ring width, radiuses, feature spacing and more. Keep in mind that some templates will have constraints for maximum part size or feature changes.
When you’re happy with your part, click Save & Continue.
If you need specific features or customization not available through the Parts Builder, consider working with a Design Partner or using free CAD software to create your part.
Step 6: Select your material and add-on services
Just like when you upload your CAD file, you’re not ready to select your material and thickness as well as any secondary services that are offered by SendCutSend.
Option 3: Work with a Design Partner
If you’re new to CAD or do not have the skillset to create the part you want, consider reaching out to one of our trusted Design Partners.
Take a look at our list of Design Partners, filter by expertise, and see examples of their work. When you find a partner that could be a good fit, reach out to them directly to start your project!
Ready, set, SendCutSend!
For additional resources, check out our getting started guide. Most parts will ship within 2-4 business days, with free 1-3 day shipping for orders over $39 to everywhere in the U.S. We also offer shipping to Canada!
Should you need any help along the way, reach out to our U.S.-based customer support team.
