In chapter 4 lesson 2, Jake walks through how to export a clean DXF file from your CAD software, an essential step when preparing 2D parts for manufacturing. He explains several export methods in Fusion, common mistakes to avoid, and how to make sure your files come through correctly when uploaded to SendCutSend.
Jake begins by showing how to export directly from a sketch and why this can cause problems if construction lines or projected geometry are left on. He demonstrates how to clean your DXF by turning off those extra features and ensuring your units are set correctly to prevent scaling issues.
Next, he introduces a more reliable method: creating a new “clean” sketch using projection or exporting from a sheet metal flat pattern. The flat pattern feature is especially useful for parts with bends, automatically adding bend centerlines and compensating for material stretch.
Jake covers common pitfalls, like nesting multiple parts into one file (which can increase cost) and ignoring bend allowances when using non-sheet metal bodies. The lesson wraps up by previewing the next topic, how to export STEP files for 3D machining.
What You’ll Learn:
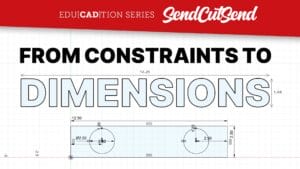
How to export clean and accurate DXF files
Why construction lines and extra geometry can cause import issues
How to verify units and scaling for correct part size
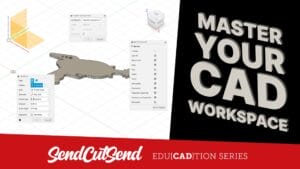
The best method for creating clean sketches for DXF export
How to use the flat pattern tool for bent sheet metal parts
Common export mistakes to avoid, like nesting and ignoring bend stretch
How to prepare your DXF files for upload to SendCutSend