Standoffs are a great tool for mounting, and adding dimension to your laser cut designs. We’ll show you some examples of how to use them and the required specifications.
Standoff Specs
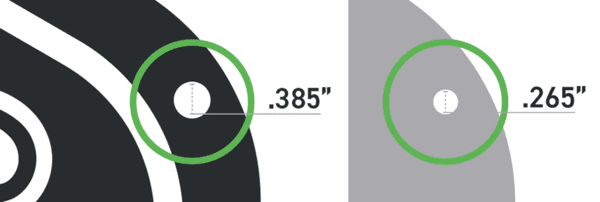
We offer lengths from .5″ to 2″ in length. There are two diameters to consider. Where the standoff connects to your uppermost layer is .375″ in diameter. When applying this to your design you will need to allow some wiggle room. I would suggest making your holes .385″ in diameter.
Where your standoff meets the bottom layer, or surface is .25″. Again, when applying to your metal design, I would suggest making these holes .265″.

The top of the standoff is .75″ in diameter. Be sure to account for this in your designs. Though you may have space for the .375″ hole, do you have room for the top of the standoff?

Mounting with Standoffs
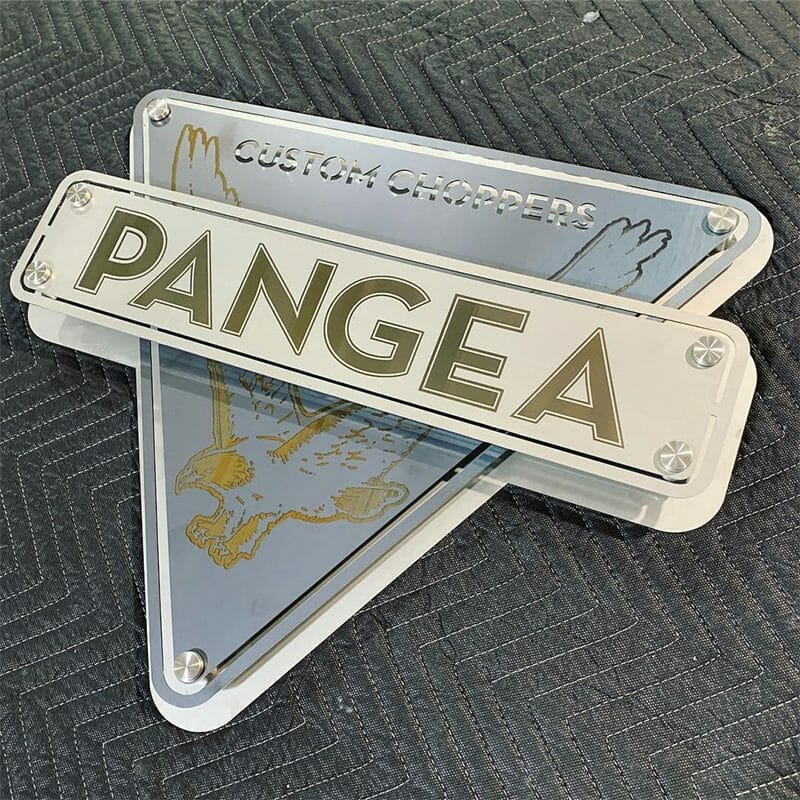
Use standoffs as a way to mount your designs offset from the surface they are being applied to. In the example below, our customer used standoffs to mount his name plate to a door.

For a small design like this, two standoffs is sufficient. A good rule of thumb is one standoff per square foot to ensure it holds the weight of your material. For heavier metals or multiple layers, you may want to add more.
Layered Designs
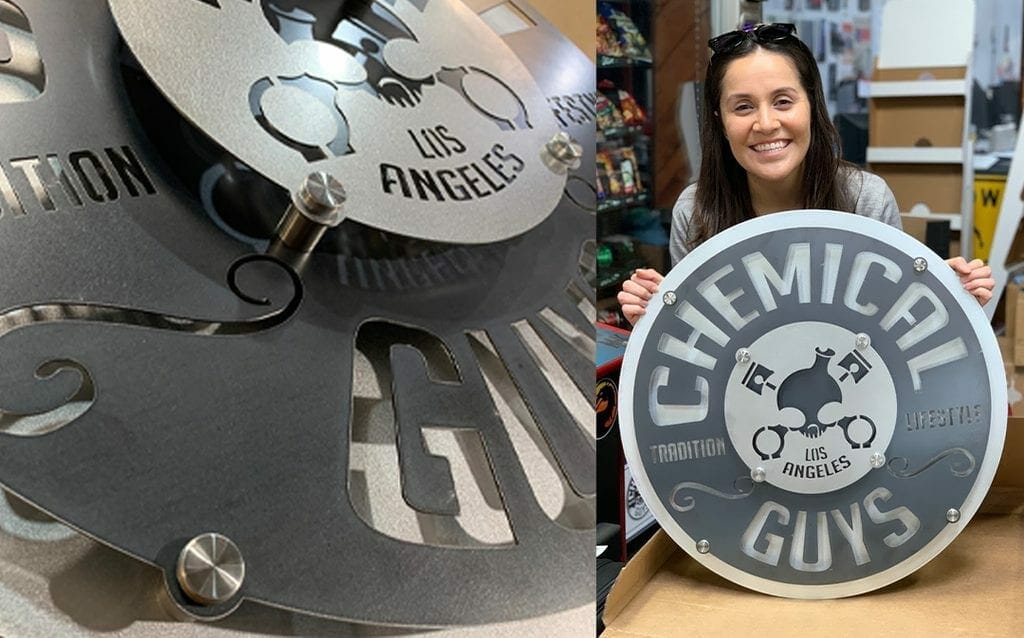
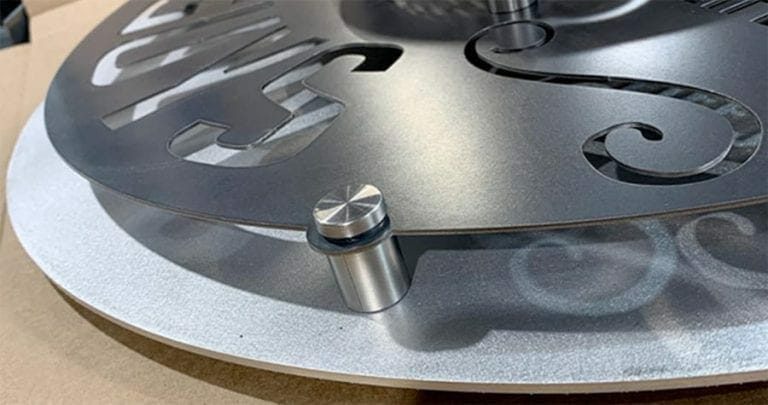
Layering adds that extra “pop” to your signs. Using different metals for your layers creates contrast and depth. In the example below, our customer layered stainless steel and hot rolled steel for three layers total.
This design required two sets of standoffs. One set between each layer.

When layering, you can send us your native Adobe Illustrator file, with each metal on its own layer in the software. If you’re exporting, please send a separate DWG, DXF, or SWG for each metal.

As always, when saving from Adobe Illustrator, please send us the .ai file. Before you upload your file to us, be sure to go through the pre-flight checklist:


