Since you’re reading this, we can safely assume that you’re a maker, fabricator, hobbyist, or small business owner, and aren’t afraid to get your hands dirty.
Even though we offer in-house anodizing, we understand there are multiple ways to anodize and you may be looking for a more custom option than what we currently offer. Enter DIY anodizing.
Do a little Googling on that exact search term and you’ll soon realize that what appears to be a deeply technical process is actually not all that difficult. If you can dye Easter eggs and are comfortable charging a car battery, you’re mostly there. Better yet, you probably already have much of what’s needed, and the rest you can pick up at the local hardware store for about the price of a good shovel.
Why You Should Anodize Aluminum
There are many benefits to anodizing aluminum, beyond the simple fact that it allows part customization and just looks awesome. From a practical perspective, anodizing increases wear resistance by increasing the surface hardness of the anodized aluminum. Anodizing also increases the corrosion resistance because aluminum oxide, which is the layer formed during the anodizing process, is less reactive than bare aluminum. The aluminum oxide layer is very porous, which is what allows it to readily accept the colors and dyes that make anodizing so vibrant. However this porous characteristic also increases the surface area of the part on a microscopic level and actually increases heat dissipation. Adding color to your parts can help in part identification to distinguish between different parts, materials, or even thicknesses of material. Finally, because the aluminum oxide layer that is created is growing into the part just as much as it is growing out of the part, the final dimensions of the part are usually not increased by more than one thousandth of an inch (0.001”). While we at SendCutSend love powder coating, it will add up to five times as much thickness as anodizing, so for parts with dimensional accuracy concerns, anodizing is a great option!
A Refresh On the Anodizing Aluminum Process
For a deep dive into what anodizing is, the full process, benefits, and some of the science behind it, check out our article. The typical anodizing process at SendCutSend is outlined below, and is similar to the DIY steps, though on a much larger scale and with more repeatable results.
- Cleaning – Parts are thoroughly washed and rinsed to remove any oils and surface contaminants
- Etching – An extremely minuscule amount of material is removed from the surface to make it uniform and remove very small imperfections
- Anodizing – Parts are submerged into an acidic solution while electricity passes through the solution, this makes a thicker, stronger version of the naturally occurring oxide layer
- Dye (optional) – Parts are submerged into dye if a color is desired
- Sealing – The pores of the parts are sealed with a sealant creating a very hard and uniform surface finish while still allowing any dye to show through
Anodizing Aluminum at Home
Now that you have decided DIY anodizing is something you’d like to try, we will outline the steps below, along with a basic equipment list to get you started. We will walk you through the steps, as well as make suggestions on proper safety precautions to take, as some of the household chemicals involved have hazards associated with them.
What You Will Need
- Safety Equipment:
- Safety glasses/safety goggles
- Rubber gloves
- Apron (optional)
- Respirator (highly recommended)
- Raw aluminum parts (no other coatings)
- Disposable gloves (nitrile or similar)
- Degreaser (like Simple Green)
- Baking soda
- Distilled water
- 3+ Non conductive container large enough to submerge parts (like a 5 gallon plastic bucket)
- Titanium wire (aluminum wire can work)
- Lead sheet (also known as flashing)
- Sulfuric acid (also known as battery acid)
- Power source (variable power supply is best, a car battery charger can work)
- Spray bottle
- (optional) Various grits of sandpaper and/or Scotch Brite
- (optional) Lye & dedicated measurement tool (tablespoon or measuring cup not to be used for food afterwards)
- (Optional) Dye
How to Anodize Aluminum at Home in 10 Steps
Step 1: Make it Shine
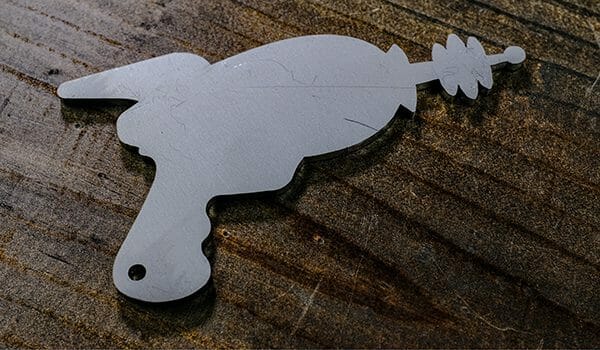
Anodizing tends to highlight any surface imperfections as it catches the light better than raw aluminum, so if your laser-cut parts don’t already have a nice finish, it’s time to get sanding, buffing, and polishing.
While a mirror coat looks nice, it takes time, and simply using Scotch Brite to have a consistent finish is usually sufficient for most. If a nicer finish is required, wet sanding is a great way to get a very nice finish in an efficient way. Simply wet a piece of sandpaper, and sand the aluminum. Repeatedly wash off any grit from both the sandpaper and the aluminum to keep the dust from scratching the finish you’re working on. Incrementally work down to finer grit sandpaper until the desired finish is accomplished.
Step 2: Suit Up
Did I mention safety glasses, rubber gloves, and an apron to protect your favorite t-shirt? All of these are great ideas to make sure you stay safe. While handling lye or acid, make sure you are in a well ventilated area at a minimum, but the added precaution of a respirator is highly recommended.
Step 3: Get it Squeaky Clean
You’ll also need to get your laser-cut aluminum parts clean. I mean really clean. Here is where breaking out some disposable gloves would be a good idea, even fingerprints will prevent a good anodized coating. Start with some soap and water, then degrease them (Simple Green is one good option).
To go a step further, consider de-smutting your parts in some diluted lye. This process will remove any surface impurities and help get a very consistent anodized layer, however it does require the use of a respirator, goggles, and rubber gloves while handling the lye. First, measure out distilled water into your container, the ratio should be 4 tablespoons lye for every 1 gallon of distilled water. Note: it is very important to pour the lye into the water for safety. This is because mixing water with acids or bases releases heat. Adding the acid/base to water creates a low concentration solution, which generates less heat, and if the solution were to bubble it would splash a less concentrated solution. Next, submerge your parts in the solution for about 5 minutes, then rinse it in distilled water.
Step 4: Mix It
Now that your parts are shiny and clean, let’s get to the mad scientist stuff. Make sure to do this step in a well ventilated area such as outdoors, or in a garage with the door open and/or a fan to push fumes away from you. Fill a plastic bucket with a 1:1 mixture of battery acid, also known as sulfuric acid, and distilled water, making sure to add the acid into the distilled water, not the other way around. As explained in the previous paragraph, it is a big safety concern to make sure acid is added to water and not the reverse.
Next, prepare another container with distilled water only, and a third container with baking soda and distilled water. The baking soda should be mixed at ¾ cups baking soda per gallon of distilled water (scale to whatever amount your parts need). Finally, fill a clean spray bottle with distilled water.
Step 5: Prep the Anode
Securely attach your soon-to-be-beautiful workpiece to a length of titanium wire and suspend it in the bucket (note: aluminum wire will work in a pinch, but it will anodize with your part, making it single use with potentially inconsistent results).
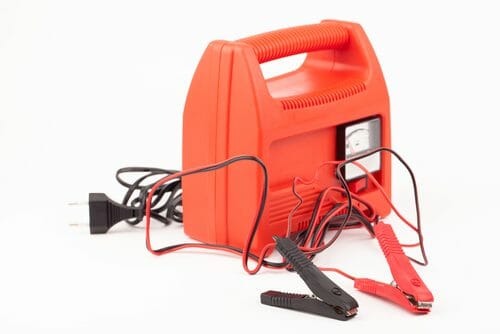
Now attach the other end of said wire to the positive (red) terminal of a 12-volt power supply—a car charger works, although larger parts might require a more powerful DC power supply (which can be found online for as little as $60). If you go the power supply route, 30 volts and 5+ amps should cover most projects under 12” per side. The positive side and your part are known as the “anode.”
Step 6: Prep The Cathode
Peel off another chunk of wire or, better yet, pick up some lead sheet (Amazon is an easy source), cut off a strip, and attach it to the power supply’s negative side. Clamp this “cathode” to the opposite side of the bucket, with one end in the acidic solution, making sure it is not directly contacting your part.
Step 7: Throw The Switch Dr. Frankenstein
If you have a comically large power switch just waiting for a good cause, this is your chance. Fire up the power supply and let it run. Don’t be alarmed by the little bubbles that form around the anode. If you are adding color to your part, preheat your dye per manufacturer’s directions while the part is soaking. After 45 minutes or so, pull out your freshly anodized part and give it a good rinse in distilled water.
Step 8: Rinse and Neutralize Acid
After your parts are done with the power soak, turn off the power and lift the part out of acid. While it is suspended over the acid container, spray it down with distilled water to remove the bulk of the acid from the part. Next, dunk the part in a container of distilled water, swish it around to rinse it really thoroughly. To be certain the acid is fully neutralized, rinse it in a mixture of ¾ cup baking soda to 1 gallon distilled water. Then finally rinse it again in the distilled water only container.
Step 9: Add Your Color
Here comes the fun part. While all that bubbling was going on, you should have been heating some dye in an old pan on the stove. Clothing dye usually works, but dedicated anodizing dye will yield better and more repeatable results. Once heated per manufacturer instructions, dunk your anodized part in the dye for around 15 minutes, give or take.
Step 10: Seal Your Parts
The last step is to boil your masterpiece in distilled water for half an hour, sealing in the color for all eternity. Even if color wasn’t added, this is still a recommended step.
Congratulations, you’re on the way to becoming an anodizing professional! Your part is now much better protected and more stylish for your efforts. Plus you’ve earned bragging rights for your new skill: anodizing!
How to Tell if You Have Successfully Anodized Aluminum
Now that you’ve completed all the steps, how do you know if your part is truly anodized?
Did it accept color?
If your part accepted the dye, then everything worked as it should have, and you have an anodized part. Non-anodized aluminum does not accept dye.
Does the part have a matte finish?
Anodized aluminum has a different finish than raw aluminum, it usually is less reflective, giving it a matte look. So even if dye wasn’t added, it should look visually different from your starting part.
Can it be easily scratched?
The scratch resistance of anodizing varies based on the technique used, duration of anodizing bath, thickness of anodized layer, etc. However, a properly anodized part should be able to resist a coin being scratched on the surface without leaving permanent damage. The harder and thicker the anodizing layer, the more abrasion resistant it will be.
Pro Design Tips for Anodized Aluminum
There are several things that you should keep in mind to get the best finish from your anodizing process.
Deburr everything before anodizing
Burrs on a part will lead to inconsistent coatings, or potentially even anodizing burns on your part due to electricity being too concentrated on a small feature, thus causing overheating. Also, removing burrs after anodizing will expose unfinished aluminum beneath the burrs.
Where the part is suspended in the acid solution will not anodize
How you suspend your part in the acid solution is important. Anywhere the titanium (or aluminum) wire is touching your aluminum part, the anodizing process cannot occur, so that part will remain unfinished. It is advisable to hide this in a hole if possible.
Be mindful of tolerances
While anodizing is one of the thinnest coatings available, the thickness of your part will grow slightly with this process (on the order of 1 thousandth of an inch). For this reason, if parts are meant for press fit, or other very tight tolerance applications, it might be advisable to either mask the tight fitting areas to prevent anodization locally, or simply skip anodizing entirely.
Consider polishing before anodizing for aesthetically critical parts
If your parts need an absolutely perfect finish, consider bead blasting or polishing your parts before the anodizing process.
For ultimate uniformity, anodize in batches
Maintaining the exact same color across multiple batches is extremely challenging. For this reason, if a uniform color is desired, it is best to do all of the anodizing in a large batch to minimize variation.
SendCutSend is Always Here
If what you’ve read above seems overwhelming or like a lot to keep in mind, consider using our anodizing service for your next laser cut parts. We have perfected all of the steps above, and know them by heart (it is our job after all). Our anodizing is high quality, consistent, durable, and affordable.
Final Thoughts and Safety Recommendations
Anodizing is a great way to increase durability while also adding some custom flare to your parts. It is a process that is attainable by most DIYers with some basic tools and precautions. As a last reminder, it is important to wear safety glasses, work in a well ventilated area any time acids or bases are being used, and always add the acid/base into the water, not the other way around. Also keep in mind that SendCutSend is always here to help with any anodizing needs you might have should you choose to go the professional route.
For a deep dive into what anodizing is, the full process, and some of the science behind it, check out our article on it. If you have any questions, feel free to reach out to our support team. When you’re ready, upload your design and get instant pricing today!
If you are new to SendCutSend, here’s a handy step-by-step guide on how to order parts from us: How to Order Parts from SendCutSend (spoiler alert: it’s super simple and intuitive to order from us)
FAQs about Anodized Aluminum
Type III anodizing is also known as hard anodizing. Anodizing has three types, Type I, Type II, and Type III. The process to achieve each, and the final results are slightly different. Type III is the thickest and strongest, thus the name: hard anodized.
Typically aluminum cannot be anodized twice. The aluminum oxide (the surface layer created during the anodizing process) does not conduct electricity, which is required for anodizing. However, if a mistake was made, the anodized layer could be machined or sanded away in order to try again. This however would impact the final dimensions of the part, and is a time consuming process.
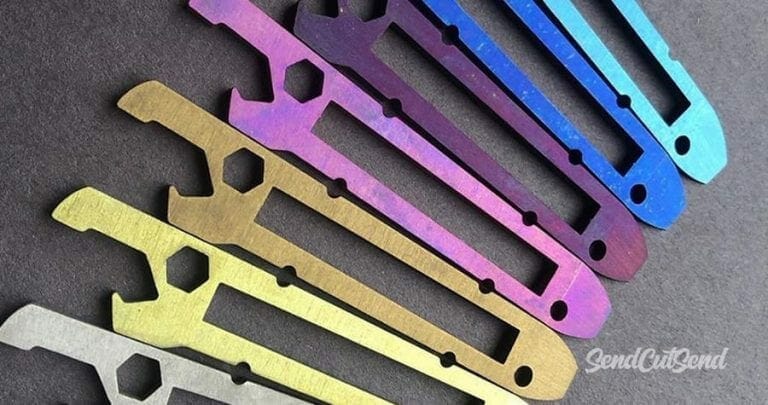
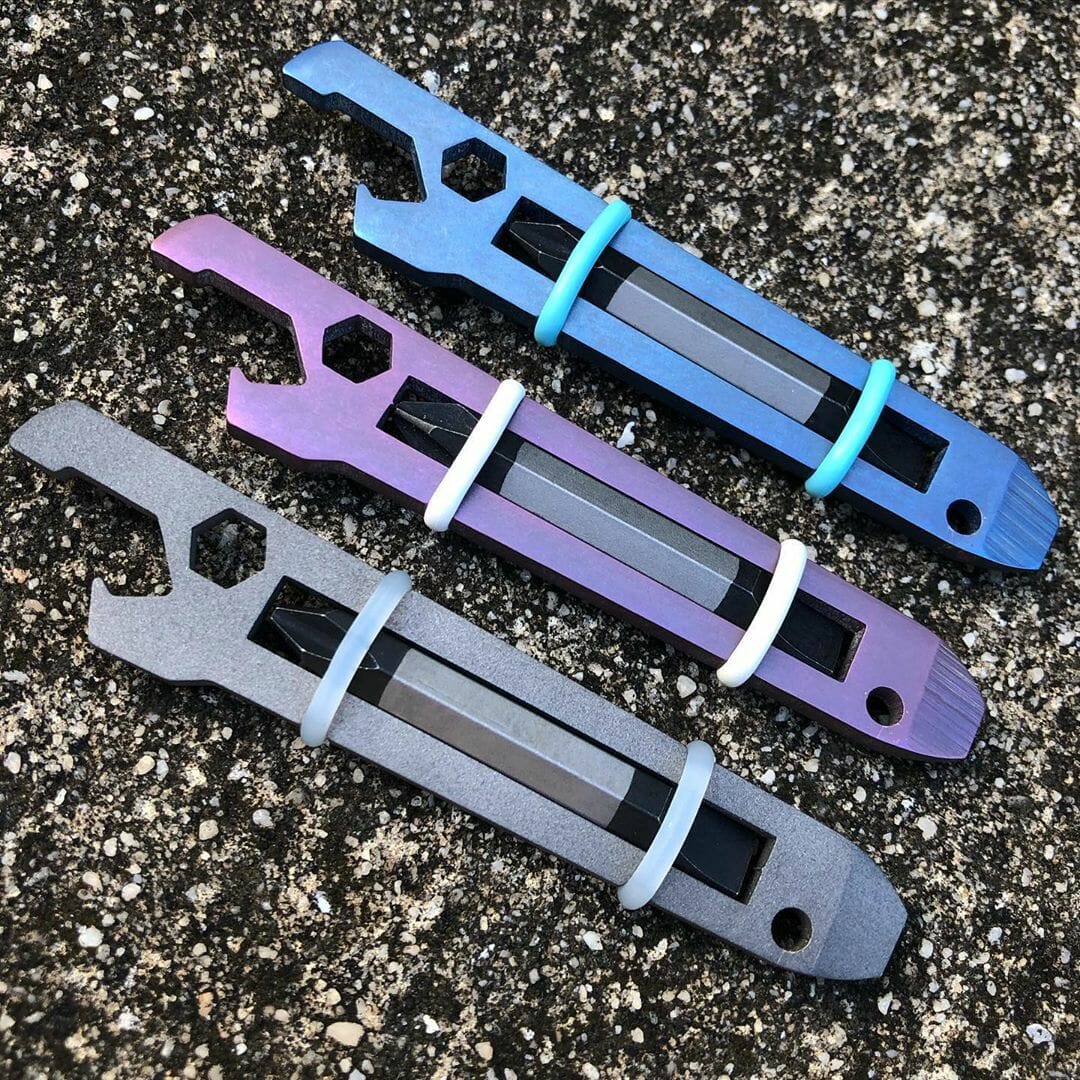
SendCutSend currently offers clear, black, blue, gold, and red. However for at home anodization, the colors are only limited by the dyes available (there are a lot).
Anodizing is most commonly done to aluminum alloys, however titanium is also able to be anodized. The process of anodizing titanium is different from that of anodizing aluminum; it involves the use of a different solution and a variable power supply. One fun fact about titanium anodizing is that the material isn’t dyed to change the color, the voltage used to anodize is what changes the color!


