Metal finishes are a versatile, useful, and sometimes necessary set of processes that impart and/or improve one or more properties to metal parts. These properties can be as simple as changing the color reflectivity to completely changing the mechanical properties of a part. Finishes can increase abrasion resistance, change the surface hardness of a part, prevent corrosion, inhibit conductivity, and much more. Here at SendCutSend we are proud to offer a large number of options to help our customers get the exact results they need from every project. We offer deburring, tumbling, powder coating, anodizing, and multiple types of plating. This article will outline each of these processes, as well as highlight a few options for those DIYers who’d like to try metal finishing at home.
Why Metal Finishing?
Metal finishes improve material properties over the unfinished metal. The two most common properties to enhance are corrosion resistance and abrasion resistance. For example, powder coat is a coating that improves both corrosion and abrasion resistance, whereas passivation is a chemical finishing process that only improves corrosion resistance. Other finishes can impart a higher surface hardness, reduce or improve conductivity, remove sharp edges, improve reflectivity, increase or decrease surface roughness, etc. Adding a finish is a great way to add that final finishing touch to complete your project.
8 Metal Finishing Processes You Need to Know About
There are several common types of metal finishes, each with their own uses and limitations: coatings, plating, abrasion, and chemical finishes. Coatings are finishes such as paints or powder coat, which adhere to the surface; these often benefit from an abrasive process beforehand to increase adhesion. Plating is a process similar to coating, but instead of adhesion of a powder or chemical, the new material is fused to the metal. Plating usually involves applying one metal to another metal, such as nickel or zinc plating. Abrasion is a process of scratching a metal’s surface or removing a very small amount of material in a controlled way to improve the surface finish or remove small imperfections. Finally, chemical finishes involve the use of one or more chemical baths to react with the underlying metal to improve things such as corrosion resistance, reactivity, or surface finish. Choosing between the finishes comes down to several factors, such as cost, desired part properties, dimensional accuracy, and durability. Below varying processes of each type will be described in greater detail, and the advantages compared.
Metal Finishing Processes at SendCutSend
Let’s first go over the finishing processes that we offer here at SendCutSend. Our linear deburring process is completely free of charge. You just have to make sure “deburring” is selected when uploading your file for laser cutting. Tumbling services are available for qualifying parts for a fee. It’s important to remember that while deburring and tumbling are good options for smoothing out sharp edges, they will not make your part look perfect. After you’ve received your deburred parts, you will probably still want to put in a little elbow grease yourself to make them really shine.
Deburring
Probably the most common finishing process is good ol’ linear deburring. Like we talked about earlier, deburring is great for removing scratches, burr, and other minor imperfections leftover from the manufacturing process. It’s sweet and simple, and works well to prepare your parts for later painting or anodizing. Deburring does not give your parts a perfect finished shine.
Our linear deburring process is used for your larger parts, with the shortest axis needing to be no more than 24” long. Deburred parts are “brushed” on one side to smooth scratches and remove dross, so the bottom face of your part may have remaining scratches. Check out our full guidelines for deburred parts.
Tumbling
SendCutSend’s ceramic tumbling process is top-of-the-line. Our equipment is harmonically tuned to the material we are tumbling, making it more of a vibratory-abrasive process than a traditional tumbling process. This allows us to give your parts a more consistent finish than what you may be able to accomplish at home with a traditional rock tumbler.
Tumbling is used for the smaller laser cut parts. See our guidelines and processing size chart to confirm the limitations by material. Keep in mind that while tumbling will take the rough edges off your parts, it does not give them a completely “finished” look. They may still have scratches or marks left from the manufacturing process, so for a true finished product, you’ll want to use one of the processes we talk about later in the article.
Powder coating
Powder coating is one of our favorite methods here at SendCutSend. Where paint is applied wet, powder coating starts off dry and is applied electrostatically. It is then cured in an oven. As long as a material can hold an electrostatic charge, it can be powder coated. This applies to most metals, though the prerequisites make aluminum, steel, and stainless steel the best candidates for powder coating.
Powder coating is a better alternative to paint environmentally as it contains none of the VOCs (volatile organic compounds) that paint does. It’s also more durable and less wasteful, as powder coating can last up to 10x longer than paint and the leftover powder/overspray from the application process can be recycled and reused.
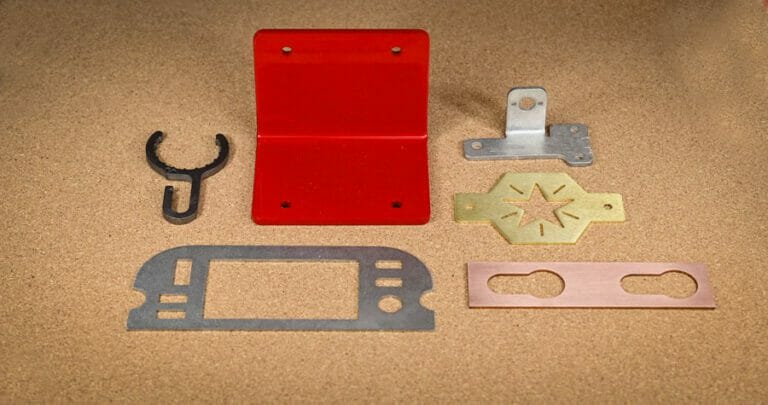
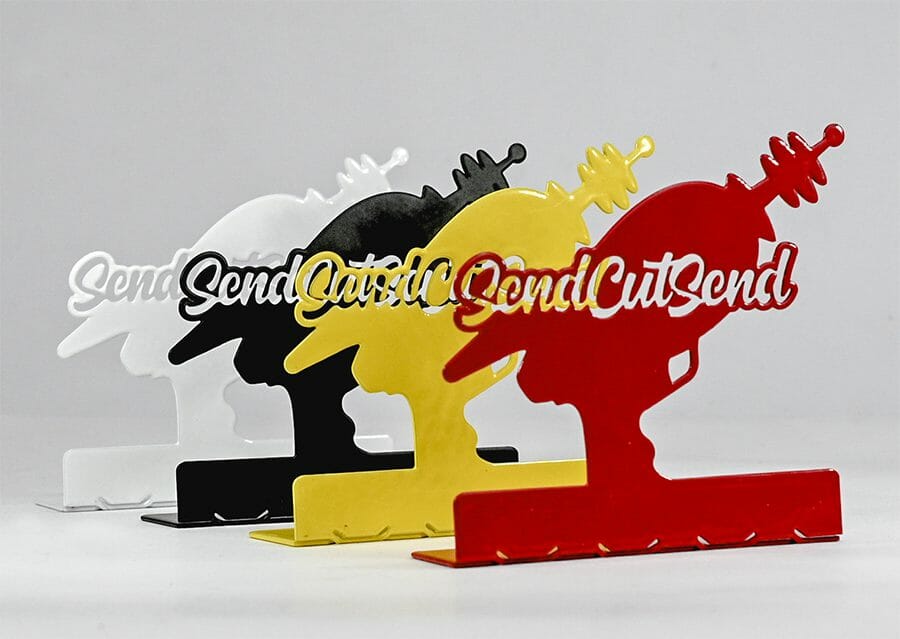
We offer a few different powder coat colors in house: black (matte, gloss, and wrinkle), red, white, and yellow. We make powder coating simple: all you need to do is upload your design, select which color(s) you want to powder coat your parts, and let us work our magic. But make sure to review our powder coating design guidelines first!
Quick note: at this time, we do not offer tab removal on powder coated parts. This means that micro joints and tabs may be visible through the powder coating, especially on parts made of thicker metals. Tabs are typically 0.015-0.030″ in width (depending on the material) and about 0.010″ in height.
Anodizing
Anodizing is the process of putting metal, usually aluminum, in a liquid bath that’s charged with an electrical current. The resulting reaction thickens the metal’s outer oxide layer, providing a durable and scratch resistant finish. Most commonly, sulfuric acid is used in the charged liquid bath, but chromatic acid is also sometimes used. You can choose a clear or dyed finish when anodizing your parts.
Aesthetically, anodizing is hard to beat as a finishing process. It also gives the metal a finish that’s resistant to corrosion, heat, and electricity, making it the ideal choice for parts used in any projects exposed to electricity or the outdoor elements. If you are curious, and want to learn more about anodizing, we have an article that goes into a deep dive about the science and details of anodizing: Anodizing Aluminum: What Is It and How It’s Used in Laser Cutting.
We offer aluminum anodizing in several color options in three types of aluminum. Currently, anodizing adds 7-10 days of production time.
We’ve also got a great tutorial for DIY anodizing in just 10 easy steps if you’re wanting to anodize your parts at home.
Plating
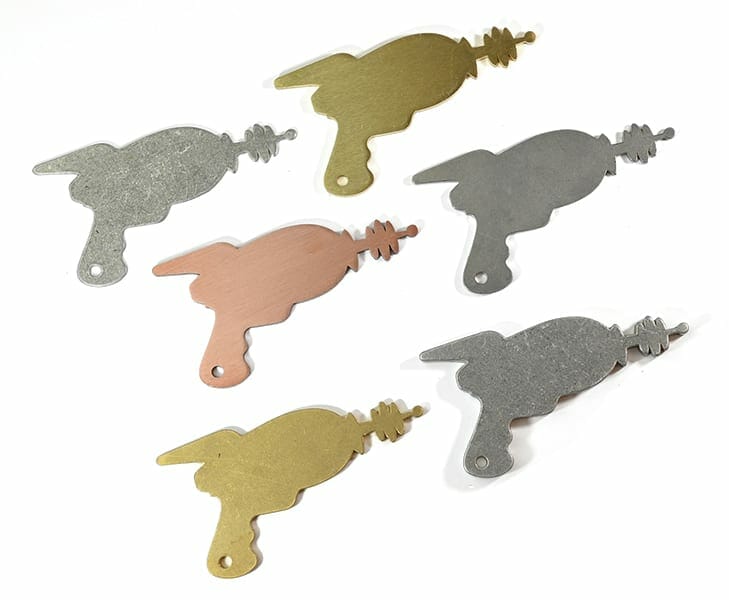
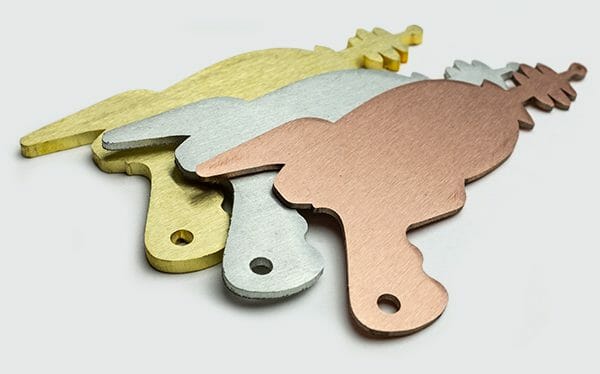
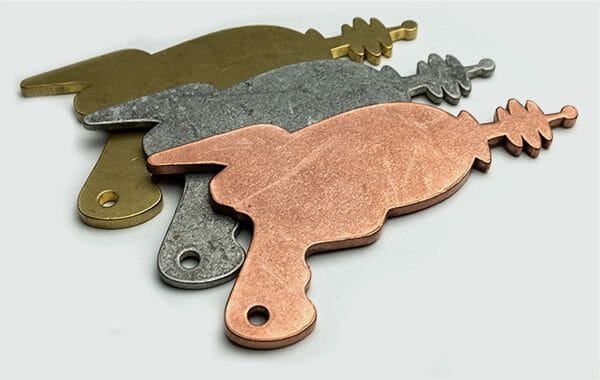
Plating is the process of depositing a metal coating onto a substrate. Electroplating is one of the most common plating methods. Plating has many benefits including increasing corrosion resistance, conductivity, and potentially strength depending on the base material. Currently we offer two plating services. Zinc plating is available in 3 colors, and can be applied to either 4130 chromoly or mild steel. Additionally, we offer nickel plating for any parts made of copper or mild steel.

Finishing Operations You Can Do At Home
There are dozens of possibilities when it comes to at-home finishing processes for laser cut parts. Your projects deserve to look as badass as you imagined them, so we want to give you some ideas for creating a perfect finished look in the comfort of your own home (or garage).
Brushing
Brushing creates a really beautiful, rustic finish on sheet metal, and is ideal for metals like stainless steel. All you need is a lubricant (like WD-40), 120-180 grit sandpaper, and a sanding belt or drum. Thinly coat the metal with lubricant, and use the sanding belt and sandpaper to slowly sand the metal in one direction, applying constant pressure and only move the sanding belt in one direction. Of course if you want a swirled finished look, just move the sanding belt in a concentric motion to create a swirled pattern. Once you’re satisfied with the sanding, use a grease cutting agent to wipe down the dust left behind. It may take a few more passes with the sanding belt to get it just right, but the final look is worth the extra little bit of elbow grease.
Media Blasting
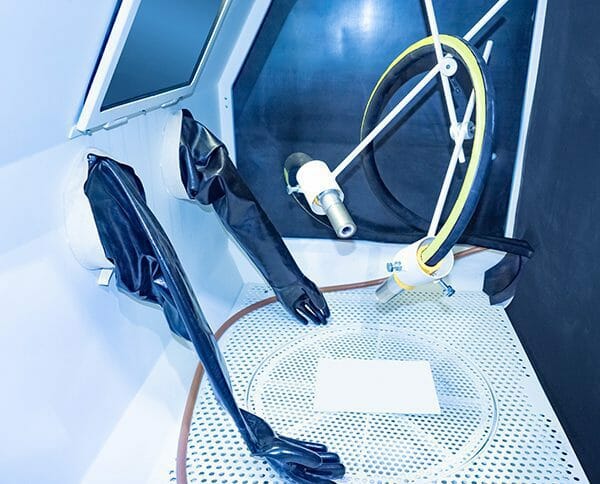
Media blasting is the process of shooting abrasive under high pressure at a surface to shape, smooth, clean, or roughen the surface depending on the abrasive and method. Oftentimes this is paired with pressure washing and is then called “wet blasting.” Blasting is typically used as a surface preparation prior to painting and other finishes.
Sand is one of the more common abrasives used, so blasting is frequently just referred to as “sandblasting,” but there are many different kinds of abrasives used in blasting sheet metal, including glass beads, metal shot, walnut shells, and even dry ice. The appearance is much like that obtained by tumbling, but blasting can accommodate larger parts and surfaces than tumbling can.
It’s a little dangerous and difficult to accomplish at home, but it is possible. However, there are a lot of local companies that provide blasting services of all kinds, and we recommend looking for a local professional to perform this specific finishing process.
Painting
Painting has a long history of being a decent option for projects of all materials and applications, and can easily be done at home with just a little prep and a couple spray cans. The most important thing to keep in mind when you’re painting laser cut parts at home is to properly prepare the metal. If you aren’t having your parts abrasion blasted in preparation, you should brush them with an abrasive material like scotch brite and then wash the parts in acetone or alcohol. This will help create a rough surface for the paint to stick to while also cleaning off any dirt or residue that may prevent a clean finish. If you’re unsure if paint is quite durable enough, consider checking out powder coating. We even have an article comparing the two finishes: Paint or Powder Coat?
Choosing the Right Metal Finish
When selecting the right metal finish, it comes down to a few factors. The single most important factor is what property or performance does your part need? If you need increased abrasion resistance, then passivating your part isn’t a good choice. Several other things to consider include cost effectiveness, required equipment, durability of finish, and dimensional impact the finish has on the part. All of SendCutSend’s finishing services start at just $9 with no minimum quantity, and as low as $1 if you order in bulk.
Image of Painted metal sign from SendCutSend
Finishing Up: Get an Instant Quote Today
We’ve given you a brief intro to some of the technologies used in metal finishing. If a finishing process we’ve mentioned here has piqued your interest, we encourage you to do further research to determine what’s best for your project. We have dozens of articles on our blog that will help inform you about the science, pros, and cons about various finishes. Since we offer several of these services ourselves, we’d love to help you decide how to finish up your project. Naturally since our name is SendCutSend, we offer far more services than just metal finishing; check out What SendCutSend can do for you. If you have any questions, feel free to reach out to our support team. When you’re ready, upload your design and get instant pricing today!
FAQ:
- What is meant by metal finishing?
- Metal finishing encompasses a large variety of processes that all alter the surface of a metal to achieve a certain property. These properties can be corrosion resistance, color, increased abrasion resistance, etc.
- What are the methods of metal finishing?
- Some common methods of metal finishing include paints, plating, coating, polishing, and chemical treatments.
- What are 3 metal finishes?
- Anodizing, powder coating, and zinc plating are 3 of the most common metal finishes.


