Picking the best font for laser cutting is important for making sure your parts look and function the way you first conceptualized them. Without the right font, you can lose integral parts of the design, weaken the structural integrity of the part, or even warp the final part. We are here to help you get the most out of your laser cut parts by outlining some of the best fonts to use and provide some guidelines for font types to avoid.
Keep reading to learn more about picking good fonts for laser cutting!
We have several fonts available for download.
8 Best Fonts for Laser Cutting
Most available fonts will require further adjustment and customization depending on how the text is being cut, but this list includes 8 fonts that are laser cutting friendly and can be easily adjusted to suit your needs.
Arial Black

Arial Black is a bold, sans serif font that can be easily bridged for better laser cutting results. Without any variation in line width, this font is one of the best non-custom options for laser cutting in a variety of material thicknesses.
Sarina

If you need a cursive font, it’s best to pick a font like Sarina which can have bridges added easily without compromising the integrity of the font. With cursive fonts, it’s important that the stroke is thick and even all the way through.
Impact

Impact is one of the best sans serif fonts for laser cutting because it’s bold and equal in stroke width. It will require bridging depending on how it’s being cut from the material but is overall well suited for laser cutting.
Bree Serif

If you do need a serif font for your design, the serif stroke should follow the same principles: it needs to be thick enough to not get lost in the laser cutting process. Bree Serif is a good option for a laser cut serif font.
Lexend Semi-Bold

The wide letter spacing in Lexend provides plenty of space for the laser cutter kerf while providing an even stroke width.
Phudu

Phudu is a display font with some handwritten characteristics without sacrificing any of the necessary qualities in a font for laser cutting.
Verdana

Verdana unites the letter spacing of Lexend and the boldness Arial in a strong, laser cutter friendly font.
Barlow Condensed

Our final recommendation is Barlow Condensed, which is a tight, aesthetic font that’s easy to bridge and thick enough to cut without warping.
4 Tips For Picking the Right Font for Laser Cutting
The Bolder, The Better
The biggest issue with most readily available fonts is that the lettering is often too thin to laser cut effectively. Thin text cutouts or negative space will warp during machining and processing, small features are more likely to get lost in the laser’s beam width, and ligaturing is likely to snap in half if it’s too thin. Your best bet to avoid these issues is to pick a bold font.
The value of a bold font is being able to easily ensure that all the geometry fits within our laser cutting guidelines. In general, each cutout in your design should be greater than 50% of the material’s thickness, and never less than 0.015”. All text and features should follow this rule whether they’re reversed cutouts (material removed from a larger sheet) or positive cut.
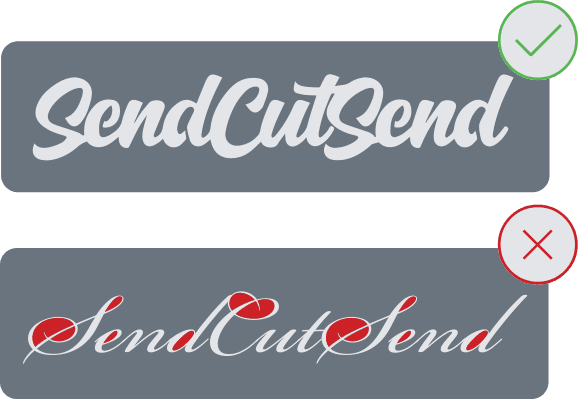
Avoid “Handwritten” Fonts
Fonts that are meant to simulate handwriting are typically not a great choice for laser cutting for various reasons.
The first reason being that these kinds of fonts have to contain a large number of nodes to achieve the handwritten and personalized feel. When designs contain a multitude of nodes, it can take a significant amount of time to process and will result in a “choppy” cut edge. The laser interprets each node as a new stopping or starting point, so it will cut straight lines between each node, stop briefly at each defined point, and restart. It’s better to choose a font that doesn’t simulate handwriting and make sure yourself that there are a reasonable number of nodes in the design before sending it off for laser cutting.
The second reason that handwriting fonts cannot be laser cut is because they often have very thin areas that are too delicate to machine successfully. As mentioned above, features should be at least greater than 50% of the material’s thickness. Especially with cursive-like or calligraphic handwriting fonts, this minimum is difficult to achieve without scaling up the design by an order of magnitude or compromising the integrity of the font. We recommend choosing a font that feels unique to yourself or your brand without simulating a handwritten quality.
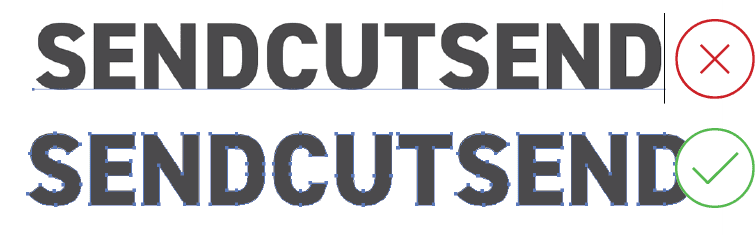
Customize Spacing Between Letters
One often forgotten aspect of laser cut typography is the spacing between the letters. The spaces between letters need to fit within our geometry requirements just like all other features do. The easiest option to adjust spacing is to type a space between each letter before you convert the text to outlines/shapes, but this does not let you really customize the spacing to suit your needs as well as our geometry requirements.
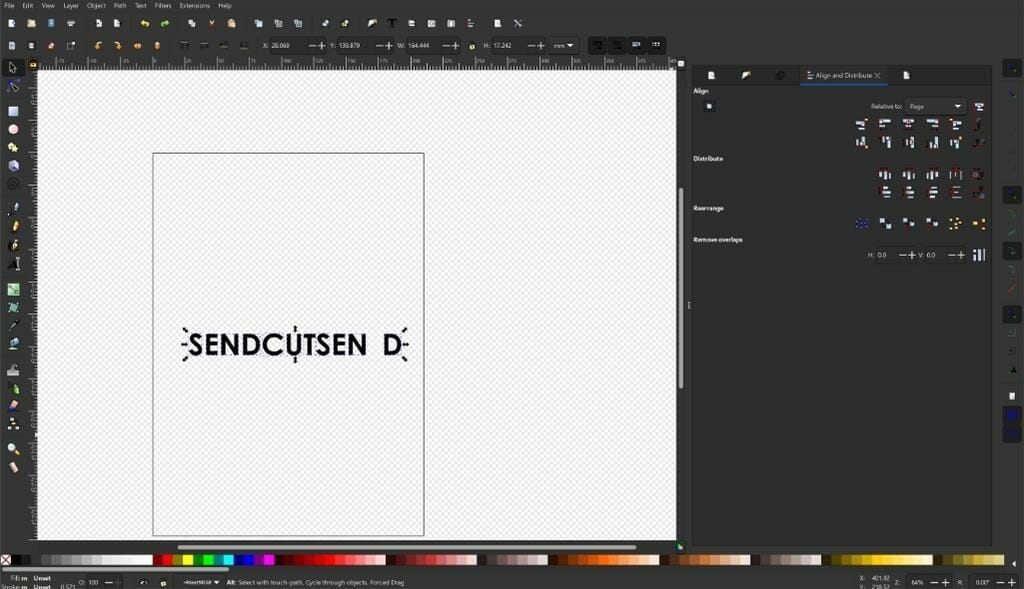
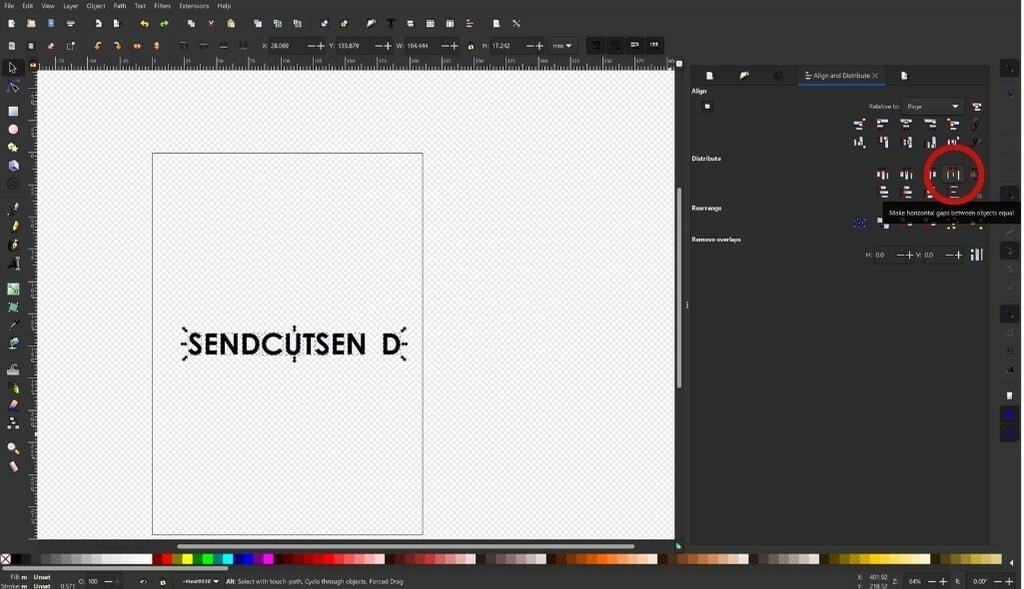
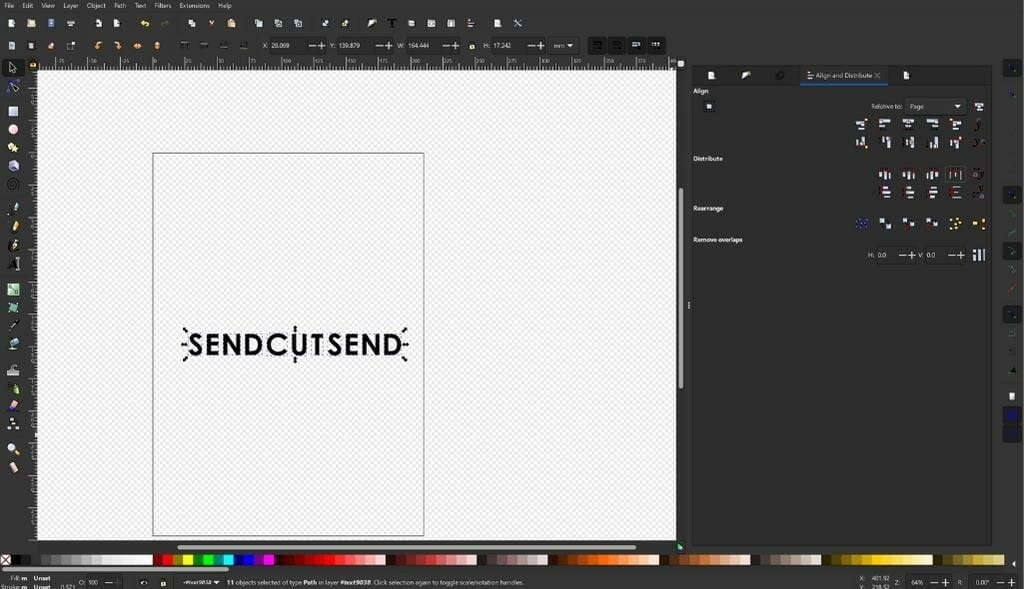
What we recommend is to convert the text to outlines or shapes before adjusting the spacing. Once the text is converted, each letter can be manipulated as its own object. You can control the spacing by moving each object independently of the others, leaving room between each letter that looks how you wanted it to and functions for manufacturing. Most software include tools to select each object once you’ve adjusted the spaces which can automatically ensure that they’re spaced out evenly so you aren’t left with a lopsided design or uneven lettering.
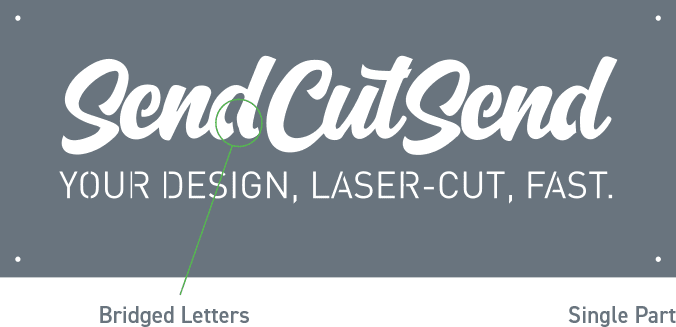
Bridge, Bridge, Bridge!
Arguably the most important part of laser cutting text is bridging. Bridging is used to ensure that internal geometry isn’t lost during the machining process. The following letters contain geometry that can be lost in most fonts:
- A
- B
- D
- O
- P
- Q
- R
You can easily add a “bridge” between the internal and external features in these letters to make sure everything is cut properly. Some fonts contain bridging between these features already and are often categorized by software as “stencil” fonts.

Stencil fonts may seem suitable for laser cutting, but oftentimes don’t contain bridging strong enough for machining. You will still need to check the geometry of each bridge if you’re using a pre-made stencil font. It’s difficult to adjust the sizing of these bridges because they’re integrated in the font, so we recommend that you use your chosen font and add bridging in yourself. It’s a simple process and just requires a little measuring, but we’ve created specific tutorials for bridging fonts depending on what software you use:
- Preparing Text for the Laser
- Preparing Text for Laser Cutting in Illustrator
- Preparing Text for Laser Cutting in Inkscape
- Creating Bridges for Nested Shapes
5 Best Practices to Master Laser Cut Fonts
Consider how your text will be cut
The first thing you need to decide is how you want your text to be laser cut. You can either subtract the shapes from a larger piece of material, or you can cut out and extract the text itself from the material. What you choose determines what kind of bridging you need, as we mentioned above.
If you are subtracting the shapes from a larger piece of material, you will need to add bridging from the material to the inside of certain letters so they don’t get lost in the machining process. If you are cutting out and using just the text itself, you may need to connect all your letters together so they are cut as one piece and not several individual pieces.
Learn how to customize
Customizing your font is important so you can adjust the kerning, add bridging, or fix the stroke width to make it laser cutter friendly. This is all very simple to do, and there are free programs like Inkscape that are easy to learn and produce great results. Be sure to check out our tutorial for creating text in Inkscape!
Consider your material
What font you choose should heavily depend on the material you use. You will need to take into account the material type, thickness, and how it is machined. Each of our laser cut materials have different geometry and cut requirements that can affect the font you choose and how it needs to be customized, so be sure to look through our laser cutting guidelines and the minimum requirements for your chosen material so you get the best results.
Determine font thickness and size
Once you have looked through the guidelines for your material, you will need to determine the thickness your font needs and the overall size of each letter to make sure you are within the necessary guidelines. Keep in mind that if the font you choose doesn’t meet the requirements, you may be able to customize it further so you can meet the guidelines without compromising the look you wanted for your project.
When in doubt, check the geometry
In general, bigger is better. Bold, strong fonts will always do better in a laser cutter no matter how it’s being cut, so err on the big side. If you have any doubts about your design, the first and best thing to do is compare your measurements to the guidelines and make sure everything looks correct.
As always, our support team is always available to answer any questions you may have about laser cutting text.
Bringing Your Laser Cut Fonts to Life
It’s important to note that no matter what font you use in your design, all text/type needs to be converted to shapes or outlines. Text boxes cannot be read and processed by CNC laser and waterjet cutters or routers. You can convert text to paths in any design software, including CAD. We have a few tutorials on this if you need some help.
All our guidelines for laser cutting text are there to help you bring your laser cut project to life in the exact way you envisioned it, so following those guidelines to the letter will help you get the most out of your experience. When you upload your design and it doesn’t meet our requirements, a support agent will reach out to you and let you know so you have an opportunity to change it. Once you update the design, we send it along for cutting and it will be on its way to you in just 2-4 days from when you sent the updated design!
If your text design is ready now, upload it to our website and get instant pricing today!
FAQs Around Fonts for Laser Cutting
What font is used for laser cutting stencils?
There are many fonts available for making a stencil, such as Boston Traffic or Black Ops One, though most have inadequate bridging for laser cutting. We recommend customizing your font to create strong bridging for stenciling. Several stencil fonts are available to download for free!
What format is needed for laser cutting text?
All text boxes must be converted to vector paths to be laser cut. Machining software is incapable of interpreting text boxes, so the best practice is to convert the text box to a shape.
What is a good font for laser cutting?
The best fonts for laser cutting are bold, have an even stroke width, and can be cut without losing internal shapes. Some good options for laser cut text are Arial Black, Impact, and Verdana.