SendCutSend is proud to use PEM(R) hardware.

Hardware insertion requires no minimum quantity, and per-hole pricing will depend on the fastener selected and quantity. You can get hardware as low as $0.40 per hole when you order in bulk.
When planning to place your order, keep in mind that hardware installation adds 1-3 business days to our normal processing times. Check out our Lead Times page for more information.
We currently offer seven materials in a variety of thicknesses for hardware installation:
All parts that have hardware installation included will need to meet certain size requirements in order to be manufactured correctly:
These are general size requirements for hardware insertion. Check the hardware catalog for each type of hardware below before submitting your order to make sure your parts meet all specifications.
Holes up to 4.00″ can be selected for hardware installation. When selecting holes for the desired hardware in your design, we will automatically resize the hole to the required size based on the hardware selected. The hardware SKU’s listed hole size in sheet (H) in the hardware catalog is the diameter the hole will be resized to.
Because hardware mount holes will be resized, you’ll need to verify there is adequate clearance to other features and edges of the material. We list the minimum distance hole C/L to edge (K) required for each PEM size in our hardware catalog. Measure from the center of the mount hole to the edge of adjacent cut features to ensure there is enough space.
H = Hole size in sheet (+0.003”/-0.000”)
J = Bend allowance (find with Bend Calculator)
K = Minimum distance from center of hole to cut edge
N = Minimum distance from center of hole to edge of bend allowance area (J)
M = Minimum distance from hole center to hole center for two of the same hardware SKU
P = Minimum distance from hole center to hole center for two different hardware SKUs
We provide the minimum center of hardware to center of hardware distance for two of the same hardware SKU in our Hardware Catalog (spec M).
Minimum distance between different hardware SKUs (P) must be calculated manually.
Please note: hardware that is the same size but a different type or SKU can have different specifications for hole size in sheet and minimum distance to other cut features. For example, an 8-32 nut and an 8-32 standoff require different mount hole sizes and spacing for successful installation.
For two different adjacent hardware SKUs, ensure that the minimum distance C/L to edge distance (K) for either hardware does not overlap the hole size in sheet (H) of the other.
In the example shown here, the shaded areas should never overlap any cut edges.
A: for hardware SKU A, the minimum distance hole C/L to edge (K)
B: for hardware SKU B, the minimum distance hole C/L to edge (K)
Hardware holes must be far enough away from bend allowance areas to prevent interference.
Confirm the bend allowance for your flange using our Bending Calculator. Input the material thickness and bend angle to find the correct bend allowance in the Advanced details. Confirm the minimum distance hole C/L to edge or bend area in our hardware catalog.
Then, measure from the center of the hardware mount hole to the edge of the bend allowance area in your design to ensure the hardware is at least the minimum distance away.
J = Bend allowance area (find with the Bending Calculator)
N = Minimum distance from center of hole to edge of bend allowance area (J)
You can also measure minimum hardware to bend distance from the center of the bend to the center of the hardware hole. In that case, calculate the minimum distance needed by adding the bend allowance/2 + minimum distance hole C/L to edge or bend for the hardware SKU desired.

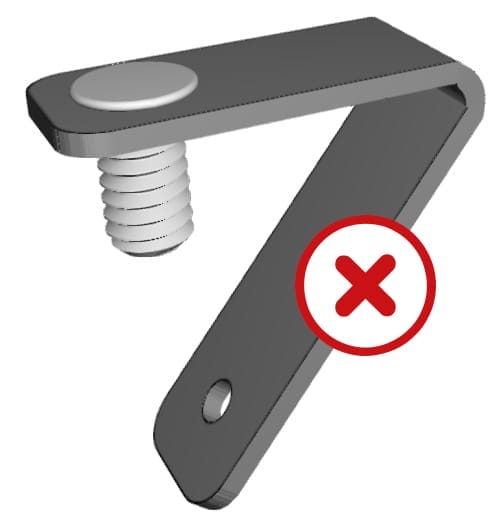
We do not allow hardware installation on parts with acute bends. Contact our support team for questions.
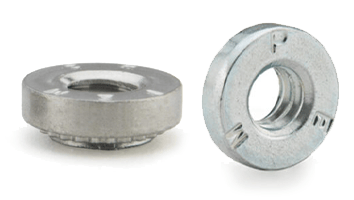
Press fit nuts are internally threaded with a knurled outer diameter. Lightweight, simple, and able to withstand high pressure and high torque, press fit nuts are often found in flooring and aircraft applications.
Press fit nuts provide load-carrying threads in metal sheets that are too thin to be tapped.

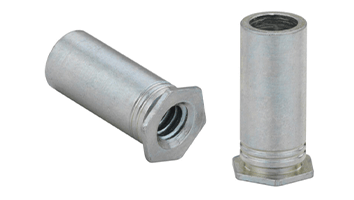
Used to stand parts of an assembly off of each other, press fit or self-clinching standoffs have a wide range of applications. They provide secure fastening for delicate parts, with electrical components being the most widely used in conjunction with press fit standoffs. Press fit standoffs provide a threaded fastener that delivers uniform spacing between parts.

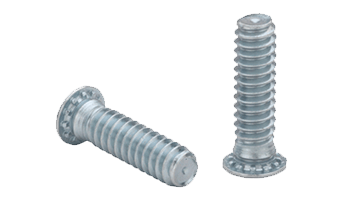
Also known as press fit studs, self-clinching studs are designed to be a permanent fastener in your assembly. Made to withstand high torque, stress, and weight environments, studs can be used in dozens of applications to increase the strength and longevity of your part.
Studs are typically used when it is inconvenient or impossible to access one side of a threaded joint or when there is not enough clearance around the joint to have a traditional nut/bolt on the material surface.

Though our standoffs and studs are technically flush, they may be raised .015″ depending on your material selections

When you have confirmed your part meets our geometry requirements and you’ve uploaded the file to our app, walk through the normal order process and select “Add Hole Operations.”
You’ll see a list of hole options which you can add hardware to, as well as a link to our catalog of hardware options. Select your desired hardware and size, and you’ll see it show up on the 3D preview of your part. Make sure the hardware is placed on the correct face (top or bottom). Click “Add to Cart” and the hardware will be included in your order.
If after reading these guidelines you’ve found you need to make some changes to your part design, check out our tutorials for designing and preparing your files in Illustrator, Inkscape, and Autodesk Fusion.
