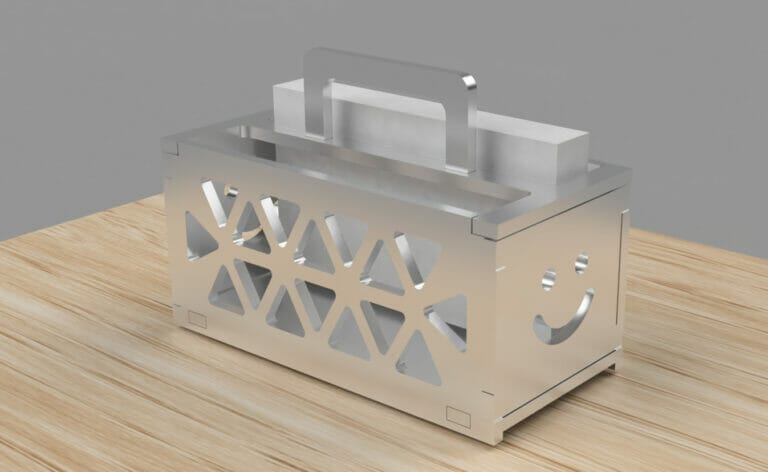
Our services can be used for everything from large-scale designs to smaller, low-volume applications. Many robotics and other hobby-based electronics projects tend to be smaller but still require a great amount of precision.
In this article, we cover things you should consider when designing for small scale applications and some tips and tricks to help you maximize both your budget and your design.
Precision Matters
When designing parts on a small scale, every millimeter counts. Our laser cutting services are precise down to a 0.005” or 0.120mm tolerance and we encourage you to use that precision to your advantage to ensure that your parts fit together perfectly.

For this article, everything was designed with a ¼ millimeter tolerance, ensuring that all of the parts interlock and move in a predictable manner while maintaining a healthy amount of margin for error beyond the minimum guidelines. This is really important to pay attention to as your designs get smaller and your material gets thinner as minor errors are more pronounced relative to the size of the part.
Ensuring precision with your parts
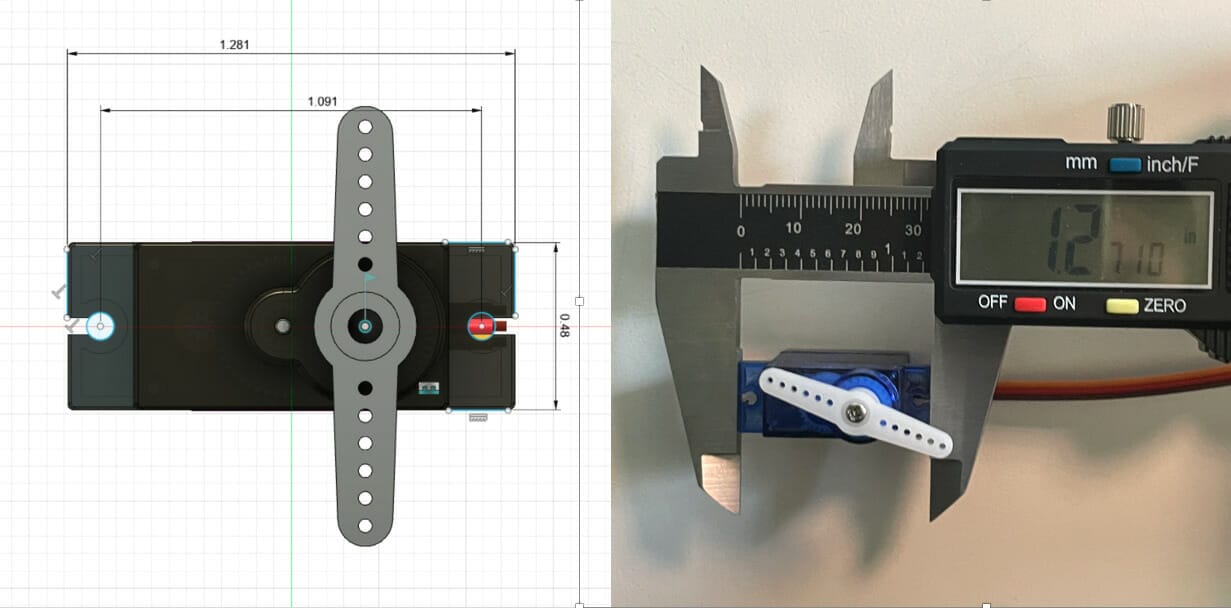
One thing that is often overlooked when trying to ensure precision with small designs is the accuracy of the off-the-shelf parts you may use. If you use models of a servo or screw that you found online, we recommend verifying the measurements yourself by ordering the off-the-shelf parts prior to placing your order with us. This way you can use calipers to verify the accuracy of the models before finalizing your design. This is especially important when using models that are not directly from the manufacturer as someone who was modeling the part may have made a mistake.

One way we see this issue mitigated especially with hardware is to use a service like McMaster-Carr where you can download CAD files directly from their website guaranteeing accuracy within your CAD models. Autodesk Fusion even has a tool where you can import parts into the software directly.
Ensuring precision with your CAD file
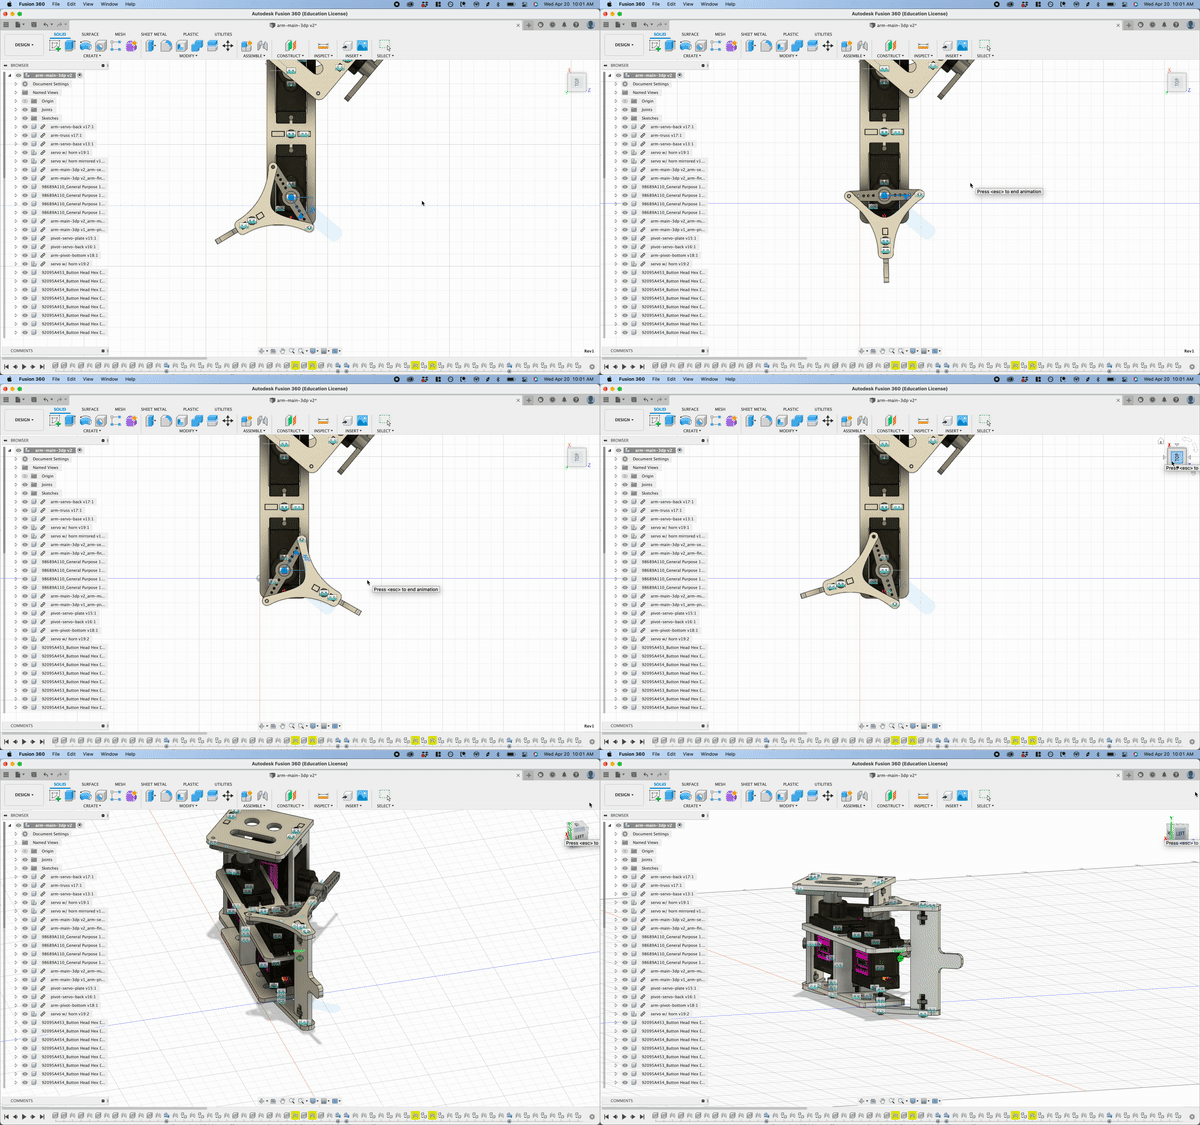
A great practice to get in the habit of is using animation to ensure that none of your parts collide during movement. In most CAD softwares it’s as simple as changing the type of constraint you are using. This way, you can actually see your parts move and behave as they will in real life to ensure you don’t submit your order and later find out that something doesn’t work as expected.

The same idea applies to your overall CAD assemblies. Placing hardware into your CAD assemblies can help ensure accuracy. Even if the parts you design custom are accurate down to the millimeter, none of that matters if they aren’t assembled in CAD as they will be in real life.
Choose the Right Material

For projects like this, the most important part of choosing the right material is to find a healthy balance between what fits in your budget and what is optimal for your application. If you are trying to decide between multiple materials to upload your parts, we recommend using our instant pricing tool to see what the price differences are. For example, if you initially wanted to use carbon fiber you may find that the weight advantage it provides over metal or the improved stiffness over plywood is not worth the price tag for your specific needs.
Material thickness
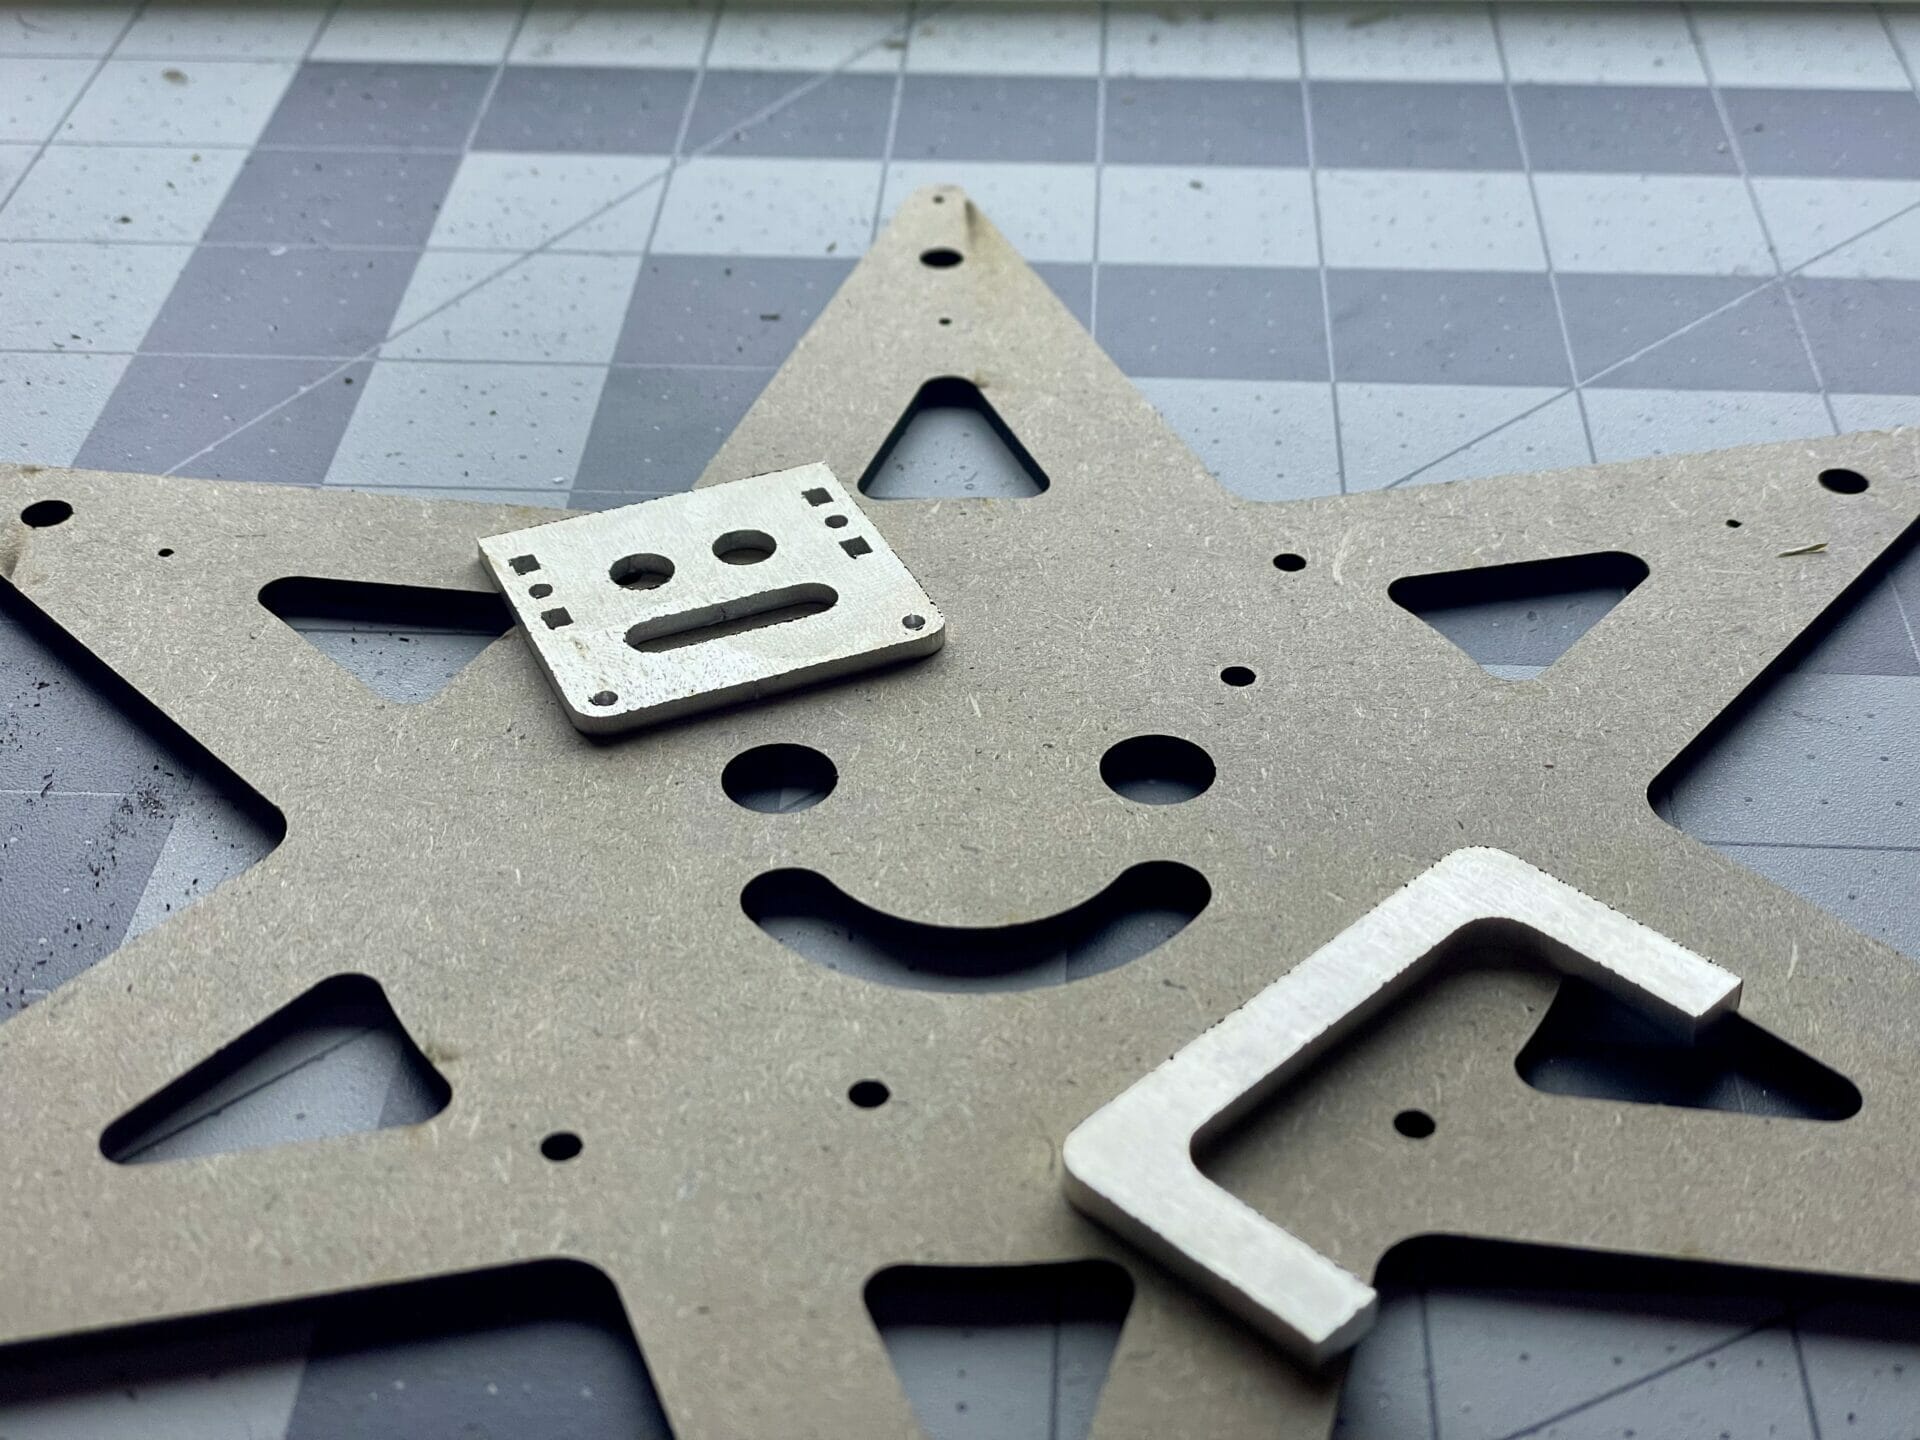
You also don’t want to overlook material thickness. One easy way to substantially cut costs and vital space in a small design is to either go with a thinner version of the same material you were intending. Take into consideration if any of your parts are going to be welded together, bent, or slotted together as those joints will be greatly affected by the thickness of the material both in their design and physical strength.
Material strength
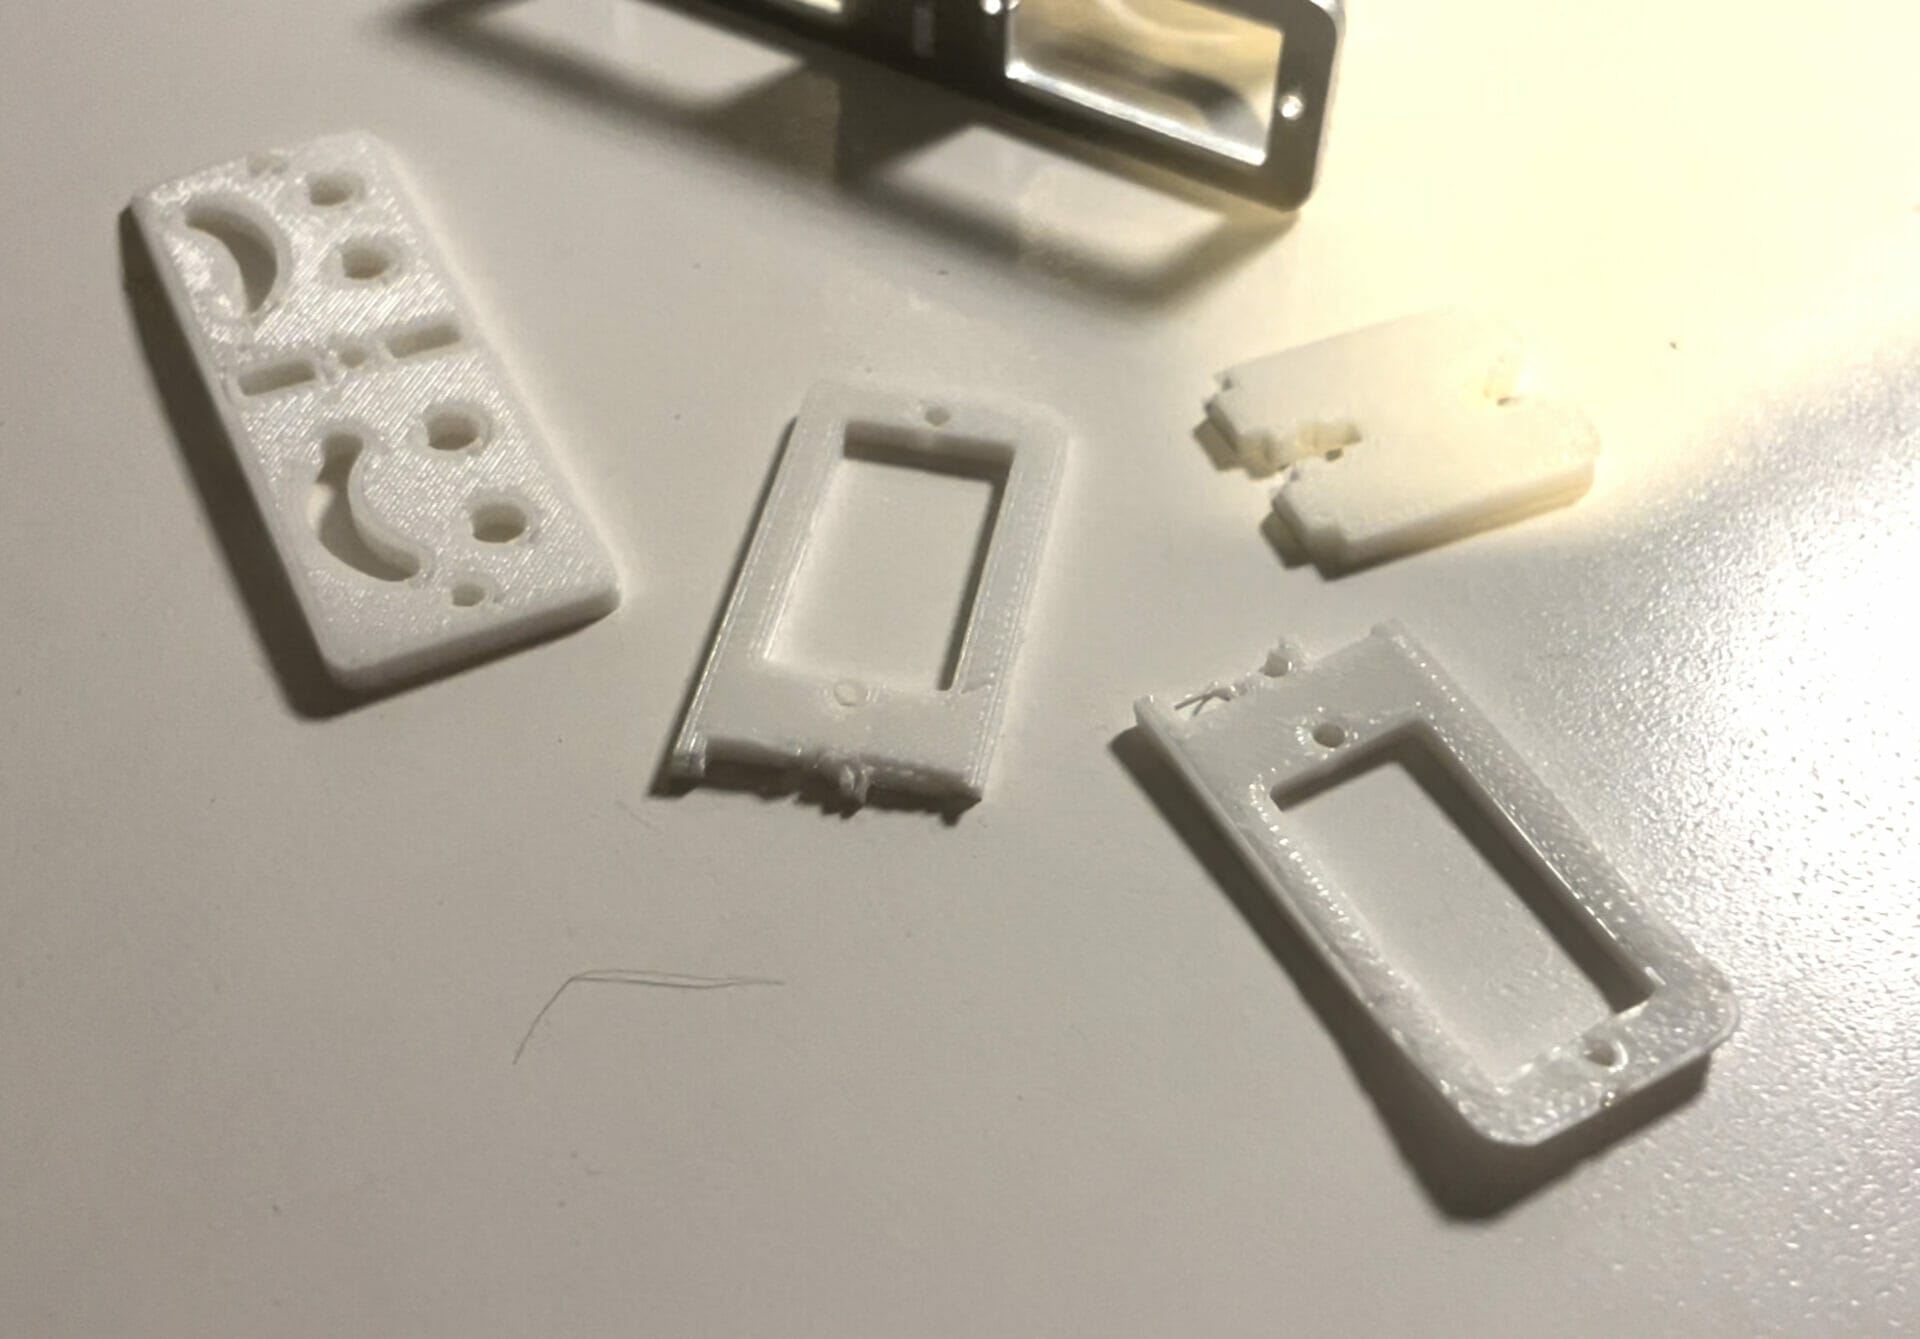
Beyond just the material and thickness you choose for your parts, there are some key design choices that can affect both the rigidity and overall strength of your parts. With enough strategic decisions, you can achieve a stronger and more robust design with a thinner and cheaper material.
SendCutSend offers several lightweight and thin materials that don’t sacrifice tensile strength. Our laser cut 2024 aluminum, waterjet cut carbon fiber, and CNC routed polycarbonate are all great options for small scale applications.
Building in 3 dimensions
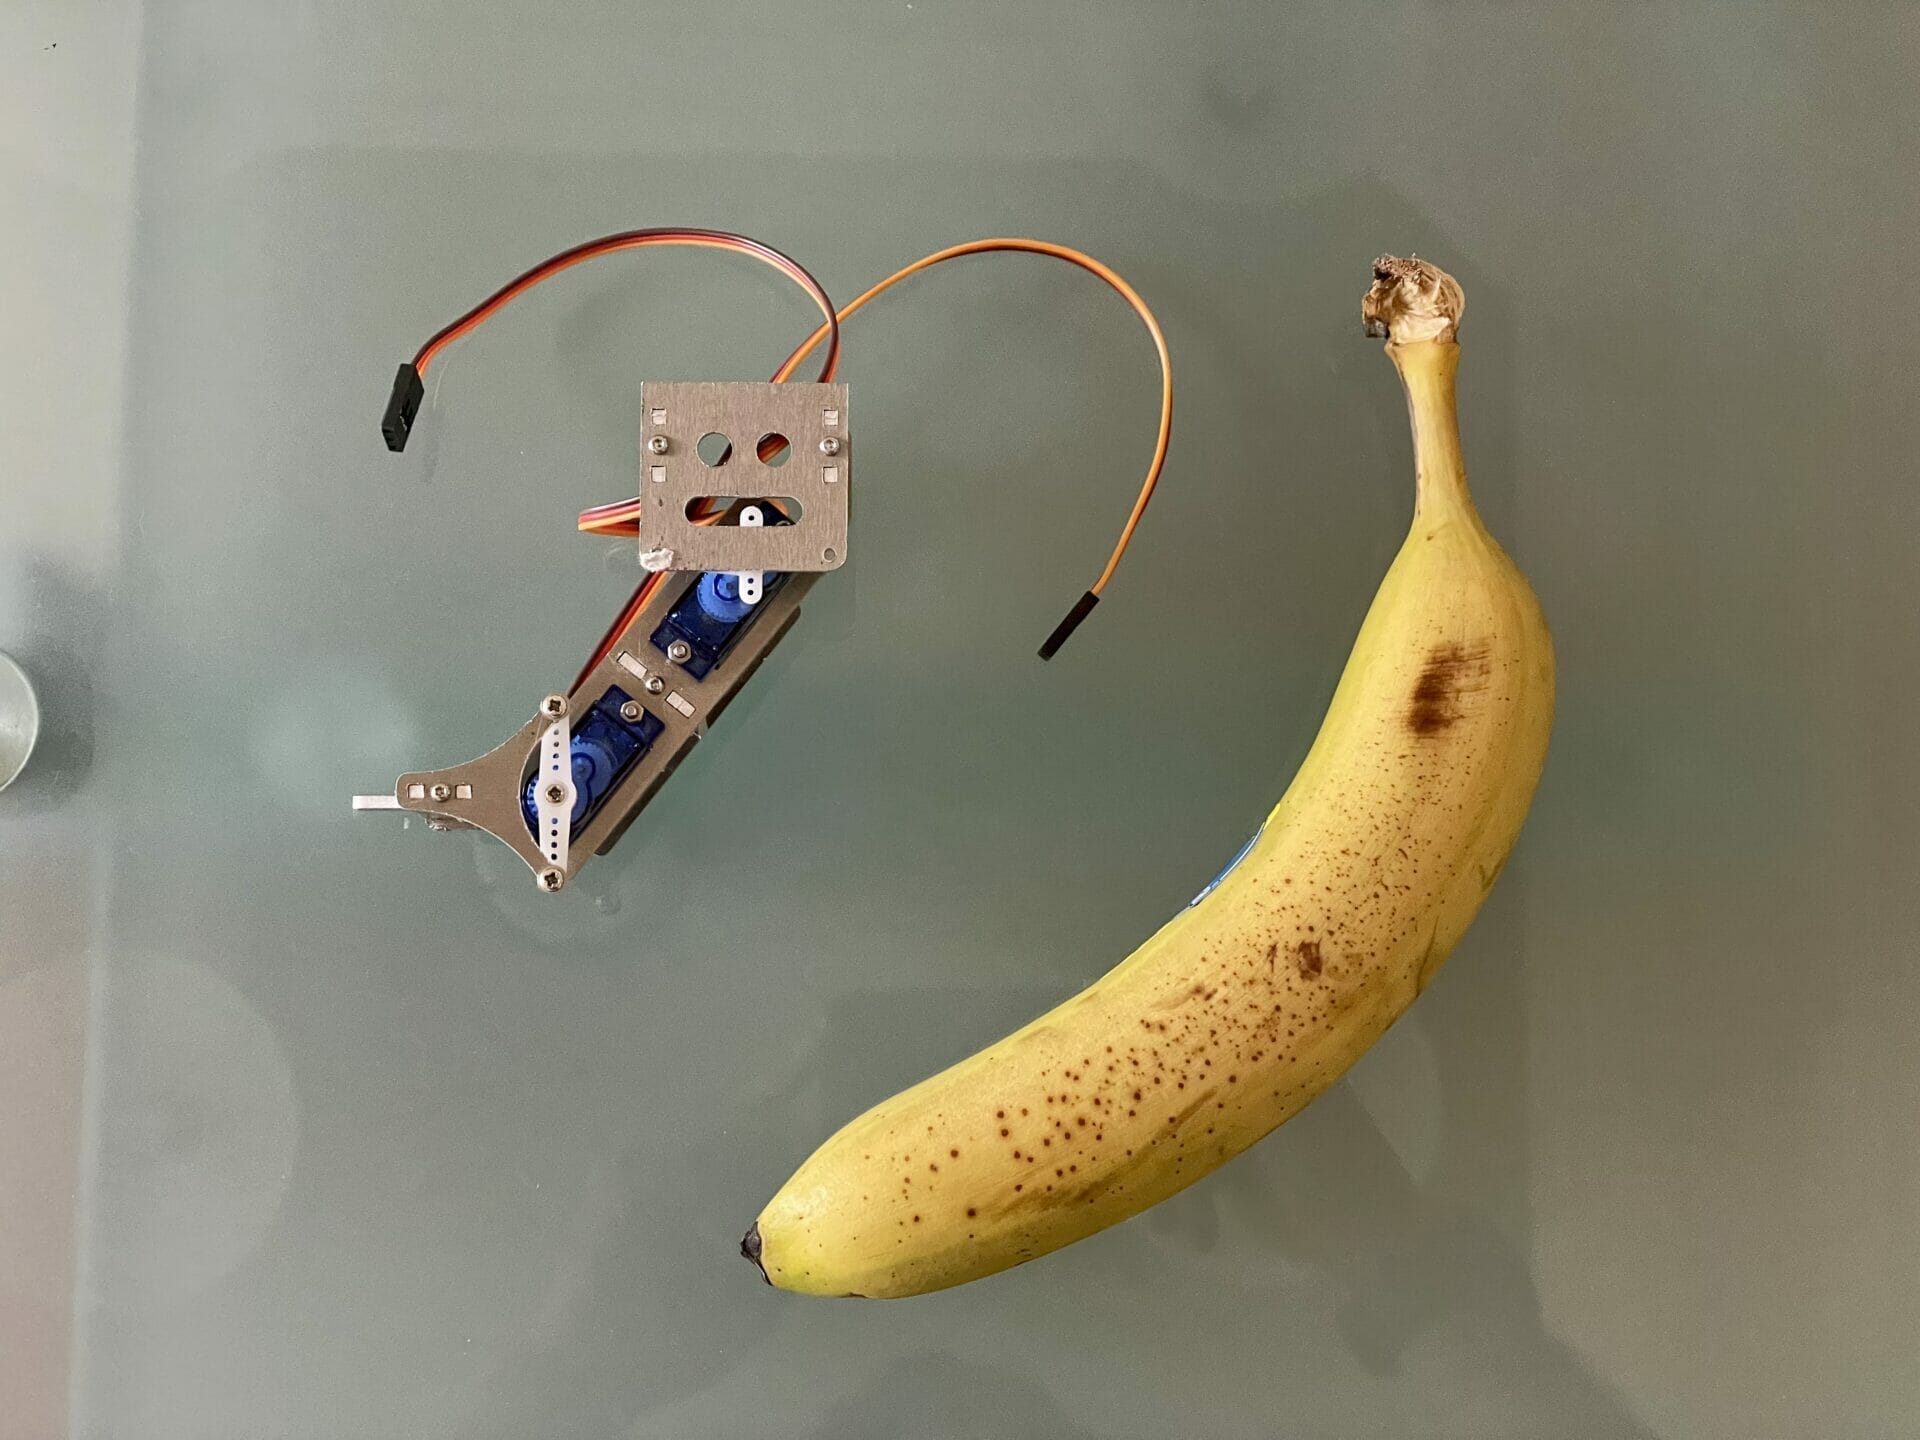
One major struggle with really small parts is how to make 3-dimensional designs. They are often too small to bend or weld accurately. Here are a few alternative methods to build beyond the 2-dimensional plane our manufacturing process allows for if you deem neither of the former a good fit for you.
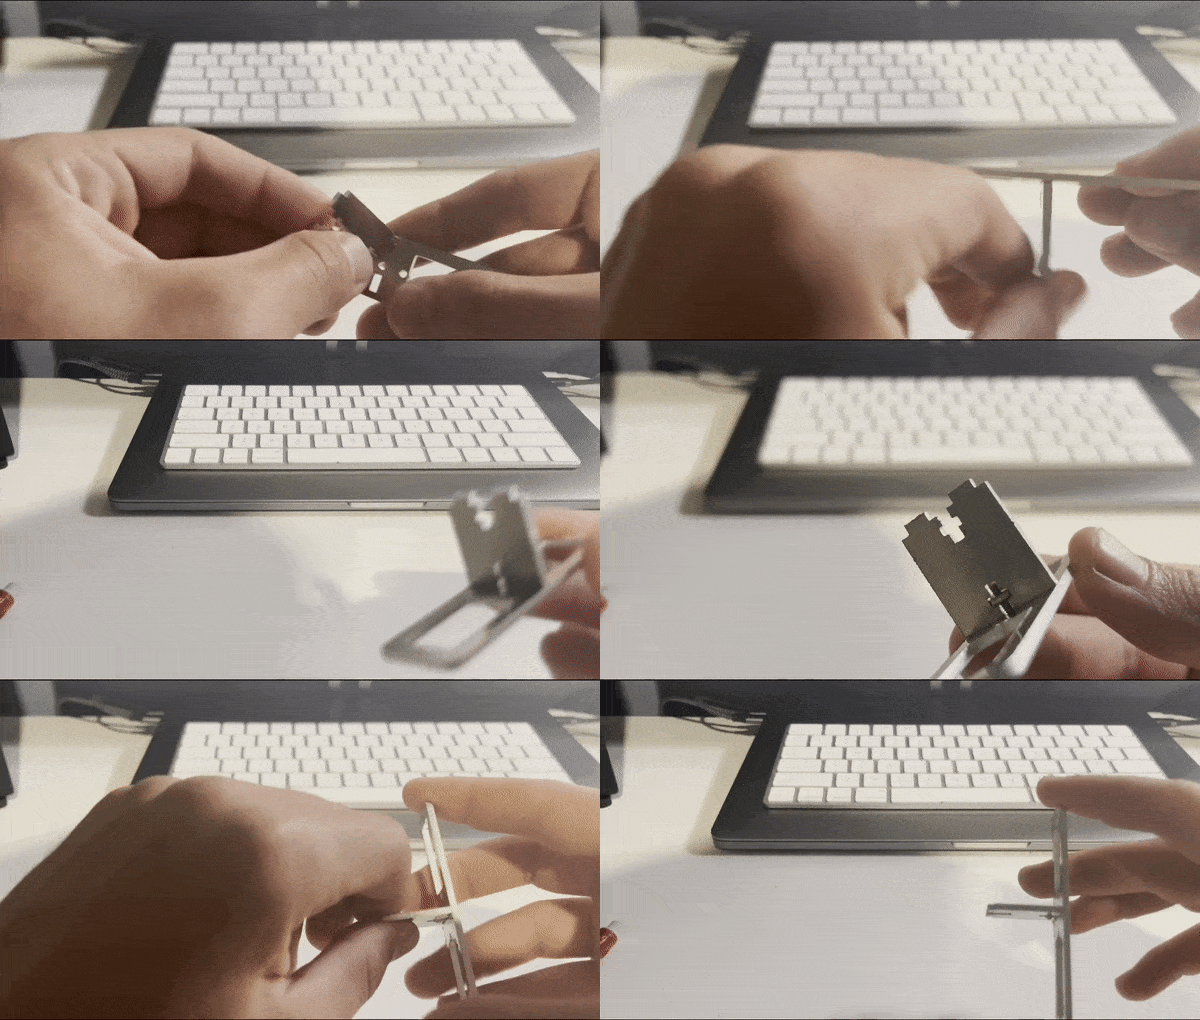
One of the best ways to assemble parts in 3 dimensions on this scale is to use t-slots. Not only are they versatile, but they are also remarkably strong. In a nutshell, one part has rectangular extrusions on it, and the other part nests inside of it much like the male and female end of any cable. If designed correctly with tight tolerances, these tend to be the most accurate and rigid way of securing parts together.
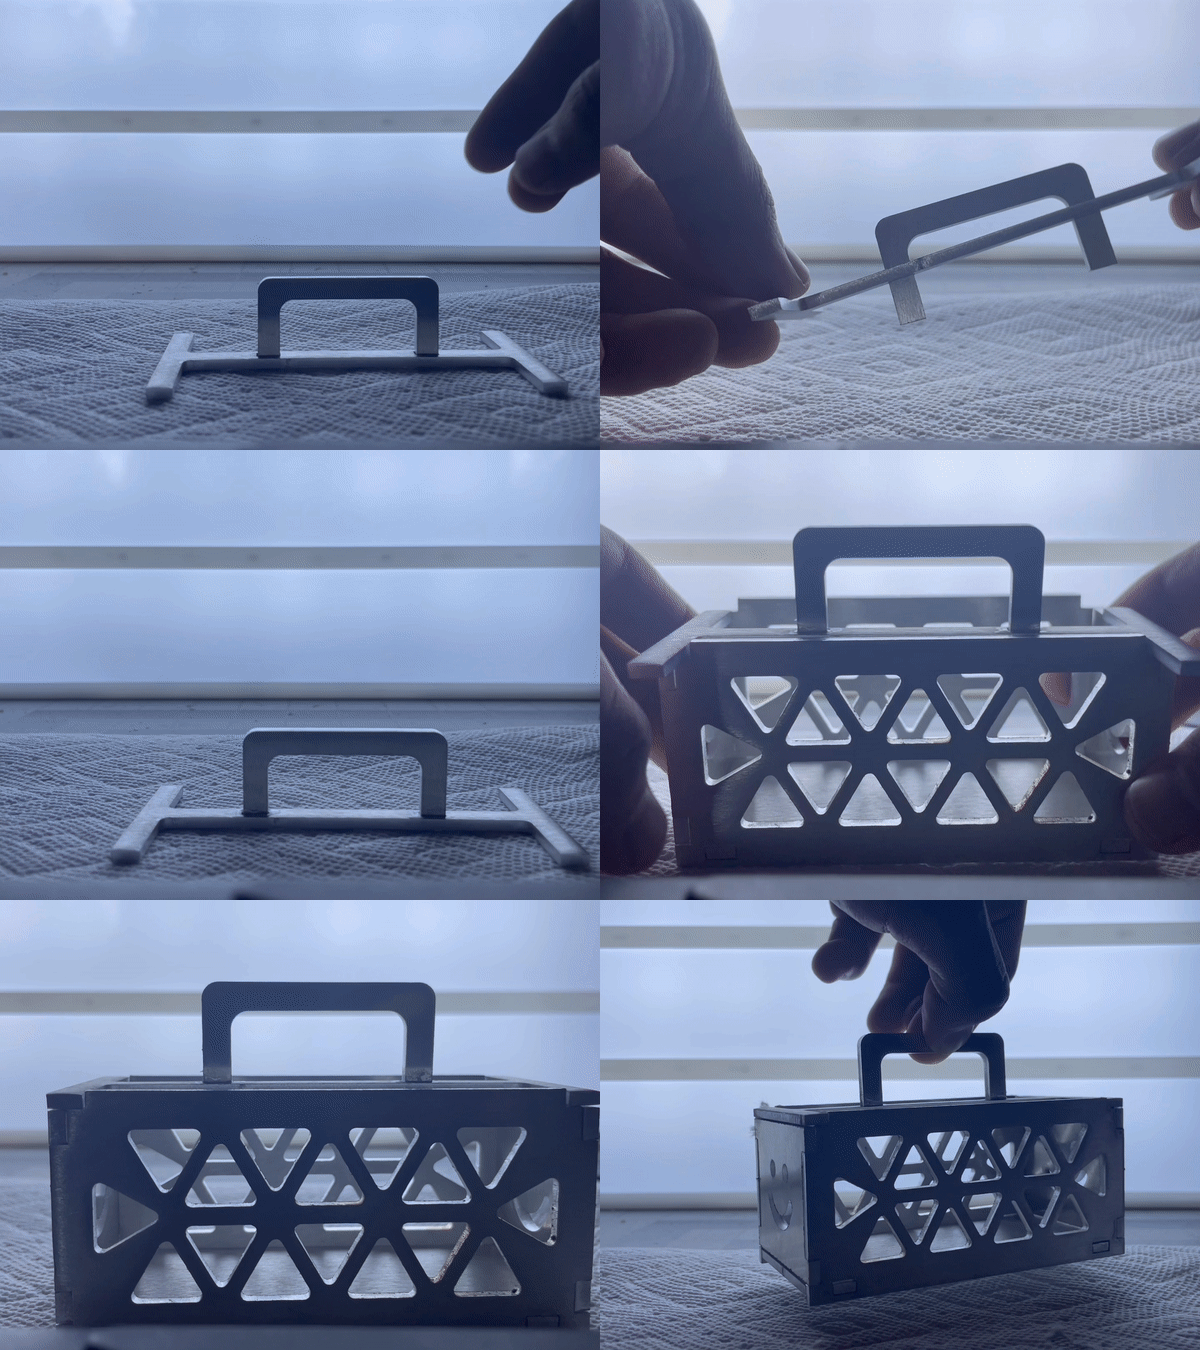
You can either use glue (shown here) or you can use the screw technique (shown above) which uses a screw and a nut in a vice-like manner to keep the two parts together. This is more convenient as it allows you to assemble and disassemble the parts without the need to re-glue them each time. Another benefit of T-slots is that the joiner pieces are custom. Unlike standoffs which serve little benefit other than a structural connector, custom pieces allow for whatever you desire such as mounting points and measurements that may be more exact than standoffs. This is especially important as standoffs are often only available in 5mm increments which can be a major issue if you are designing for a very small application.
As mentioned earlier, if you are going to go down the route of using off-the-shelf hardware like standoffs, ensure that the hardware you purchase is predictable. Physically verifying the measurements of your purchased hardware are as advertised will help you ensure there are no variables you didn’t account for when you order and receive your parts from us.
Working with electronics
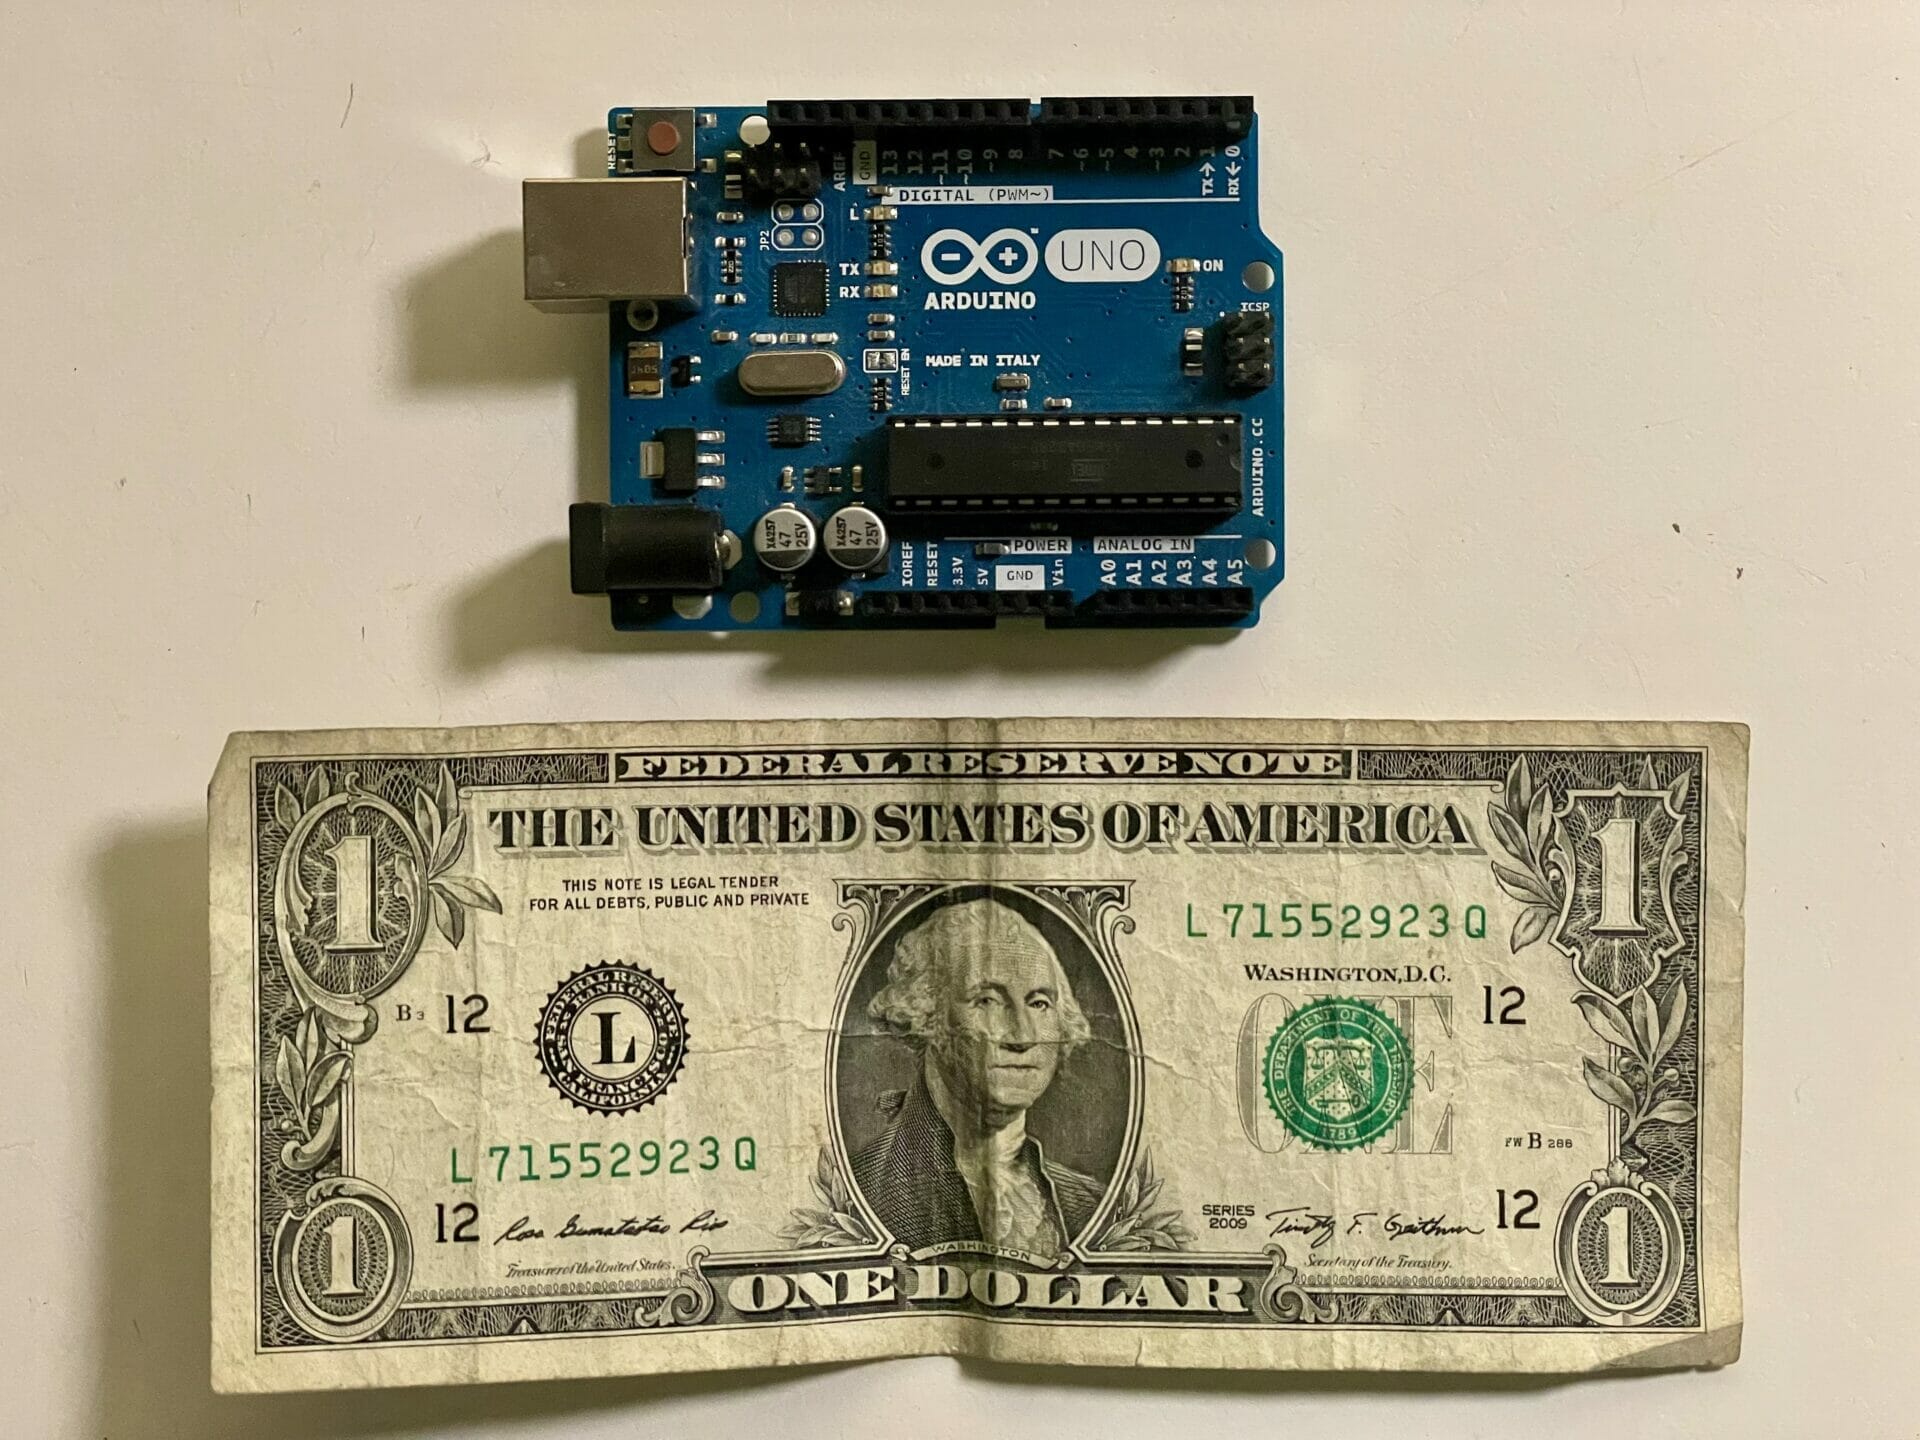
Many designs have small-scale electronics implemented into them like Arduinos and micro servos. With this comes several new challenges that must be addressed particularly on the front of wiring and model accuracy.
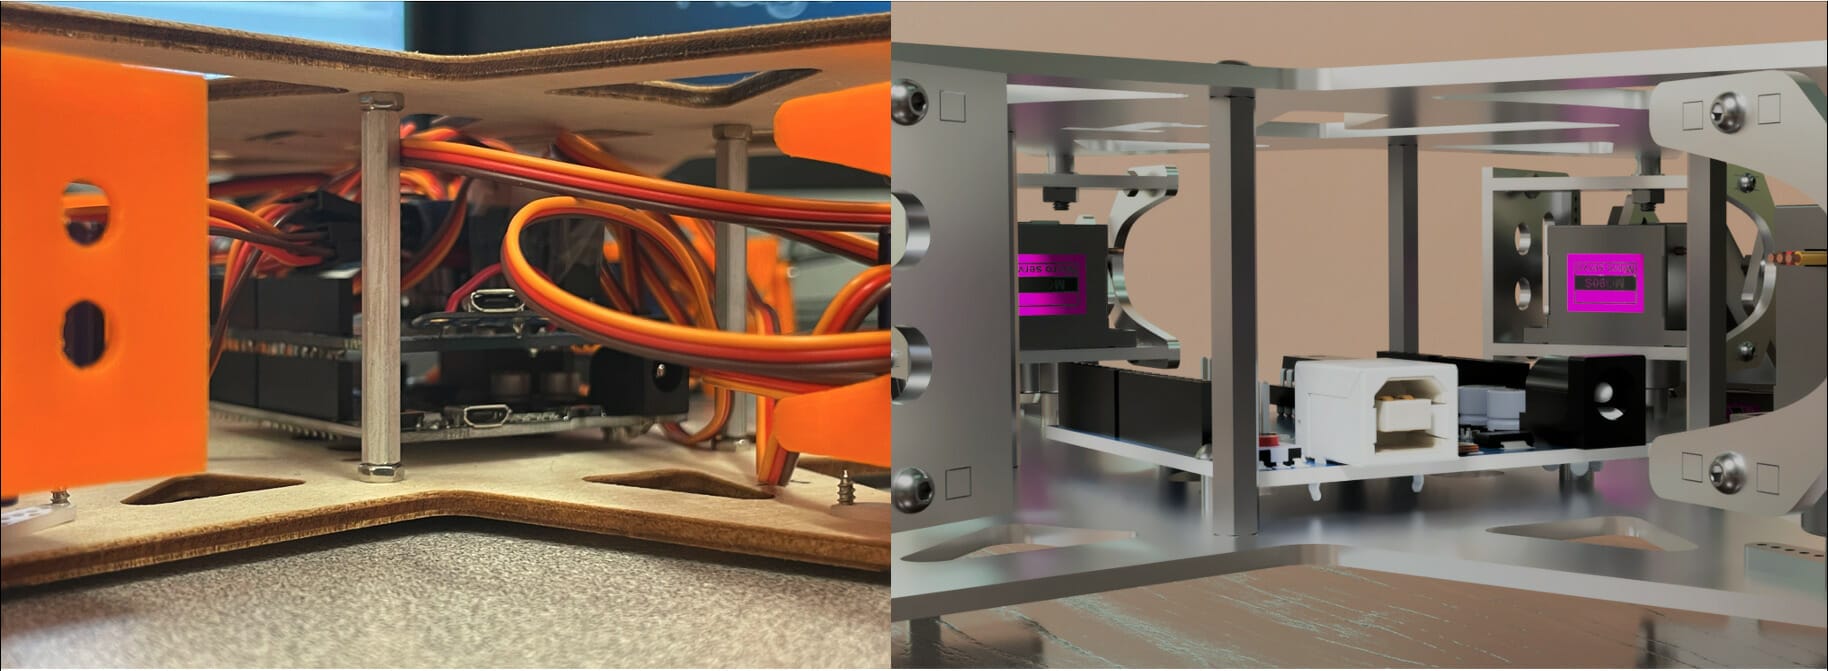
One aspect of any design that is incredibly difficult to account for in CAD is wiring. No amount of time or focus will allow you to properly account for excess wiring or misaligned connectors. Therefore, the best practice for hobby-level electronics is just to leave an ample amount of space in the design and once again verify the physical measurements of the parts. While that may leave you with extra space in your design, it’s a better alternative to not having enough.
Start your small scale design today
Building things this small can be frustrating. We hope that after reading this article you learned something that will make the squint-inducing design process a little bit easier than it was before. The great thing with these techniques is that they can apply to much bigger designs as well.
Of course, if you have any questions, feel free to reach out to our support team and they’d be more than happy to assist you in bringing your projects to life.
