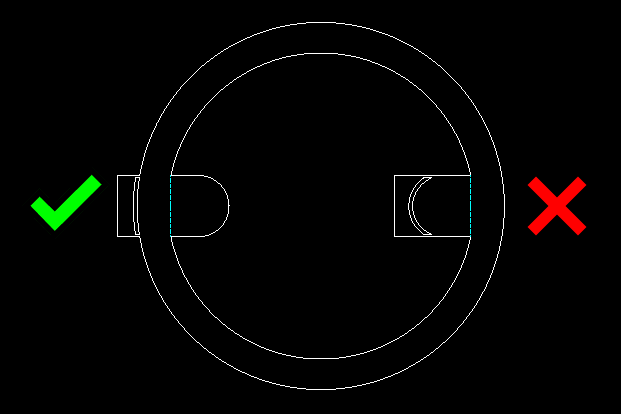
If your bent part requires an odd flange shape, we can bend it if you revise your design and create a flat reference edge that is parallel to the bend line.
This can be a revision to an existing edge to give us a flat parallel surface, or added material with at least 2 tabs that can be removed once you receive the part (also known as “break-off tabs”).
Please note, we do not remove break-off tabs. You will need to remove break-off tabs when your parts get to you. This means that if you add finishing services to parts with break-off tabs, the raw material edge will show after you remove the tabs.
Best practices for break-off tabs
If you choose to add break-off tabs instead of revising an oddly shaped flange edge to create a flat parallel surface, follow these best practices!
Create sufficient breakoff tab length
- We’ll need your breakoff tab to be a sufficient length relative to your part’s overall flat length. Please note, we may request a longer tab if needed for a successful bend, depending on your design’s geometry.
- 0-5 inch part: 0.500″ minimum breakoff tab
- 5-10 inch part: 1.000″ minimum breakoff tab
- 10+ inches: 1.500″ minimum breakoff tab
Add enough connecting bridges
- Please create a minimum of 2 connecting bridges from your part to the breakoff tab
- Longer flanges will benefit from more bridges. We recommend the following:
- 0-10 inch flange: minimum of 2 connecting bridges
- For every additional 10 inches, add at least one more bridge
Make bridges wide enough
- Ensure the connecting bridges are at least 0.040” wide or the minimum bridge width for the material; whichever is larger. If bridges are too thin, they may break during the bend operation.
- When determining bridge width, keep in mind that you’ll need to remove the breakoff tabs when your parts get to you.
- For materials 0.080” or thicker, we recommend that bridges are no wider than 50% of the material thickness.
Keep bridges outside of die lines
- The breakoff tabs’ connecting bridges must not fall within the die lines. Tabs are vulnerable to breakage if the connecting bridges are within the die area.
Add breakoff tabs to exterior of part
- We need break-off tabs added to the exterior of parts since we are unable to use tabs placed on the interior of a part. Learn more about our window bend requirements.

Plan ahead with polycarbonate
For polycarbonate parts with break-off tabs, we recommend using a cut-off wheel or saw to trim the parallel edge material away from the part when you receive it. This is because polycarbonate is likely to crack if you use side cutters or other shearing tools.
Evening out those odd flanges!
Odd flanges can certainly make your parts stand out, so follow our advice here to ensure we can bend them! Review our full bending guidelines before uploading your part file to our website for an instant quote. If you have questions, ask our Support team anytime!
