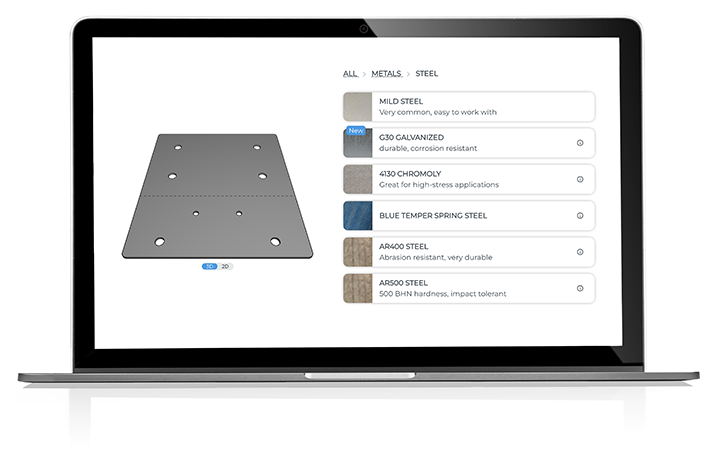
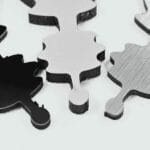
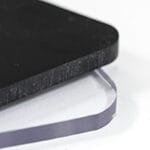
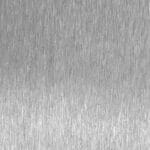
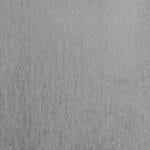
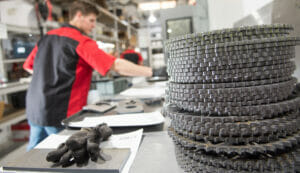
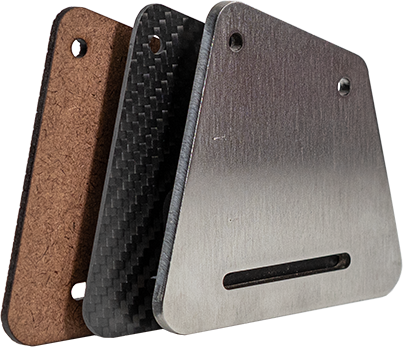
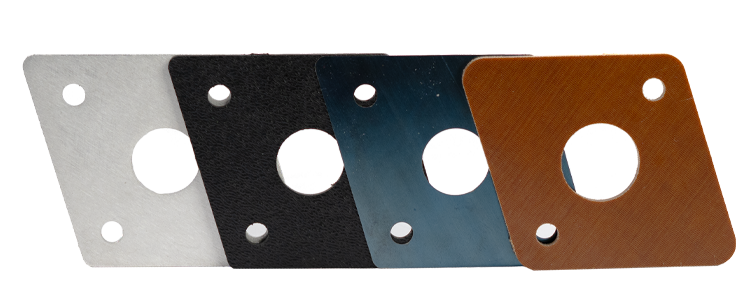
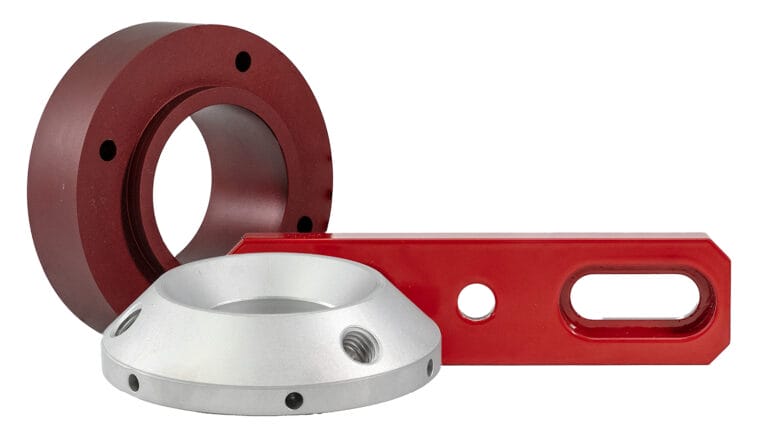
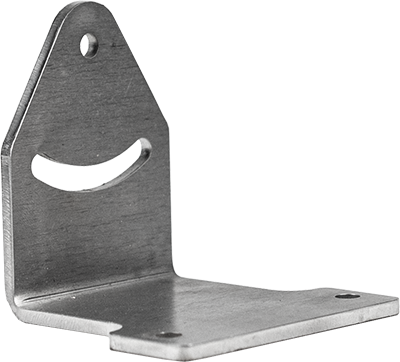
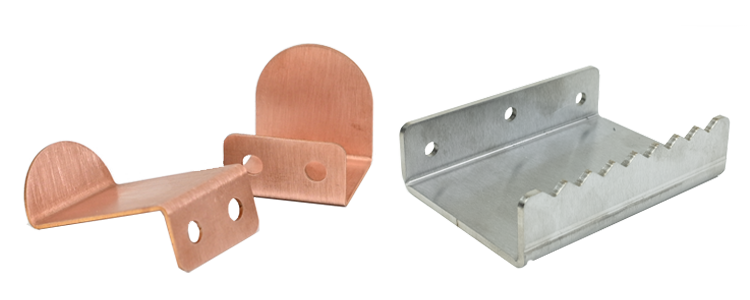
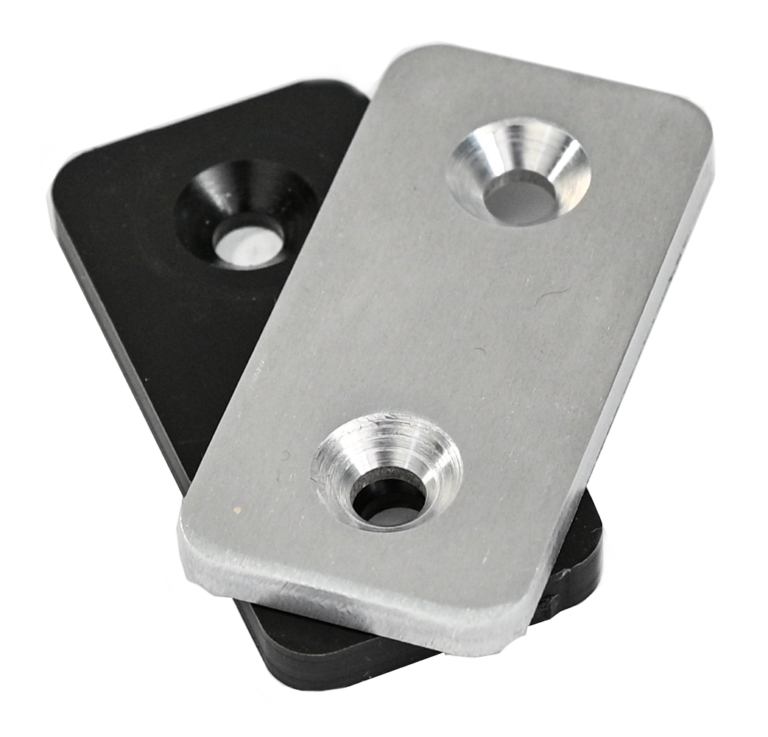
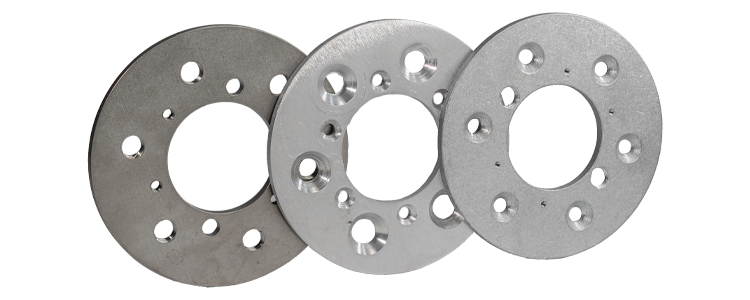
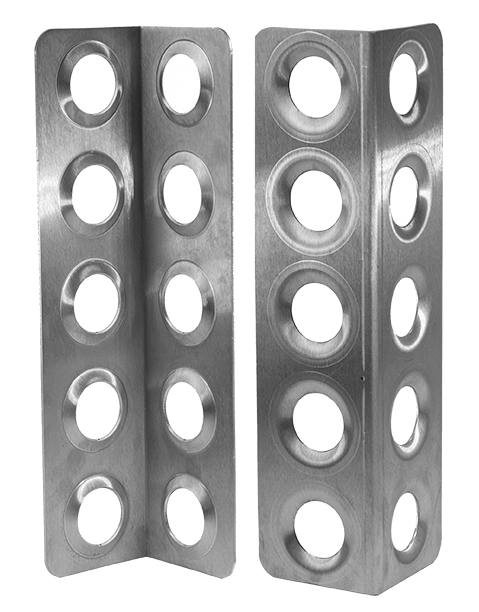
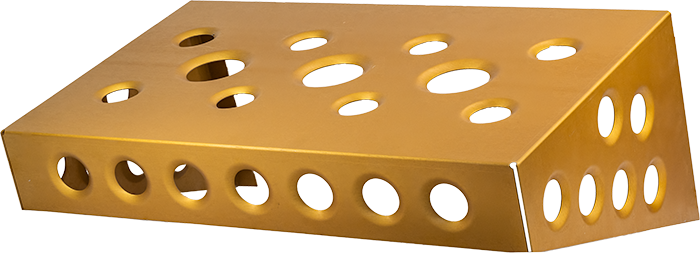
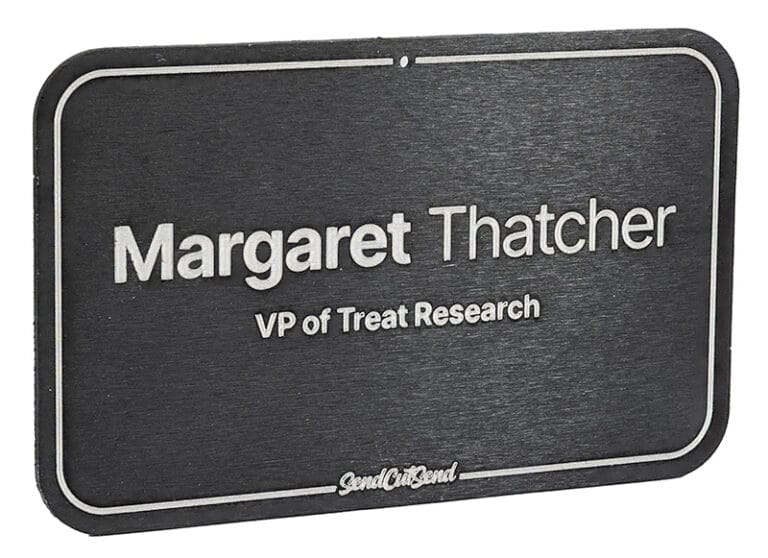
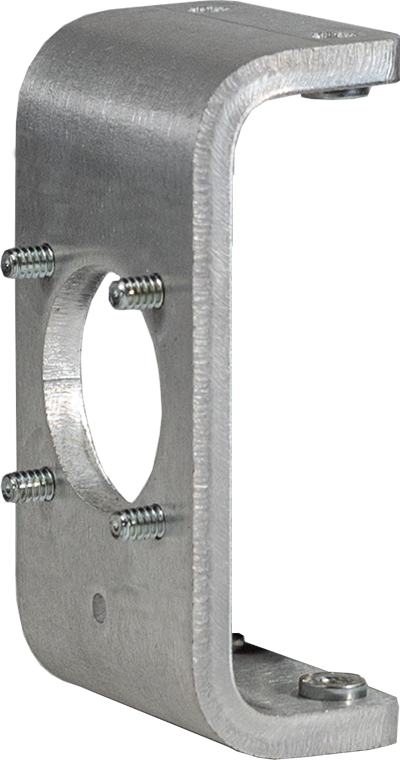
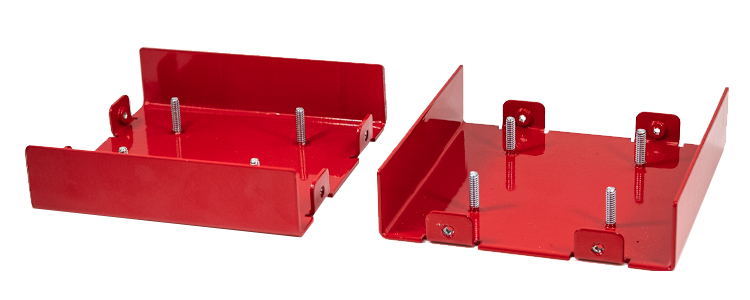
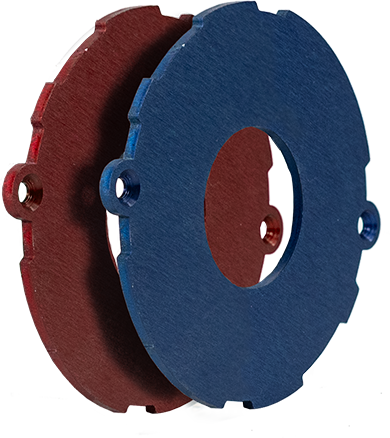
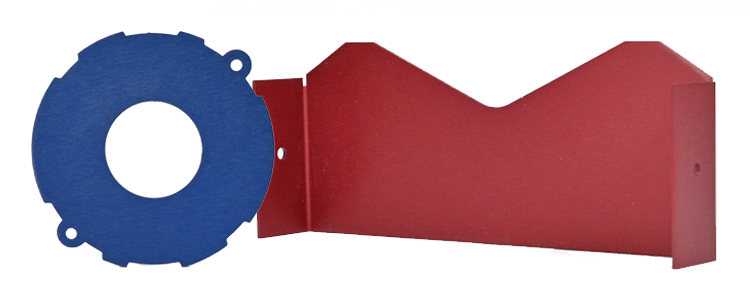
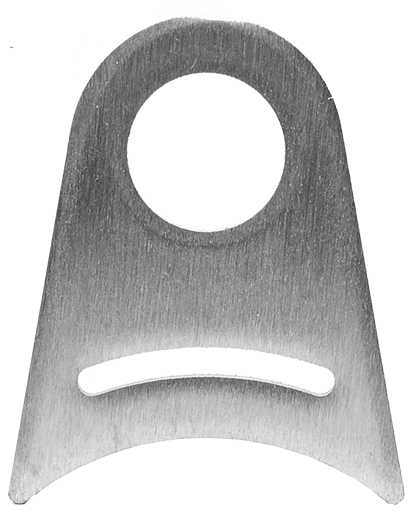
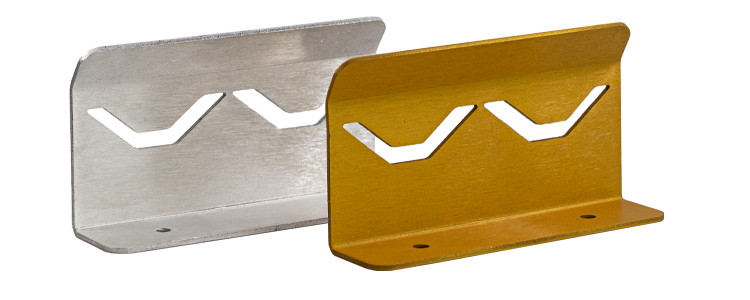
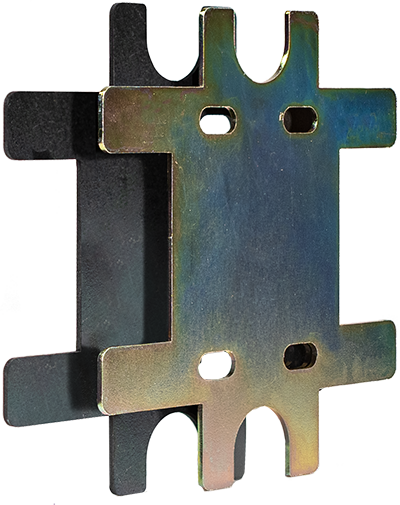
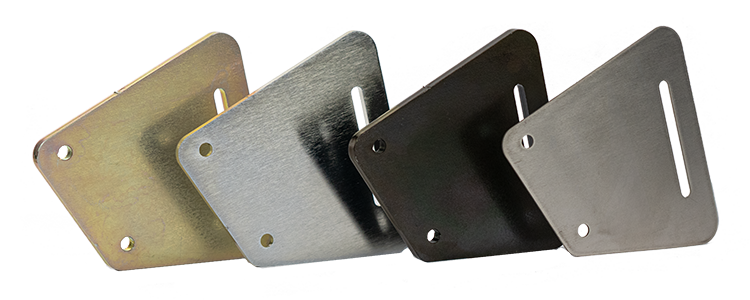
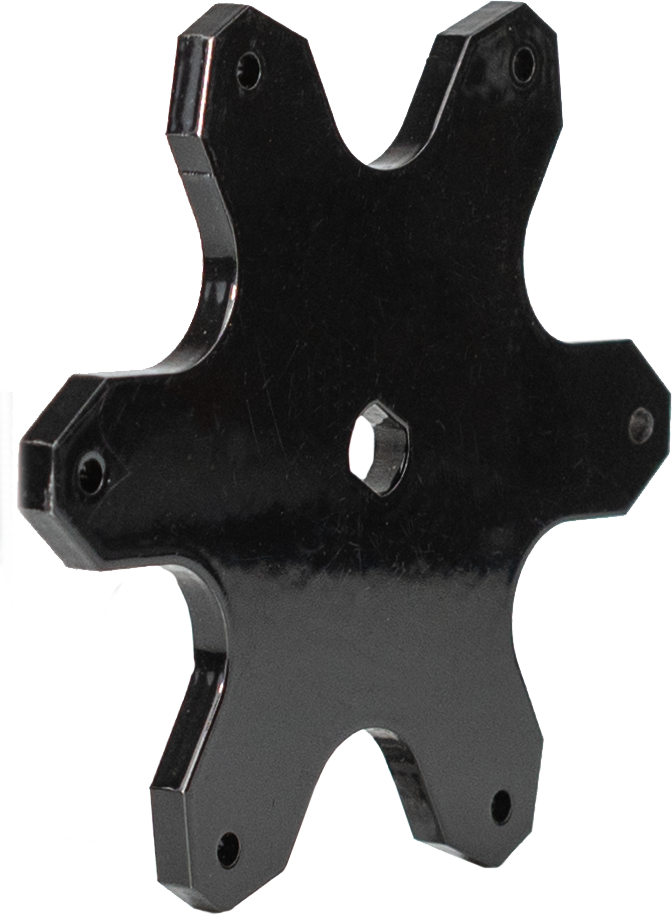
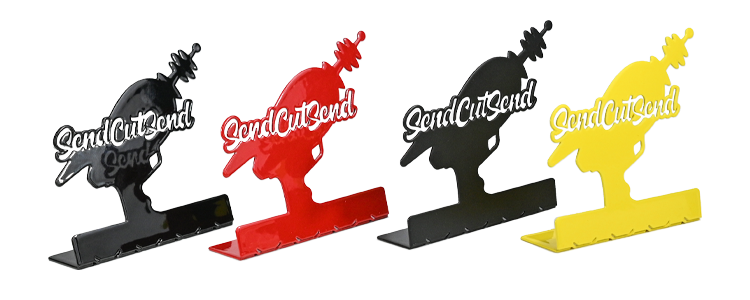
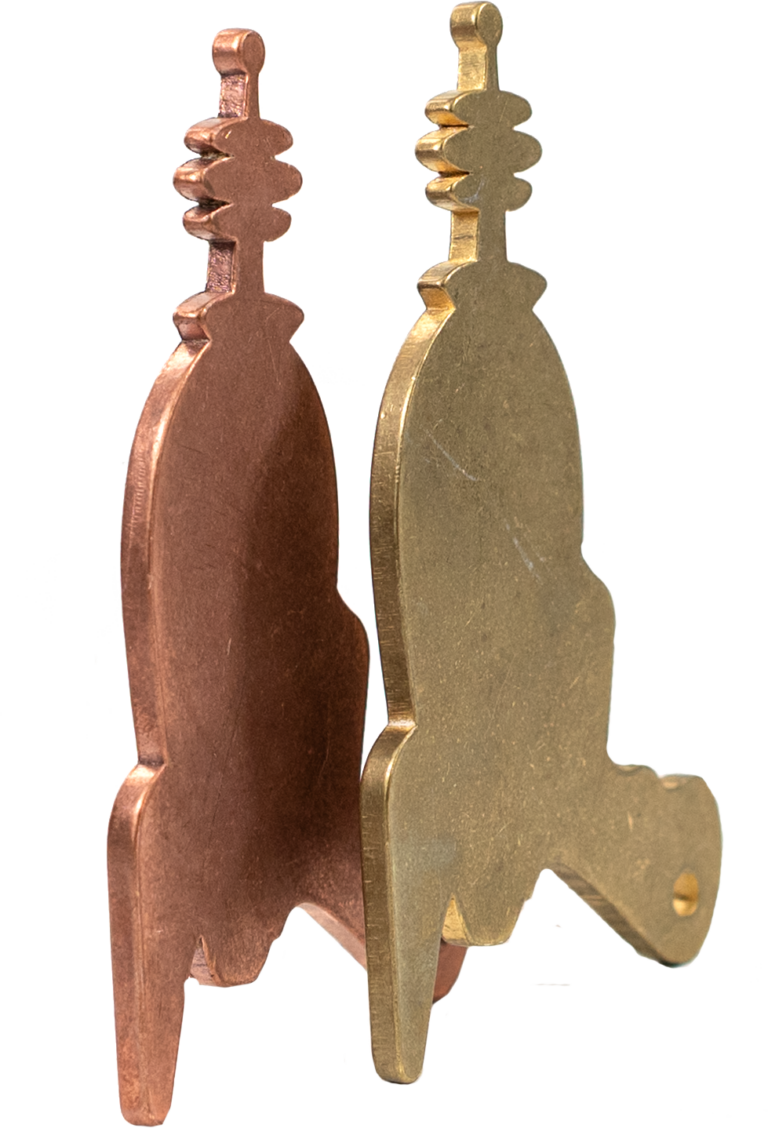
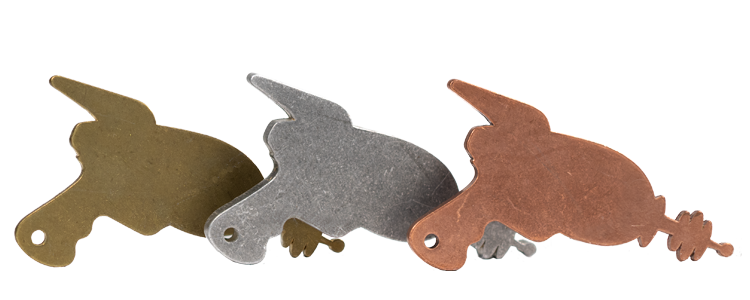
Custom cut sheet metal, composite, plastic, and wood materials
170+ materials available
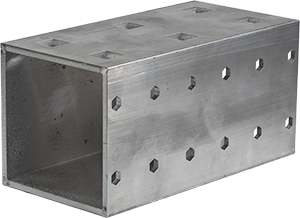
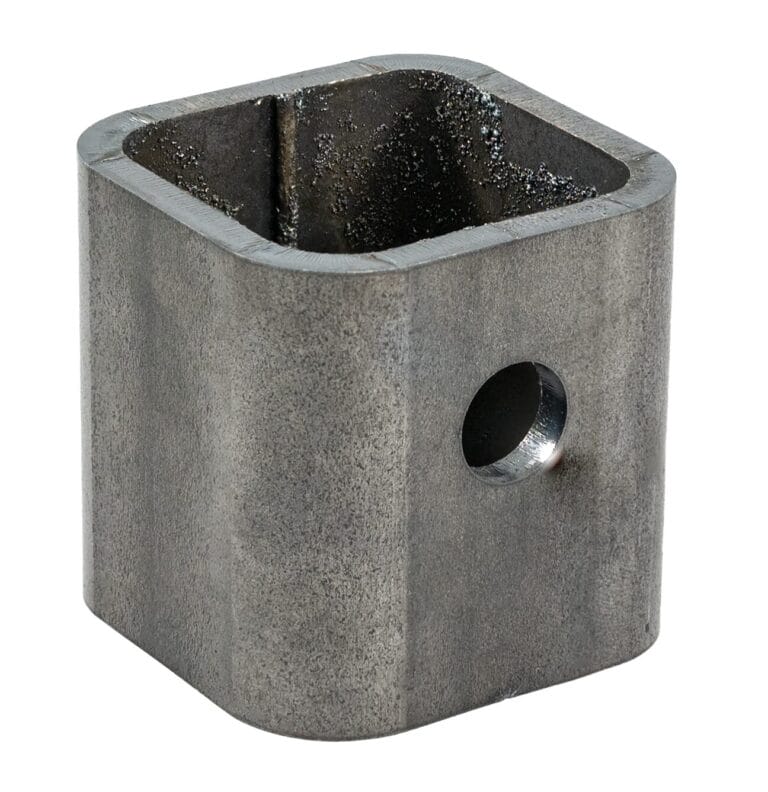
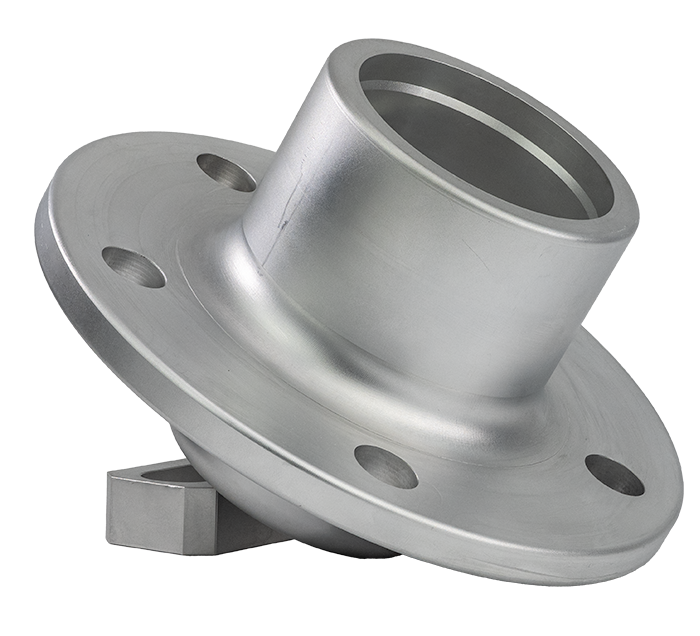
Our materials are cut on state-of-the-art laser, waterjet, and CNC machines in sizes up to 44″ x 30″ using our instant quoter and larger for custom quotes.
Upload your CAD design, or try one of our customizable part templates to get instant pricing on your custom laser cut parts. All delivered to your door in a matter of days.